Build a repeatable calibration routine
Use a stable baseline and a small set of questions to avoid endless, contradictory tuning.
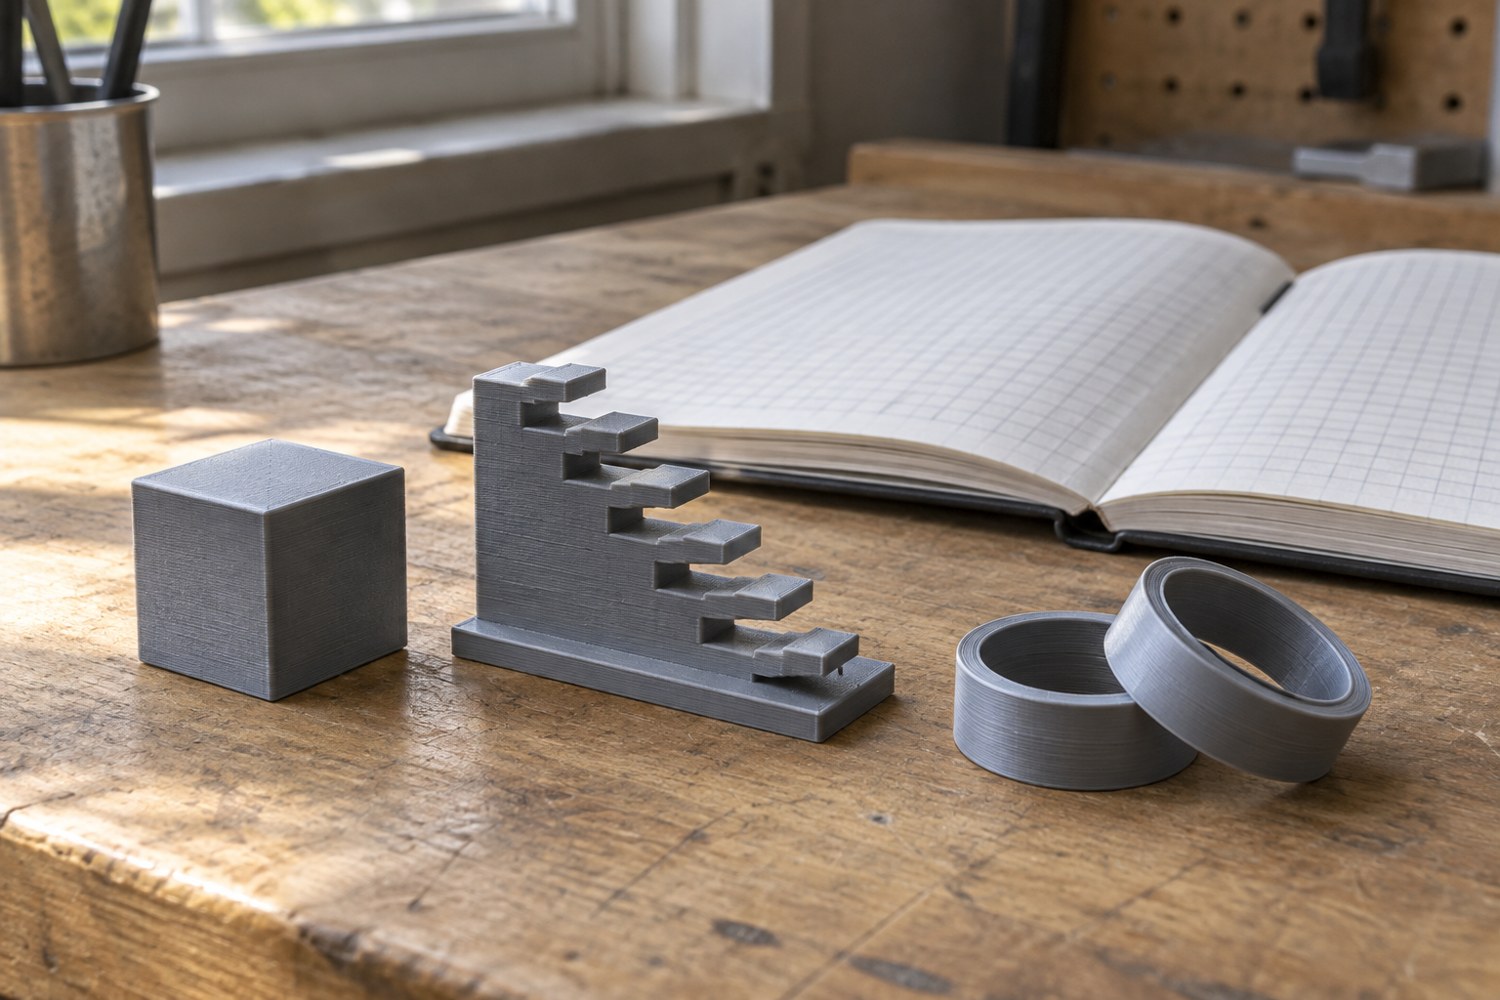
Calibration becomes confusing when every new print introduces another setting change. Build a routine around the manufacturer's setup procedure and the particular results you need. A printer used for architectural models needs reliable dimensions and readable details; it does not necessarily need an endless collection of increasingly elaborate test shapes.
Start by recording the hardware, firmware, slicer and material configuration. Complete the machine's required setup and self-checks according to its manual. Resolve warnings before fine tuning. A loose component or incorrectly installed nozzle should not be compensated for with a custom profile that makes one test object look better.
Establish a reference result
Choose a modest reference model that you can inspect consistently. Include a flat region and a feature relevant to your normal work, such as a slot or short wall. Use a documented profile and keep the file unchanged. Store a successful sample with the project so that later comparisons have a physical reference rather than an idealised memory.
Write down what you will examine and how. For a slot, name the mating part and the desired movement. For a surface, use the same light and viewing distance. For dimensions, measure comparable clean faces and repeat the reading. Avoid treating the number of decimal places on a display as proof that a rough printed edge has been measured that accurately.
Create a sequence with a reason for each step. First establish a normal first layer and stable operation, then assess the specific dimensional or surface issue. Do not begin by changing several advanced controls because a tutorial presents them in a dramatic order. The appropriate sequence depends on the machine and the symptom.
Change one relevant factor
Give each trial a distinct label and retain the previous settings. If you compare two values, keep orientation, material and geometry fixed unless that factor is the subject of the test. Record the result in plain language, including any tradeoff. A smoother wall accompanied by a worse fit is not an unqualified improvement.
Repeat a promising result before adopting it as the new baseline. One successful piece can reflect conditions that were not noticed. You do not need a laboratory-sized programme for a hobby model, but a second comparable print can reveal whether the change is consistent enough to be useful.
Stop when the result meets the project's actual requirements. A small visible artefact on a hidden underside may not justify hours of changes that disturb an otherwise reliable setup. Save the working profile with a clear name and note which hardware and material it belongs to. Keep experimental profiles separate so that an unfinished trial is not selected accidentally for a long print.
Return to the routine after a meaningful change: a different nozzle, material family, major maintenance operation or new fit requirement. Do not automatically run every test before every decorative object. A repeatable routine is valuable because it makes changes understandable, not because it creates a permanent obligation to tune a machine that is already producing suitable parts.
A profile log can be very small: trial identifier, changed value, reason, observed result and decision. Write ‘retain,’ ‘revert’ or ‘needs another check’ in the final column. That last category is useful because not every trial produces a clear answer. An ambiguous result should not silently become the default merely because it was the most recent file saved.
When an apparently successful change fails on a different shape, compare the features rather than assuming the earlier result was worthless. A short wall and a broad panel can ask different things of the process. Keep the successful setting attached to its demonstrated scope, and create a separate investigation for the new geometry. This is more informative than repeatedly renaming a universal profile as final, final-new and final-best.
Before a large repeated project, establish one reference assembly rather than checking isolated pieces alone. A lid and body may each look satisfactory yet fail together. Mark the accepted pair, store it without altering the mating surfaces and compare later batches against it. If the reference itself is sanded or painted, update the record so that a changed physical sample does not become an unexplained new standard.
Another detail to explore
Choose a first 3D printer around the objects you want to make
Start with three objects, their dimensions and the space available for making them. Those decisions narrow the printer search before speed claims do.
Read article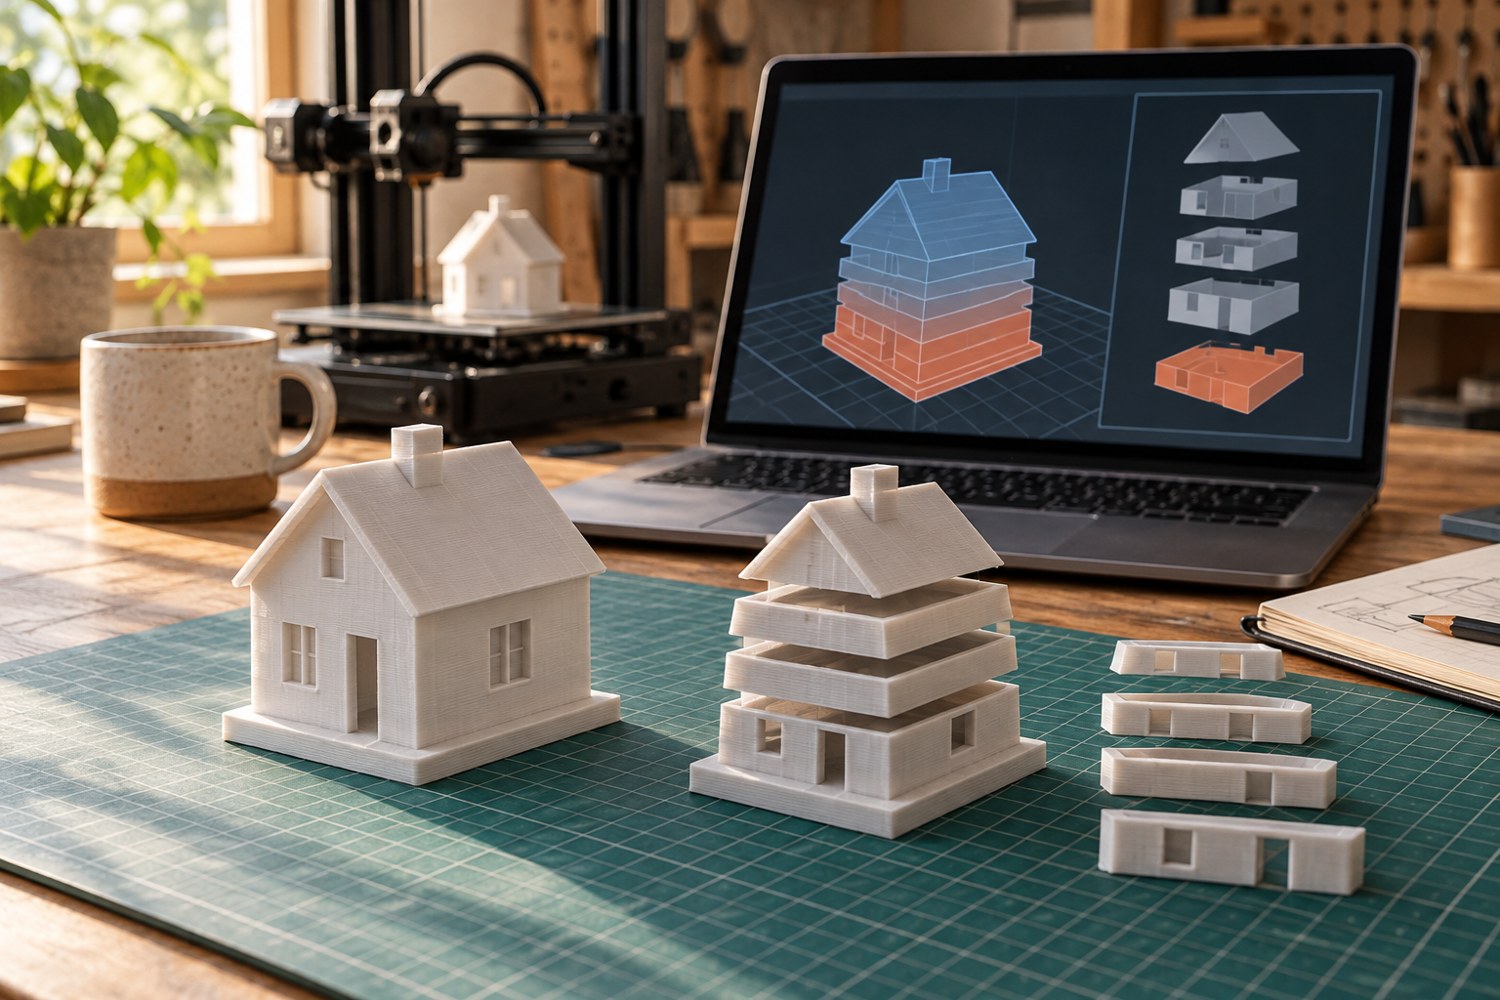
Read a sliced preview before starting a print
Read the toolpaths, first layer and delicate features before a file reaches the printer.
Read article