Choose a first 3D printer around the objects you want to make
Start with three objects, their dimensions and the space available for making them. Those decisions narrow the printer search before speed claims do.
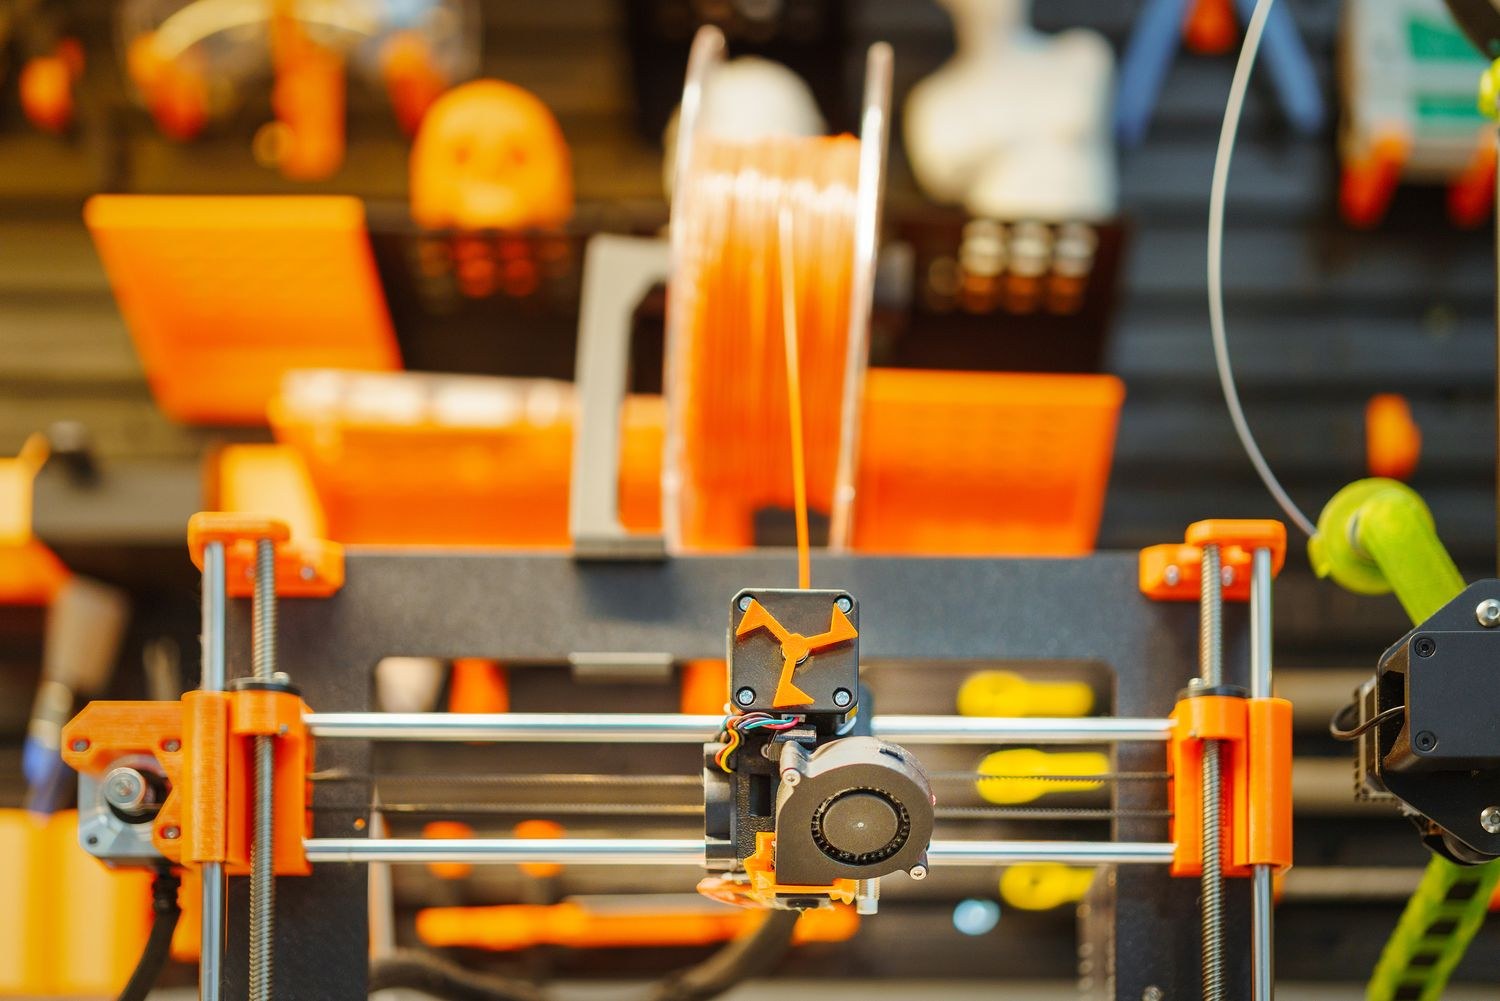
Put three intended objects on paper
A first printer is easier to choose when its job has a boundary. Write down three objects you genuinely want to make: perhaps a modular cliff, a small storage tray and a miniature building. Sketch their approximate width, depth and height. Add what matters about each one, such as a flat underside, readable roof tiles or a lid that comes off repeatedly. These requirements give you something concrete to compare with a machine's documentation.
Distinguish a complete object from its largest individual piece. A landscape assembled from tiles may fit a smaller printer even when the finished display occupies a large table. Conversely, a modest enclosure may have a single broad lid that you would prefer not to join. Draw possible seams before treating build volume as the deciding number.
Look at the whole making process
Do not compare only the moments when the printer is running. List the steps between a downloaded or self-made model and the finished object: preparing the file, loading material, inspecting a preview, removing the print, cleaning it up and assembling it. A detailed resin miniature and a filament terrain tile can involve different equipment and handling. Read the machine and material instructions for the complete process before choosing either route.
For an initial shortlist, ask manufacturers or sellers for the relevant manuals rather than relying on a finished sample photograph. A sample can show an attractive result, but it cannot tell you the settings, preparation time or finishing work behind that result. Look for documentation describing material compatibility, required working space, maintenance and the tools supplied with the machine.
Make a simple two-column list headed supplied and still needed. Include material, any required handling equipment, a stable working surface and storage for unfinished parts. Do not guess a universal accessory budget. Price the items specified for the actual workflow, then compare the complete starting setup rather than printer prices alone.
Give the machine a real place to live
Mark its proposed footprint on the work surface using the manufacturer's dimensions. Include the space needed for moving assemblies, spool placement, cable access and opening covers. A rectangular tabletop measurement is not enough if the machine needs clearance behind it or if a spool holder changes its outline.
Think through where the removed object will go. A printer occupying every available centimetre leaves no useful area for inspection or assembly. Keep material handling and cleanup requirements in the plan, especially if a process uses liquid resin or cleaning chemicals. Follow the particular equipment and material safety instructions; a spare corner is not automatically a suitable printing workspace.
Compare one project all the way through
Use the same representative model to investigate each shortlisted option. Check that it fits, that the recommended software can prepare it and that the material is appropriate for its intended setting. If a slicer is freely available, examine a preview using the correct machine profile. Treat its time and material figures as estimates, not a promise of an identical result on every machine.
For example, a miniature harbour building might need readable window recesses and a removable roof. Compare how those features would be oriented and assembled, not just the overall height. If the roof must be separated, ask whether the joint will remain accessible after painting. This small exercise may reveal more than an impressive maximum-speed figure.
Finish with a written purchase condition: the machine must make these pieces, fit this workspace and use a workflow you are prepared to maintain. Leave room for learning and occasional failed parts in your project schedule. A first printer becomes a more manageable choice when you can explain what it is expected to do and how the surrounding work will happen.
Another detail to explore
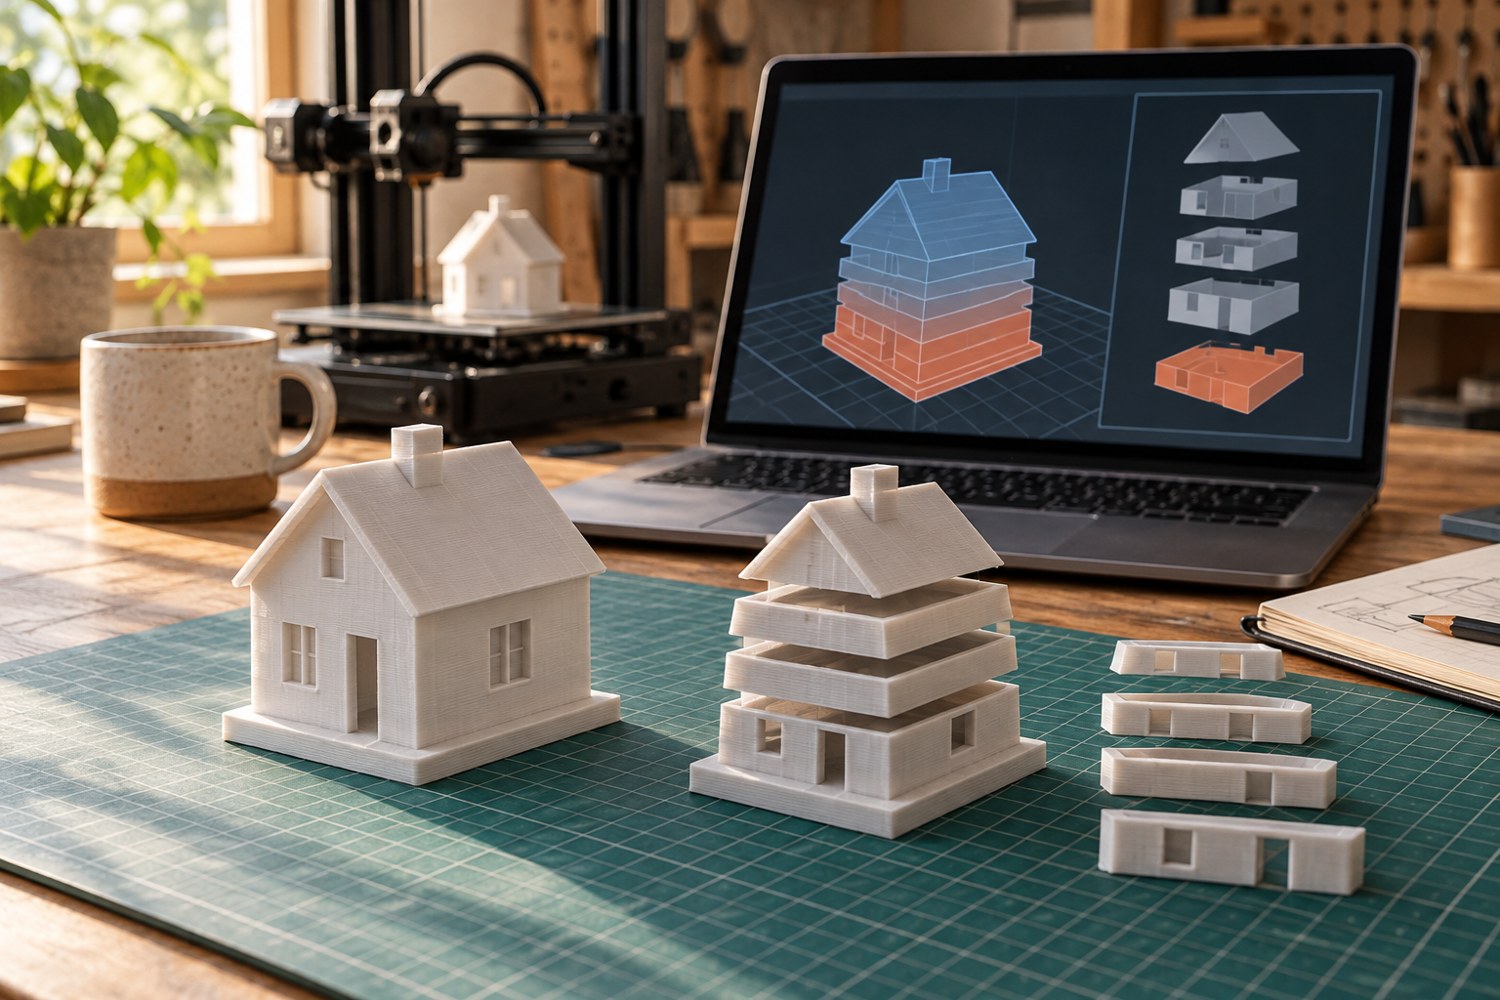
Read a sliced preview before starting a print
Read the toolpaths, first layer and delicate features before a file reaches the printer.
Read article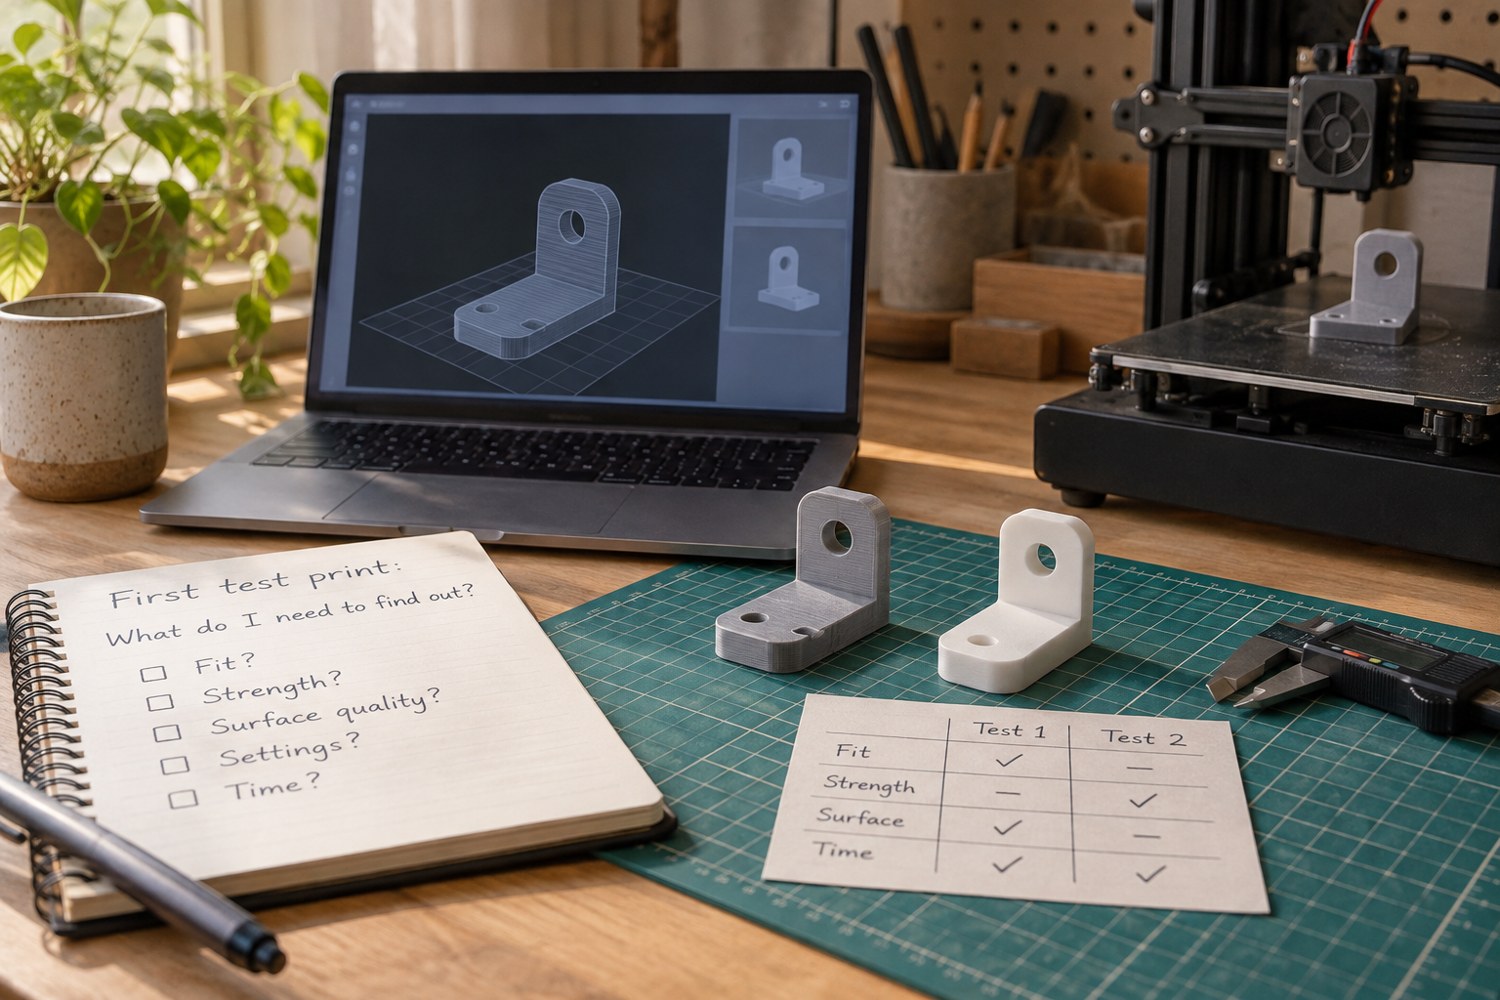
Plan a first test print with a clear question
Choose a small experiment that answers one question about your printer or model.
Read article