Printing foundations
Choose a first 3D printer around the objects you want to make
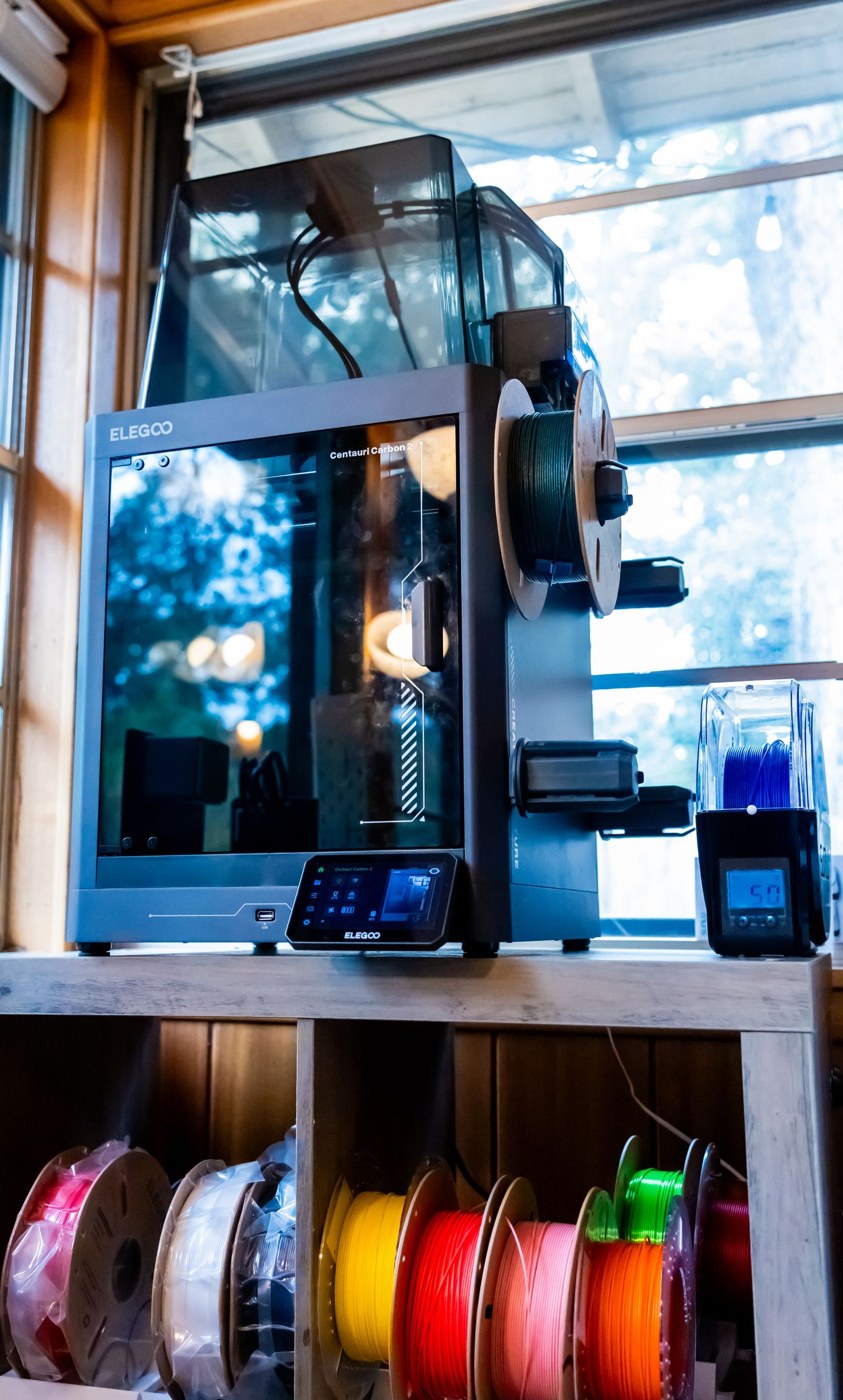
Start with three objects, their dimensions and the space available for making them. Those decisions narrow the printer search before speed claims do.
Read articleBrowse printing decisions, miniature projects and the work that happens between a model file and a finished object.
116 articles
Ideas, decisions & making notesStart with three objects, their dimensions and the space available for making them. Those decisions narrow the printer search before speed claims do.
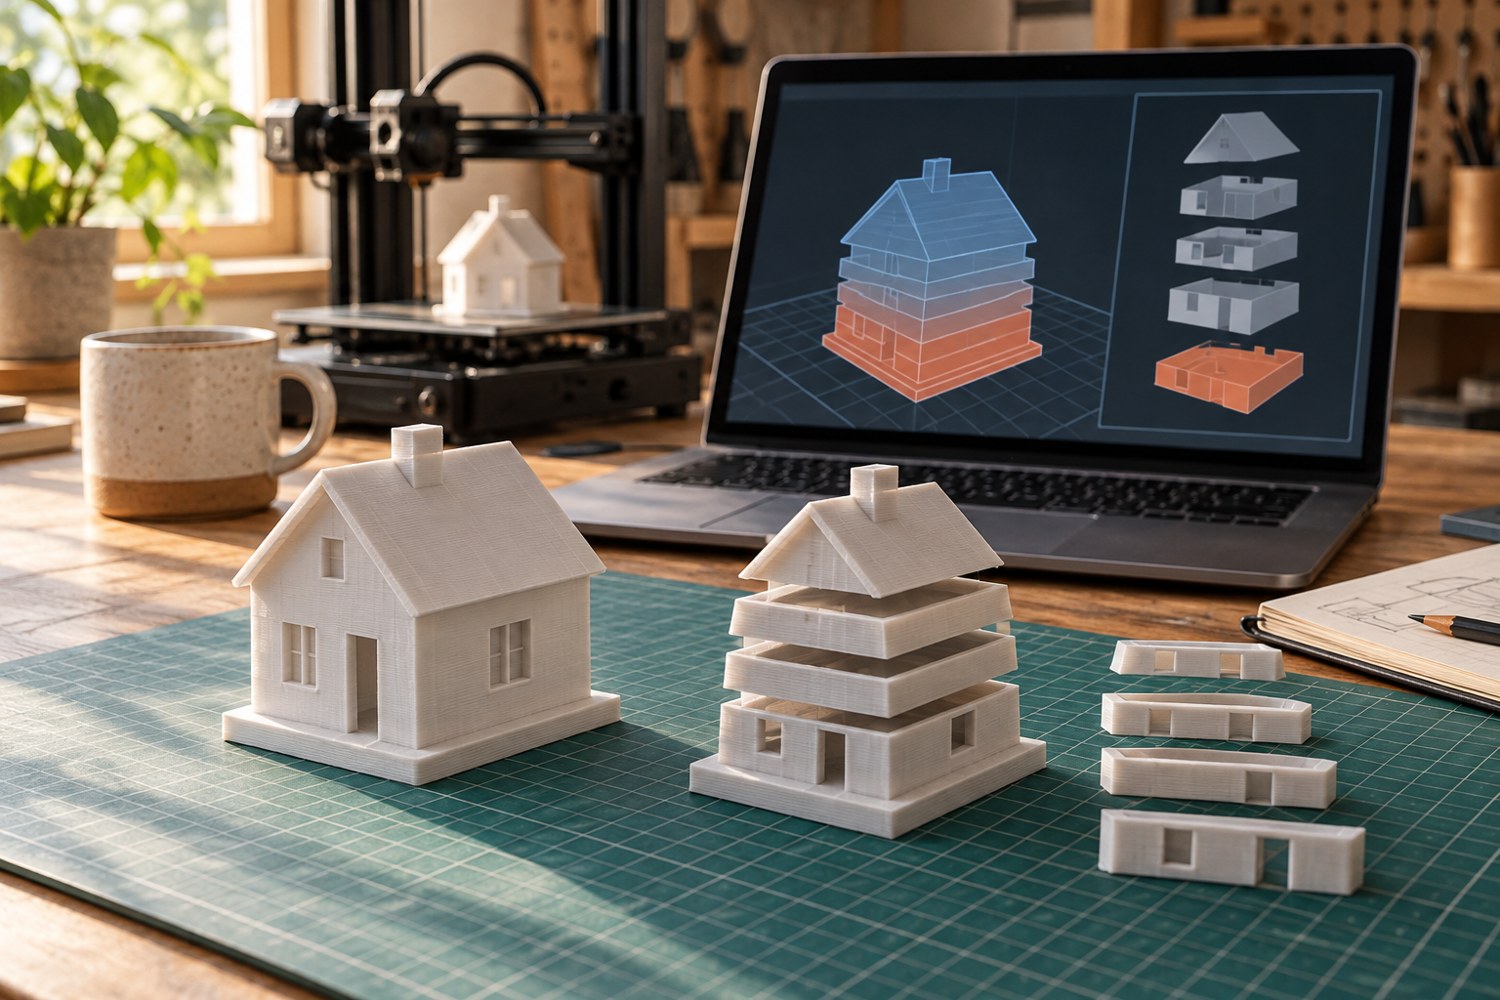
Read articleRead the toolpaths, first layer and delicate features before a file reaches the printer.
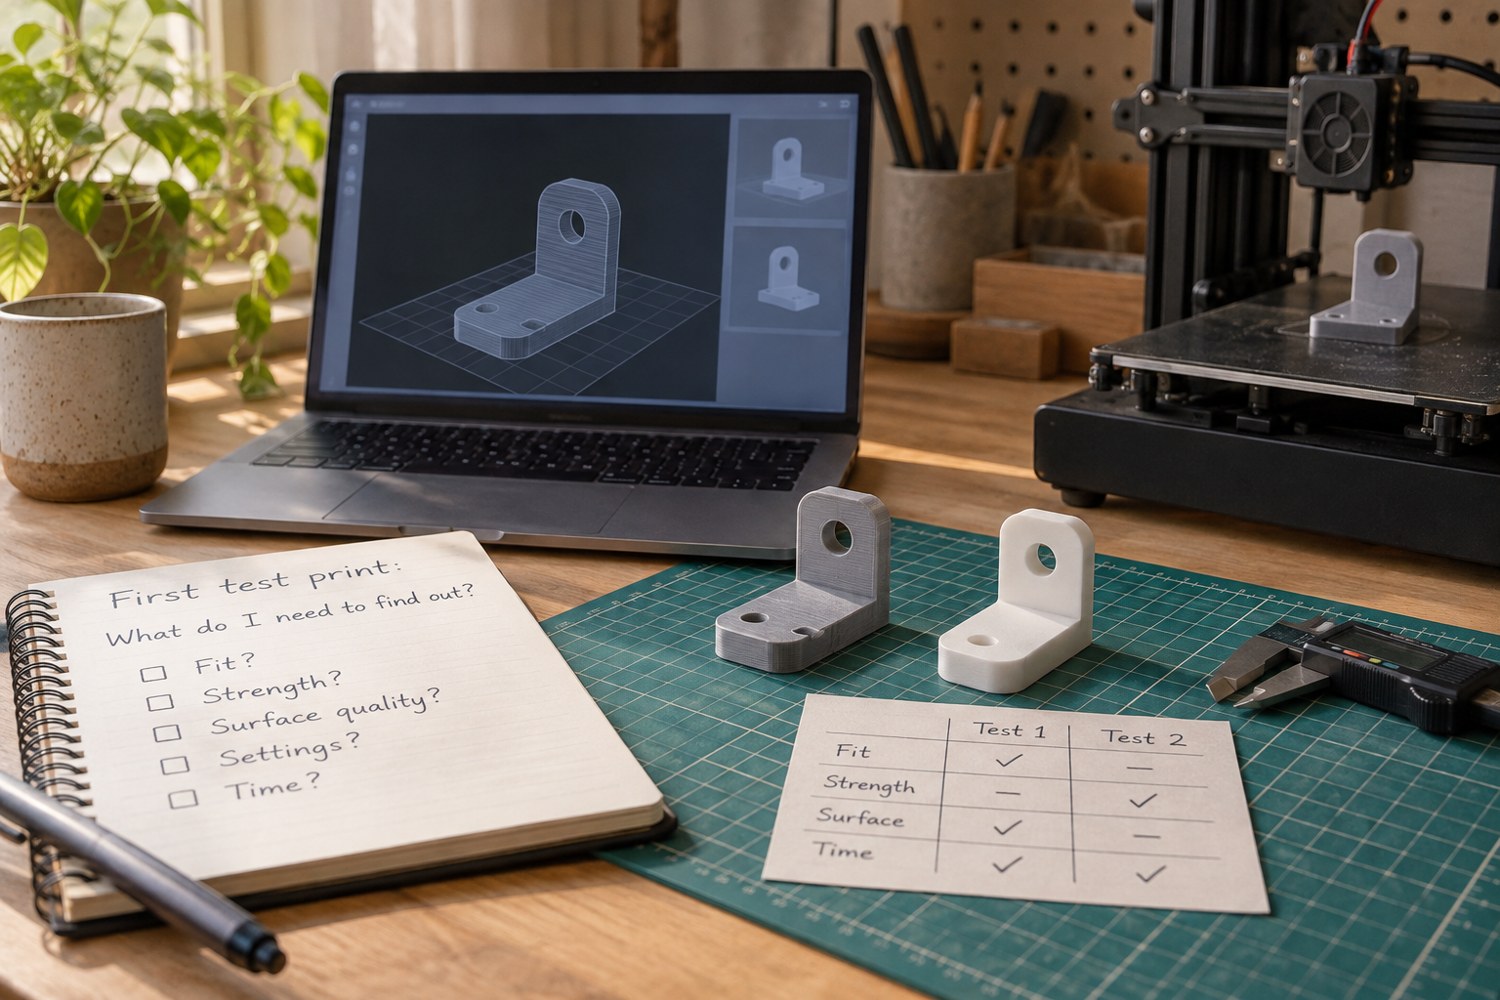
Read articleChoose a small experiment that answers one question about your printer or model.
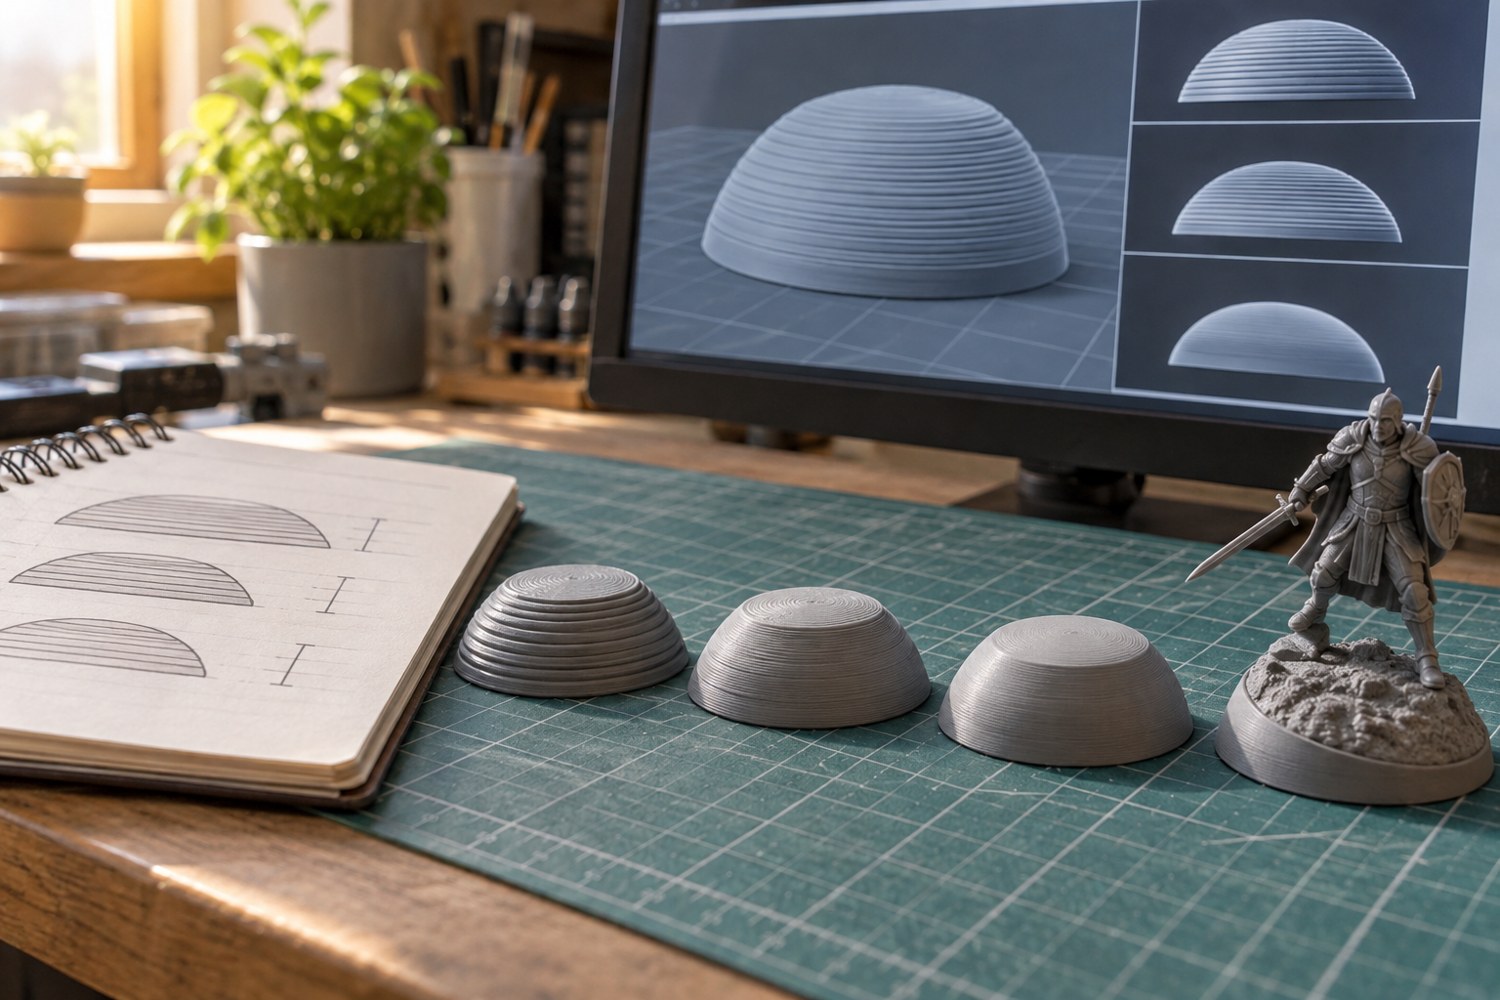
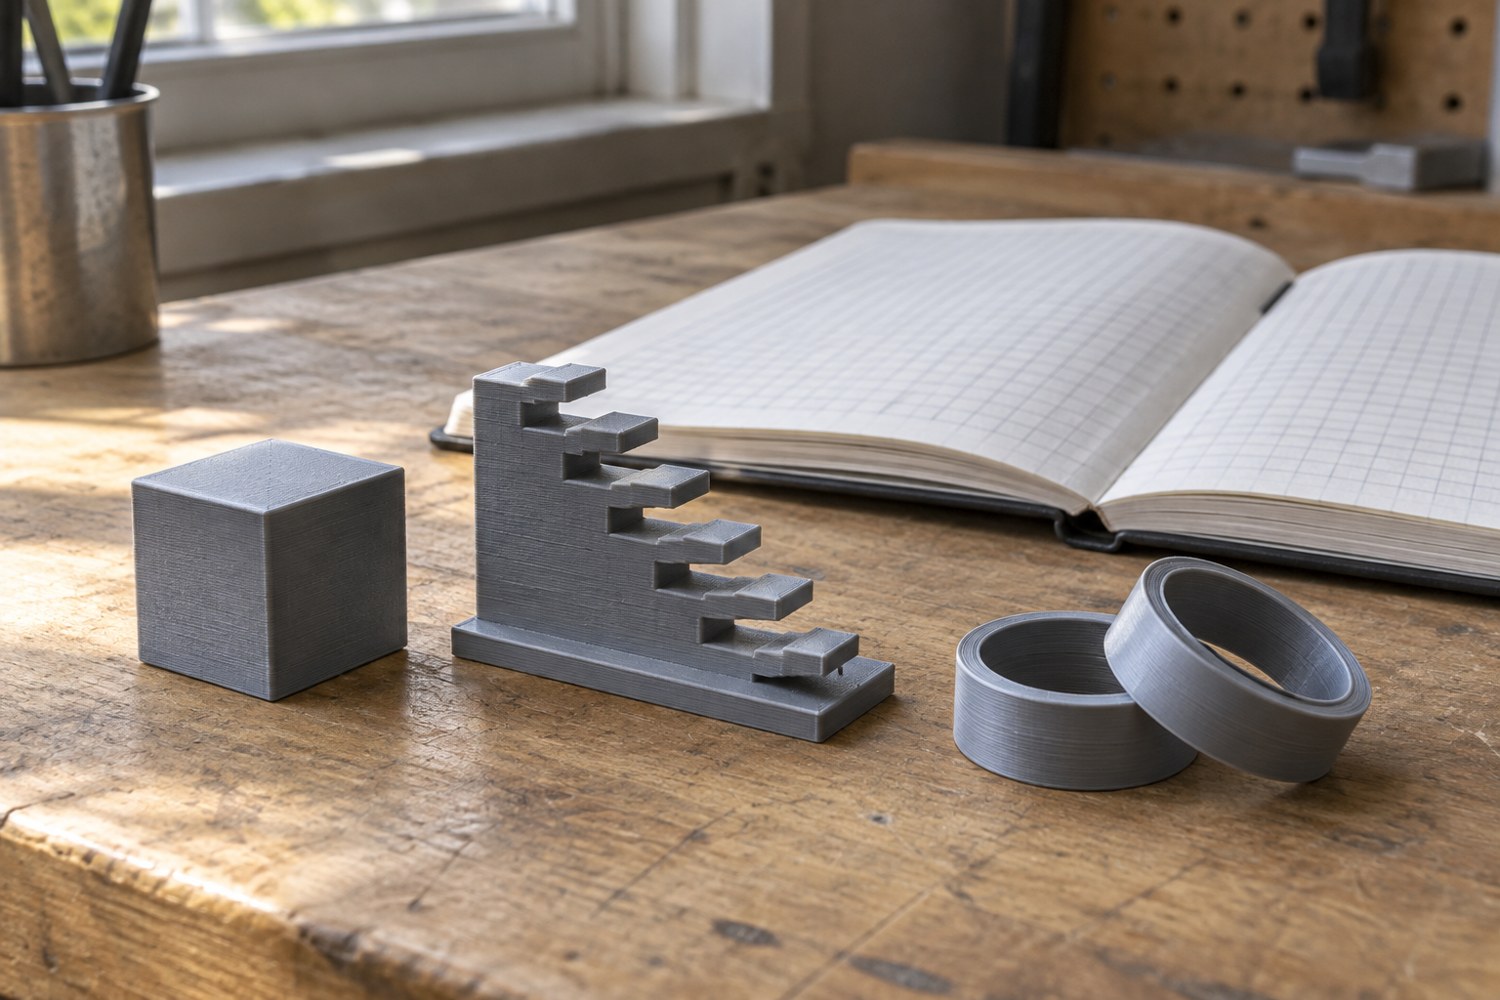
Read articleCompare vertical stepping, surface shape and print time on a rounded display base.
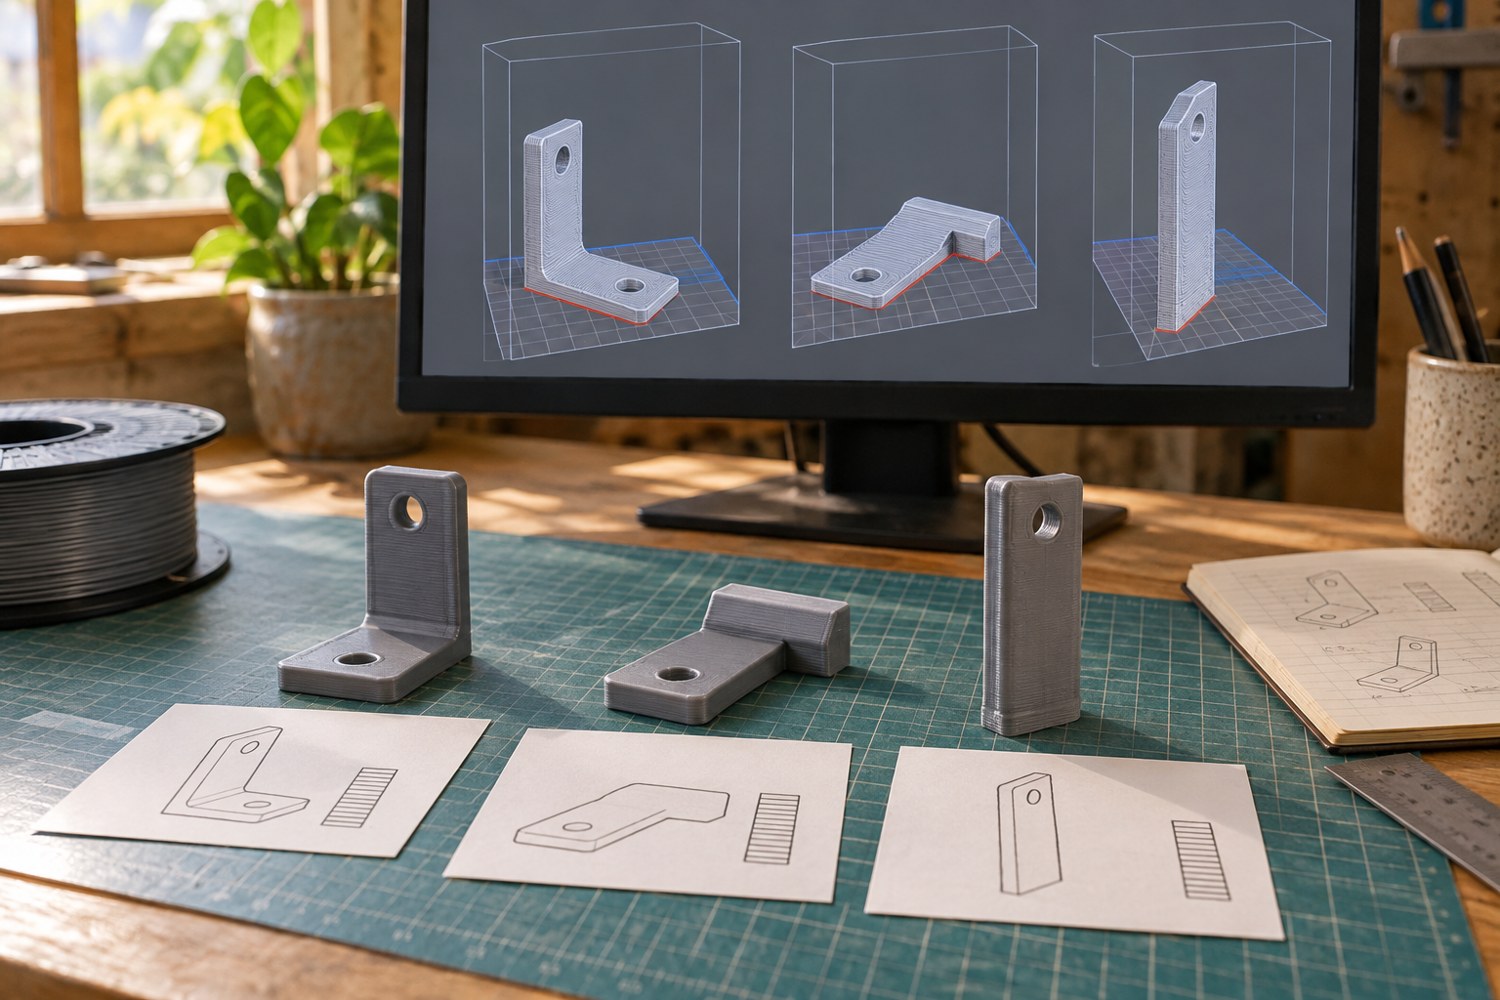
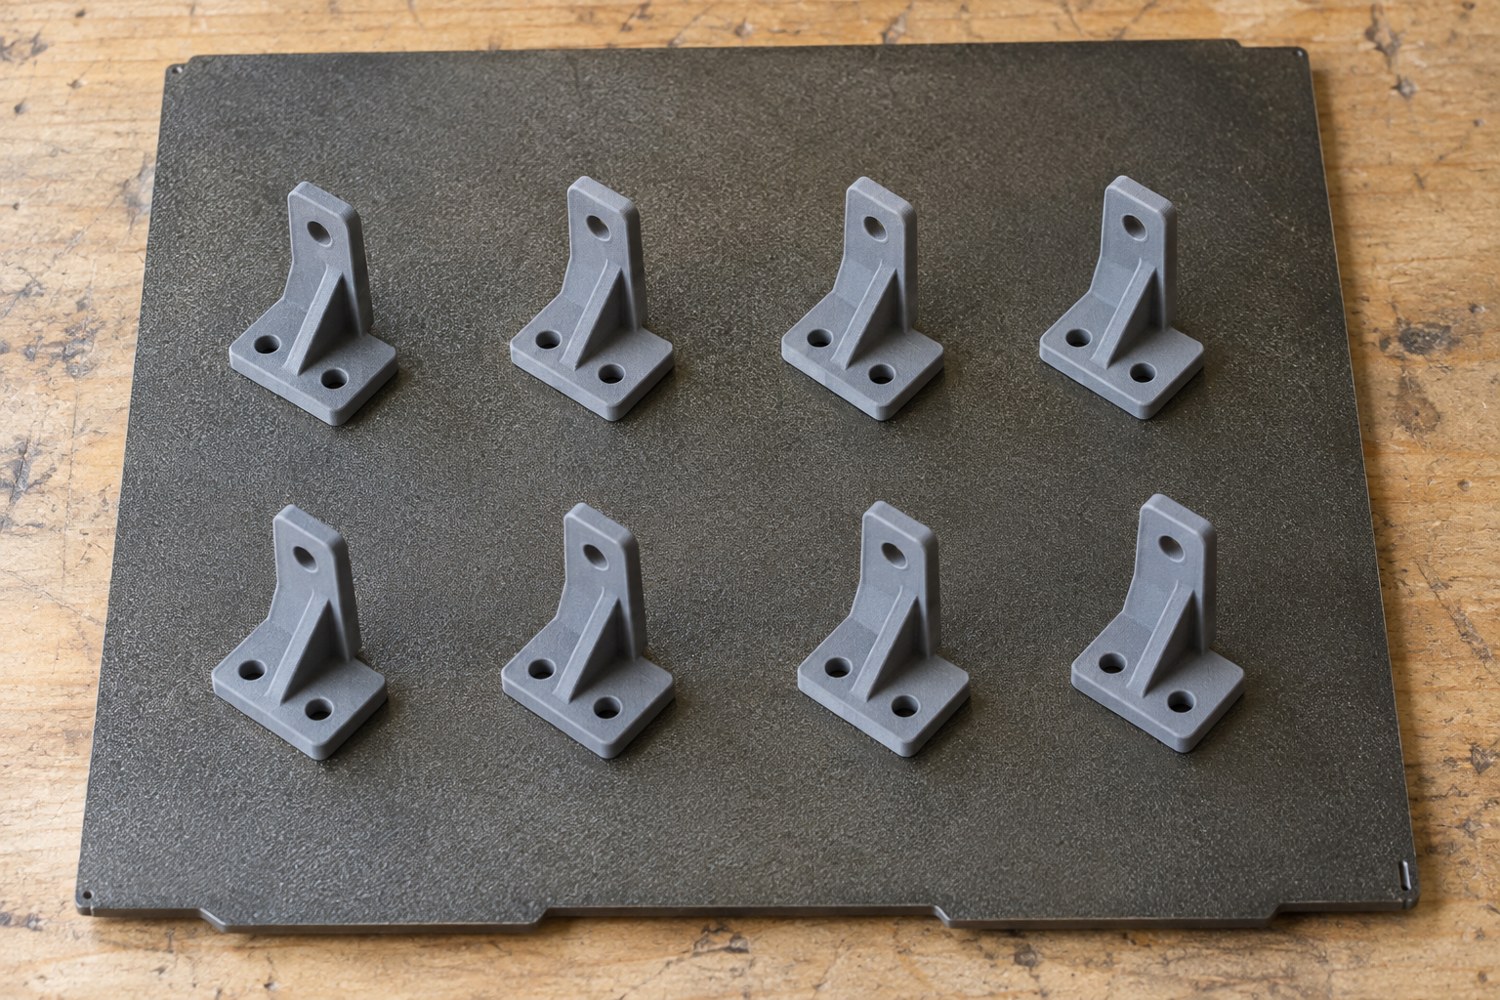
Read articleBalance the visible face, layer direction and assembly access on a non-critical bracket.
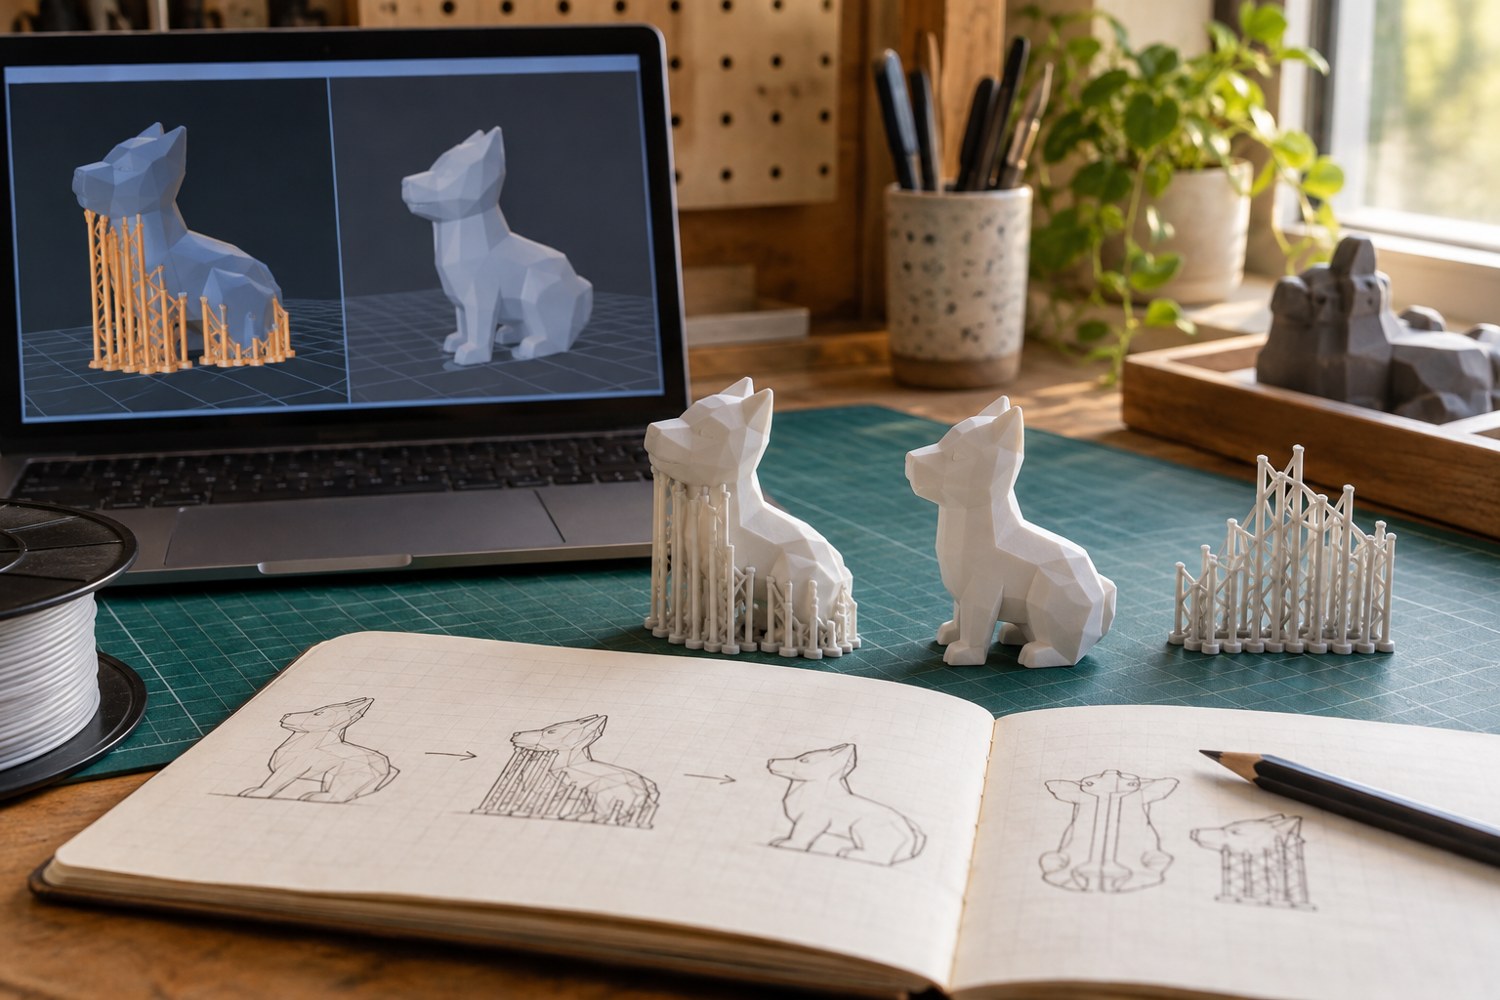
Read articleFind unsupported starts and plan how supports will be removed from the finished object.
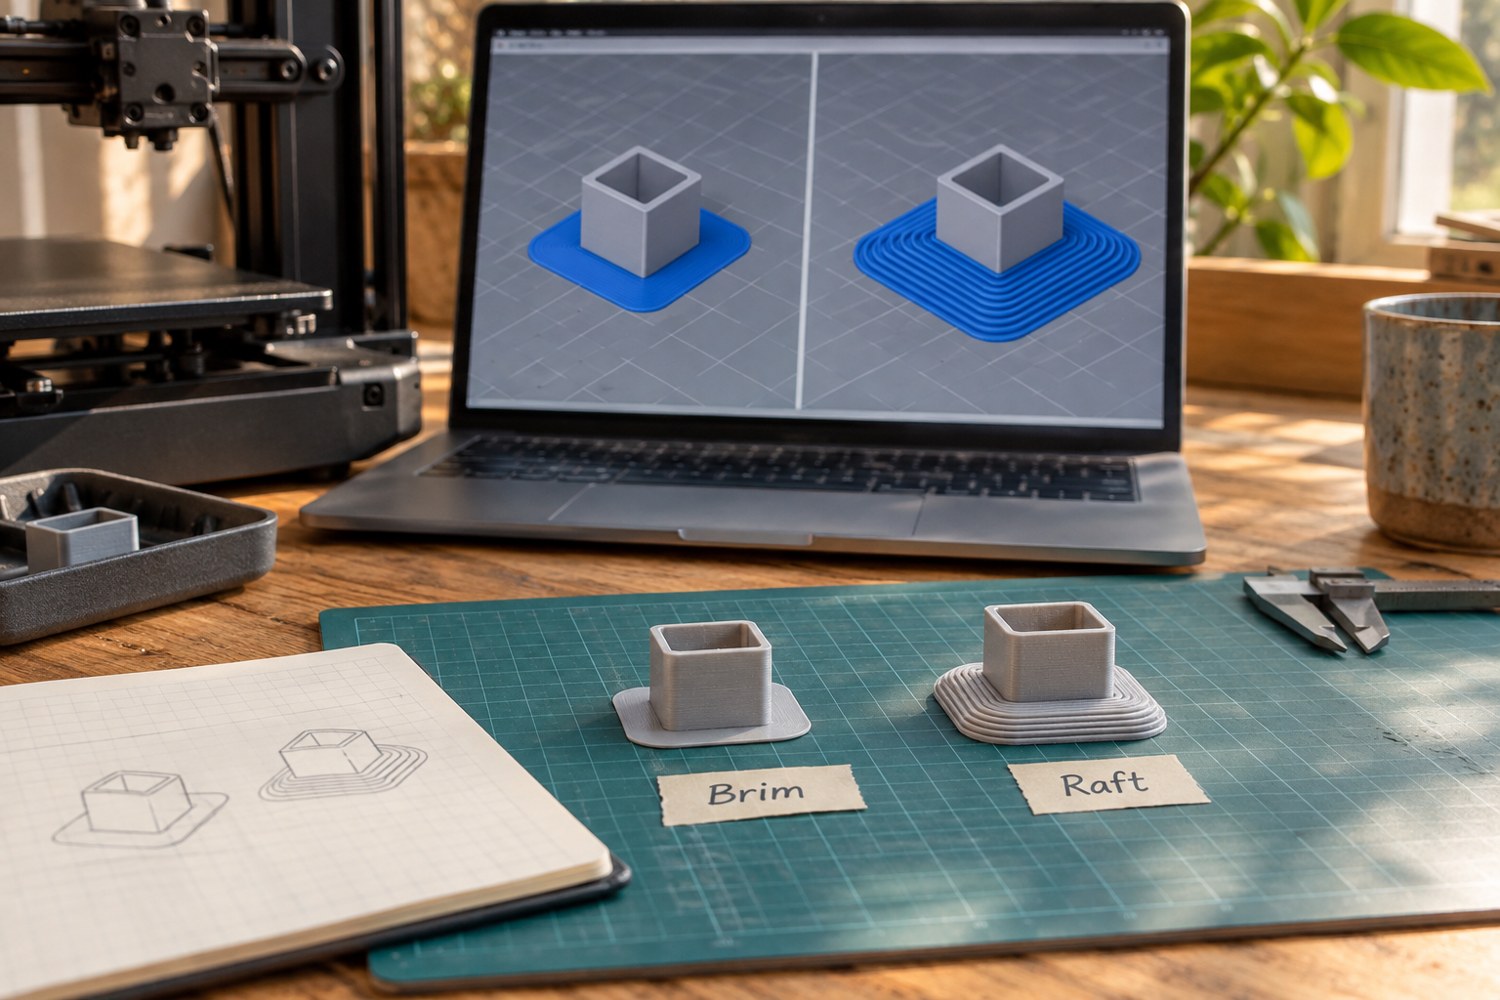
Read articleUnderstand what each temporary foundation changes before adding material under a small print.
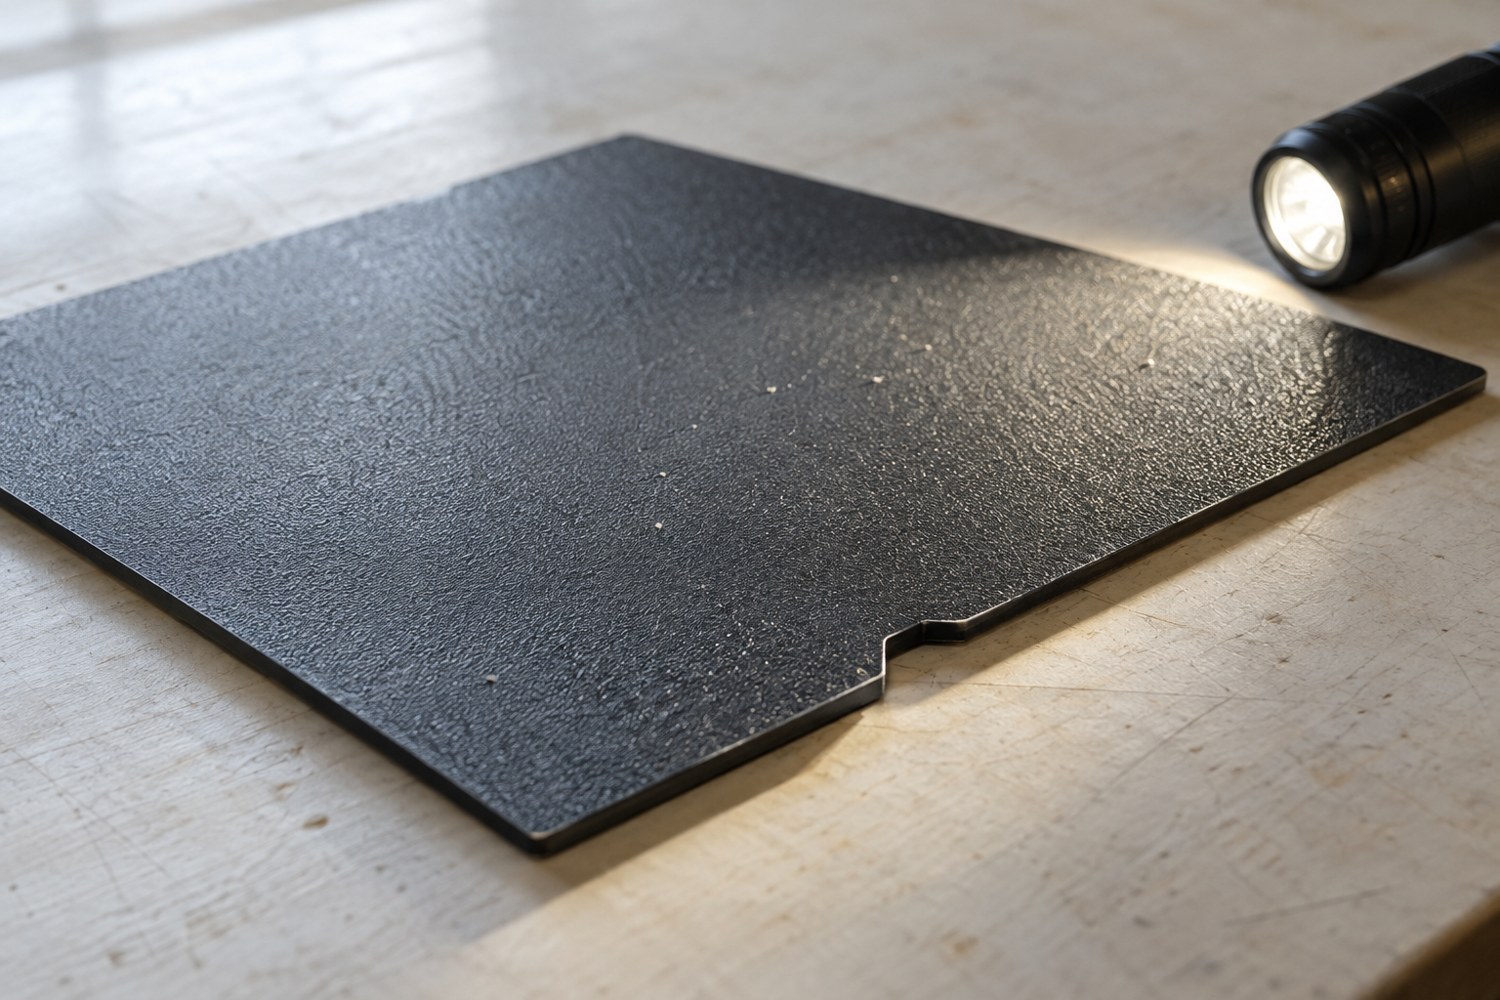
Read articleCheck surface identity, seating and preparation before replacing a spool that may be working normally.
Read articleTurn a failed object into a useful record of where the intended geometry stopped matching the print.
Read articleBuild a material estimate around the final sliced parts, supports and a realistic allowance for revisions.
Read articleSchedule preparation, printing and cleanup as one job that fits the way the workspace is supervised.
Read articleUse the timing and shape of lifting to distinguish an immediate first-layer fault from later distortion.
Read articleMatch nozzle choice to the smallest feature that matters, not simply to the overall model size.
Read articleUse a short section of the real enclosure to check fit, access and finishing allowance.
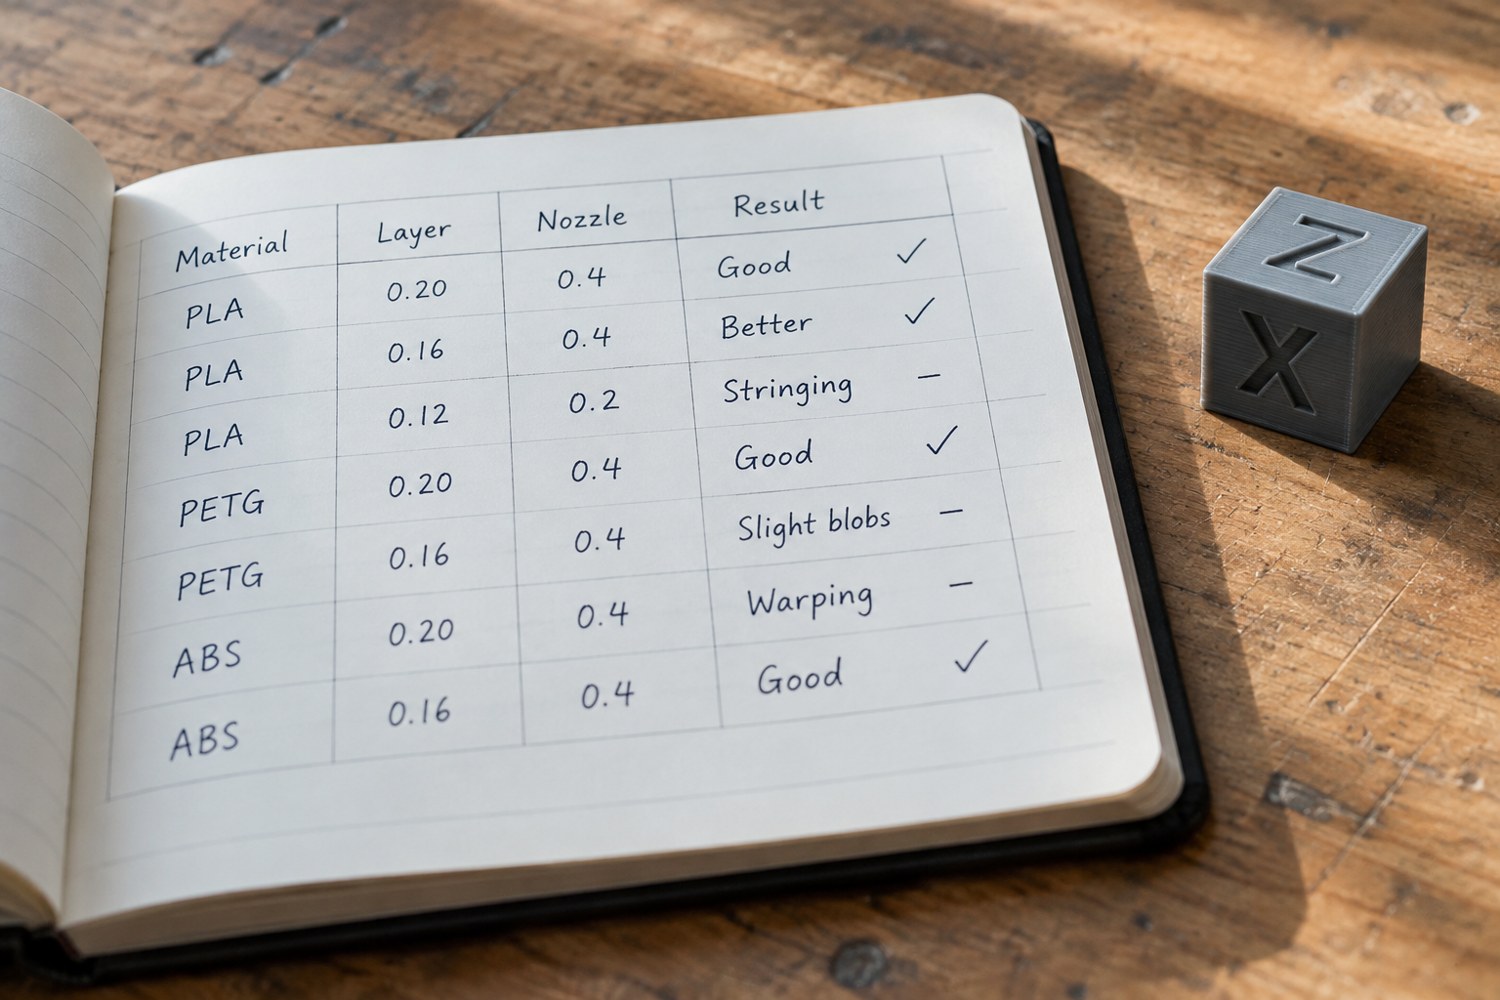
Read articleRecord enough context to reproduce a result without turning each print into a paperwork exercise.
Read articleIdentify separate shells before rearranging a file that may contain a complete assembly.
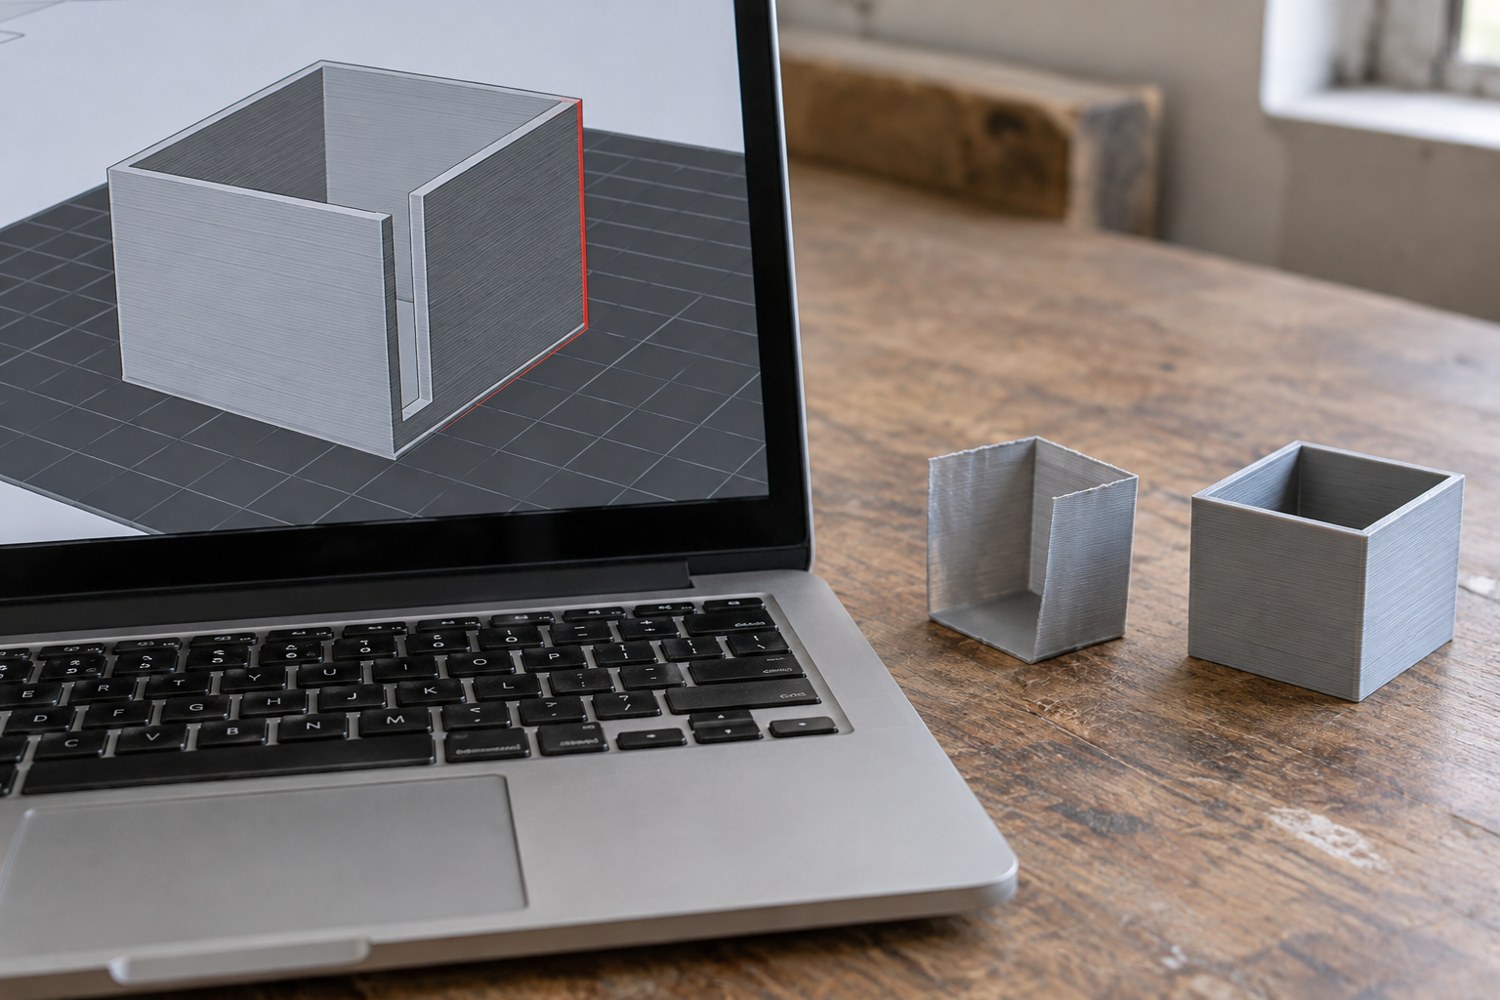
Read articleFind out whether a missing wall comes from scale, geometry or the way toolpaths are generated.
Read articleUse a planned layer change for raised lettering or bands of colour on a compatible printer.
Read articleCompare printing and assembly together before deciding how many pieces a model should have.
Read articleCompare build space, supported materials and ownership tasks alongside a headline speed figure.
Read articleInspect the documented configuration, service history and a representative print before considering a used machine.
Read articleGroup small objects by their printing needs and leave space for the structures the slicer adds.
Read articleUse a stable baseline and a small set of questions to avoid endless, contradictory tuning.
Read articleChoose a process by the finished object's requirements and the complete workspace it needs.
Read articleKeep material identity, opening date and profile information with the spool through storage and use.
Read articleChoose material around handling, shape and finishing rather than treating one polymer as a universal upgrade.
Read articleCheck compatibility, quantity and product identity before comparing filament prices.
Read articlePlan the entire resin route, from unopened bottle to finished part and collected waste, before choosing a desk.
Read articleChoose a few tools for accessible cleanup tasks and keep cutting forces away from delicate features.
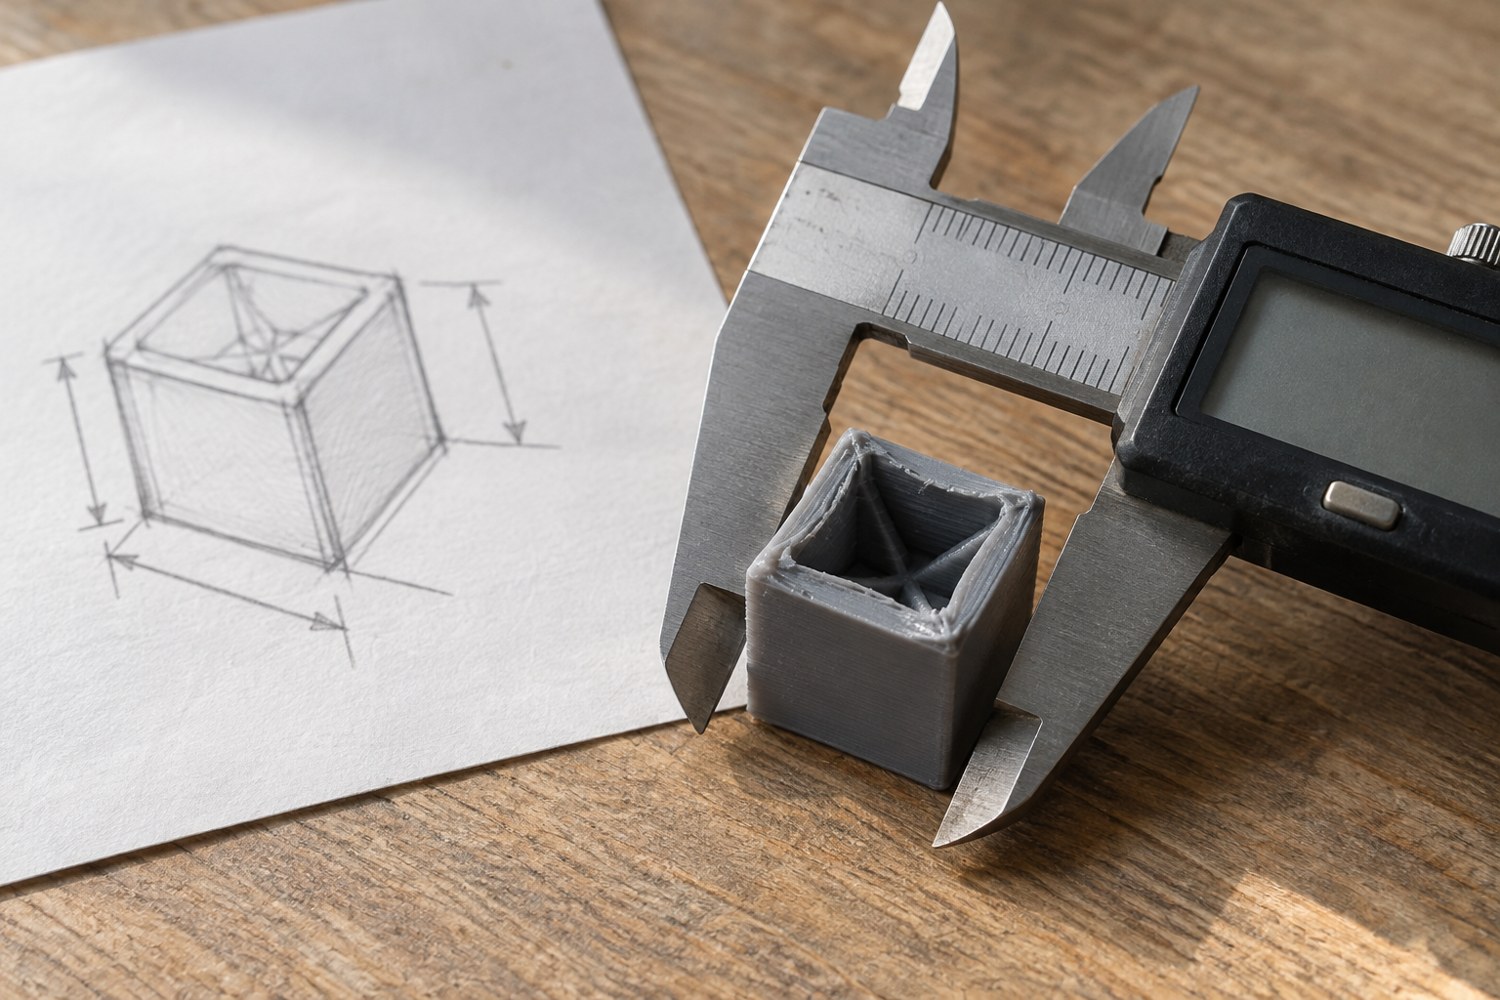
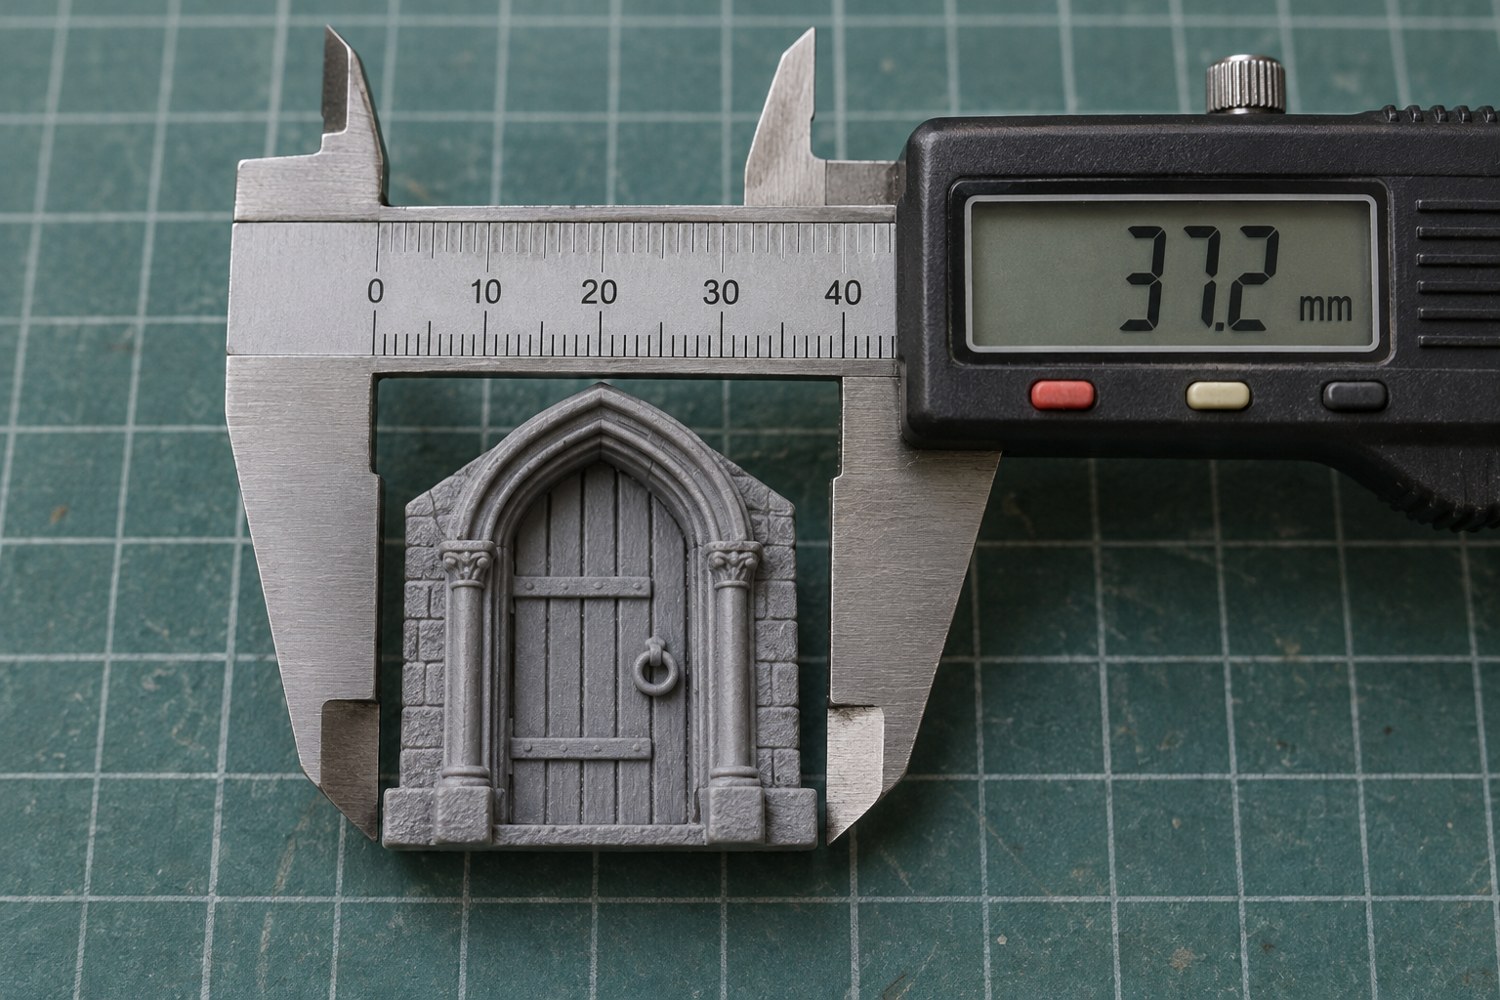
Read articleMeasure the feature you need, repeat the reading and keep measurement separate from design clearance.
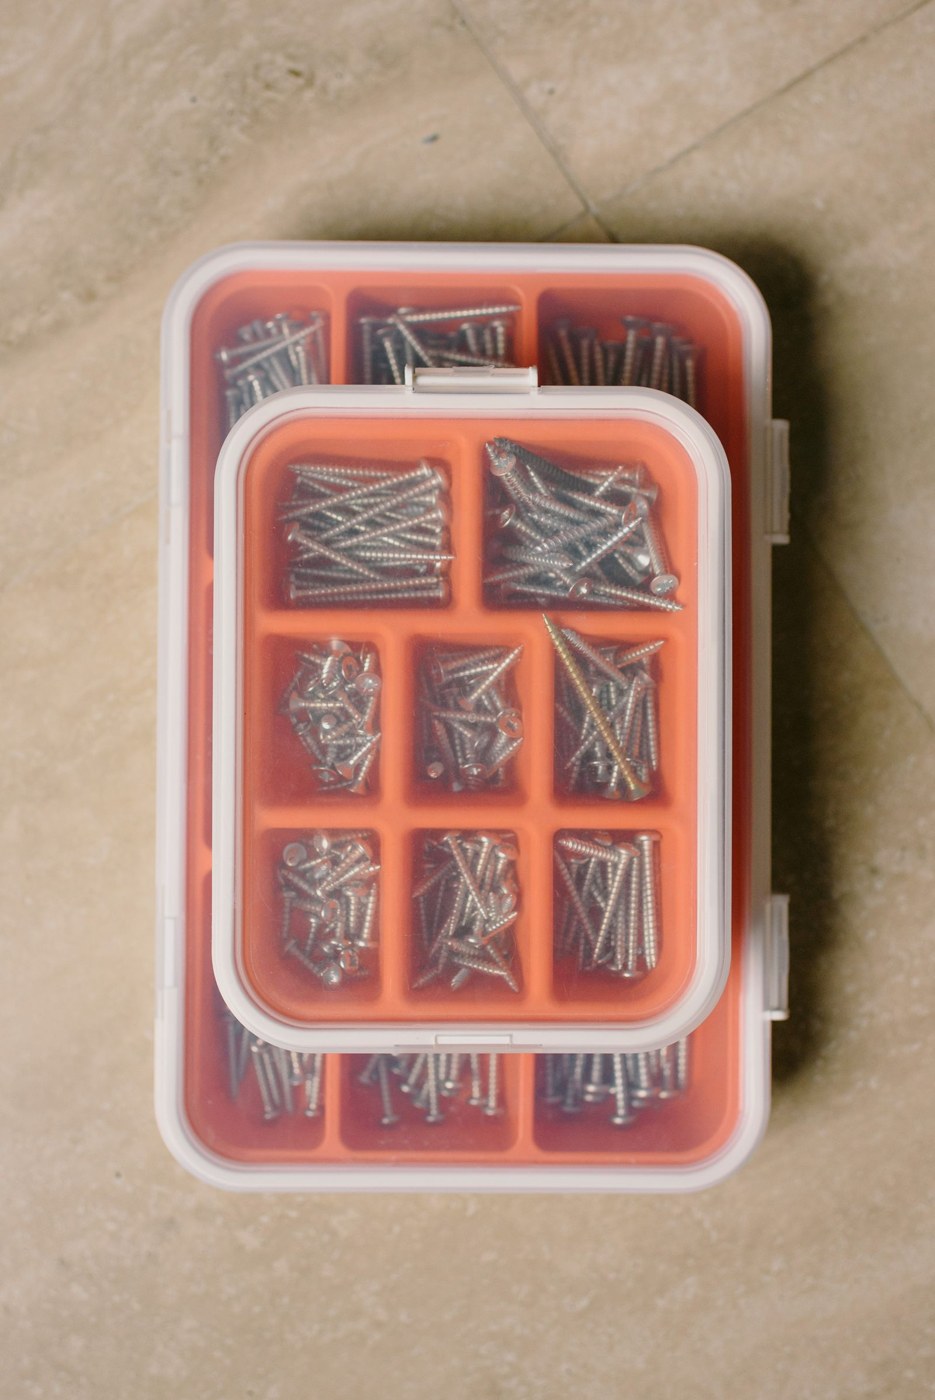
Read articleSort model fasteners by the information needed to select them, not only by appearance.
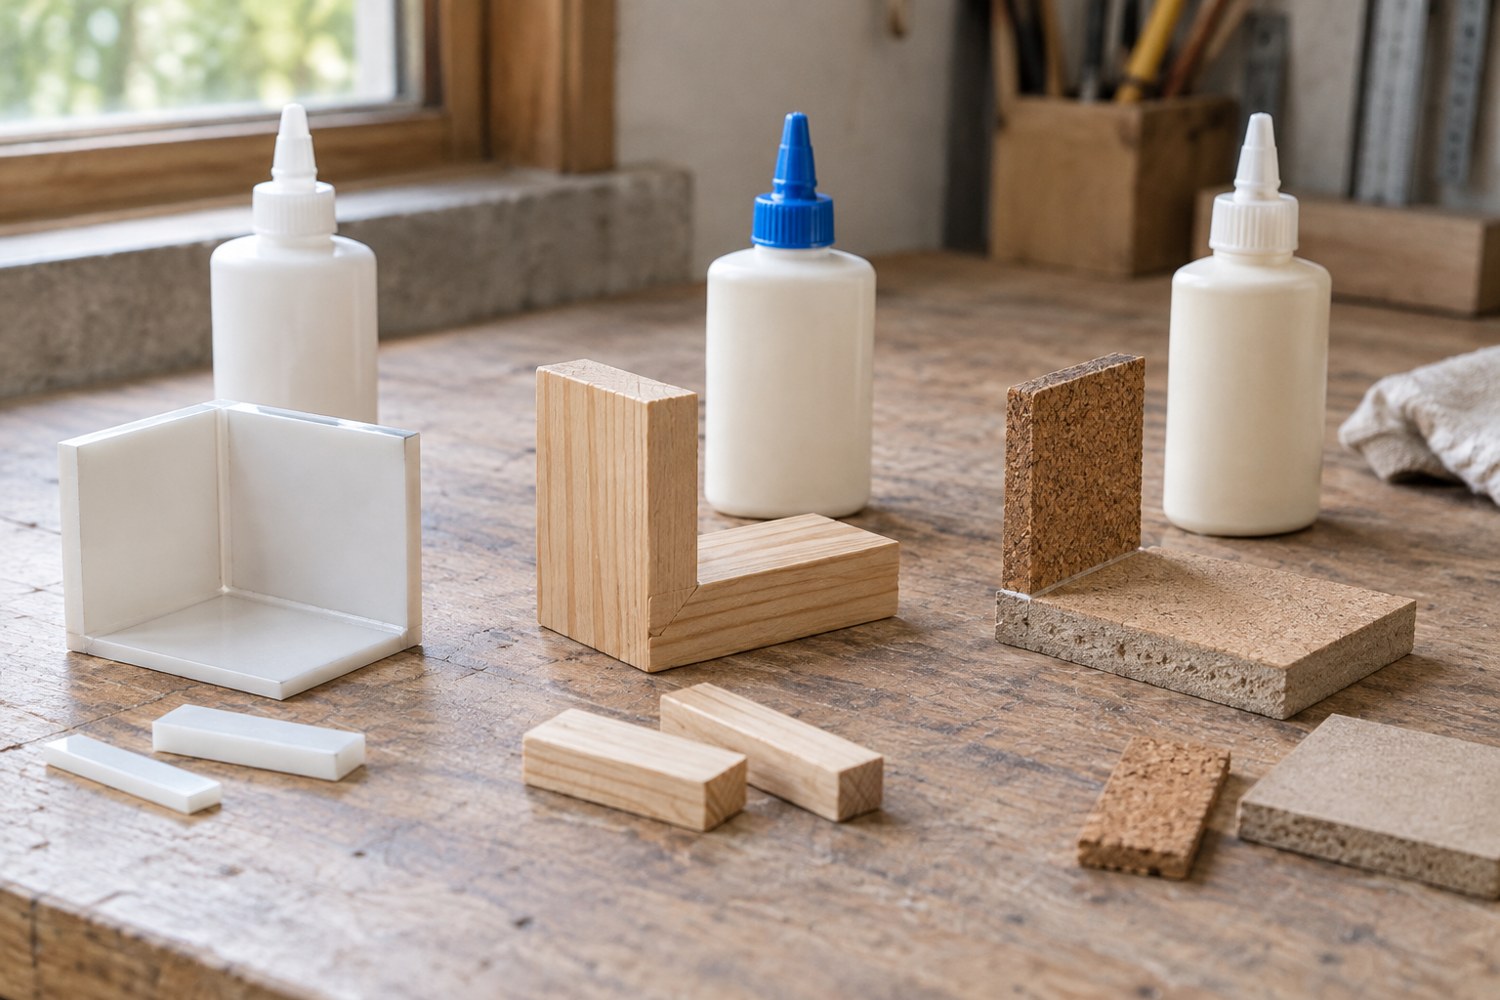
Read articleMatch the adhesive to both surfaces and test the complete joint before committing to the model.
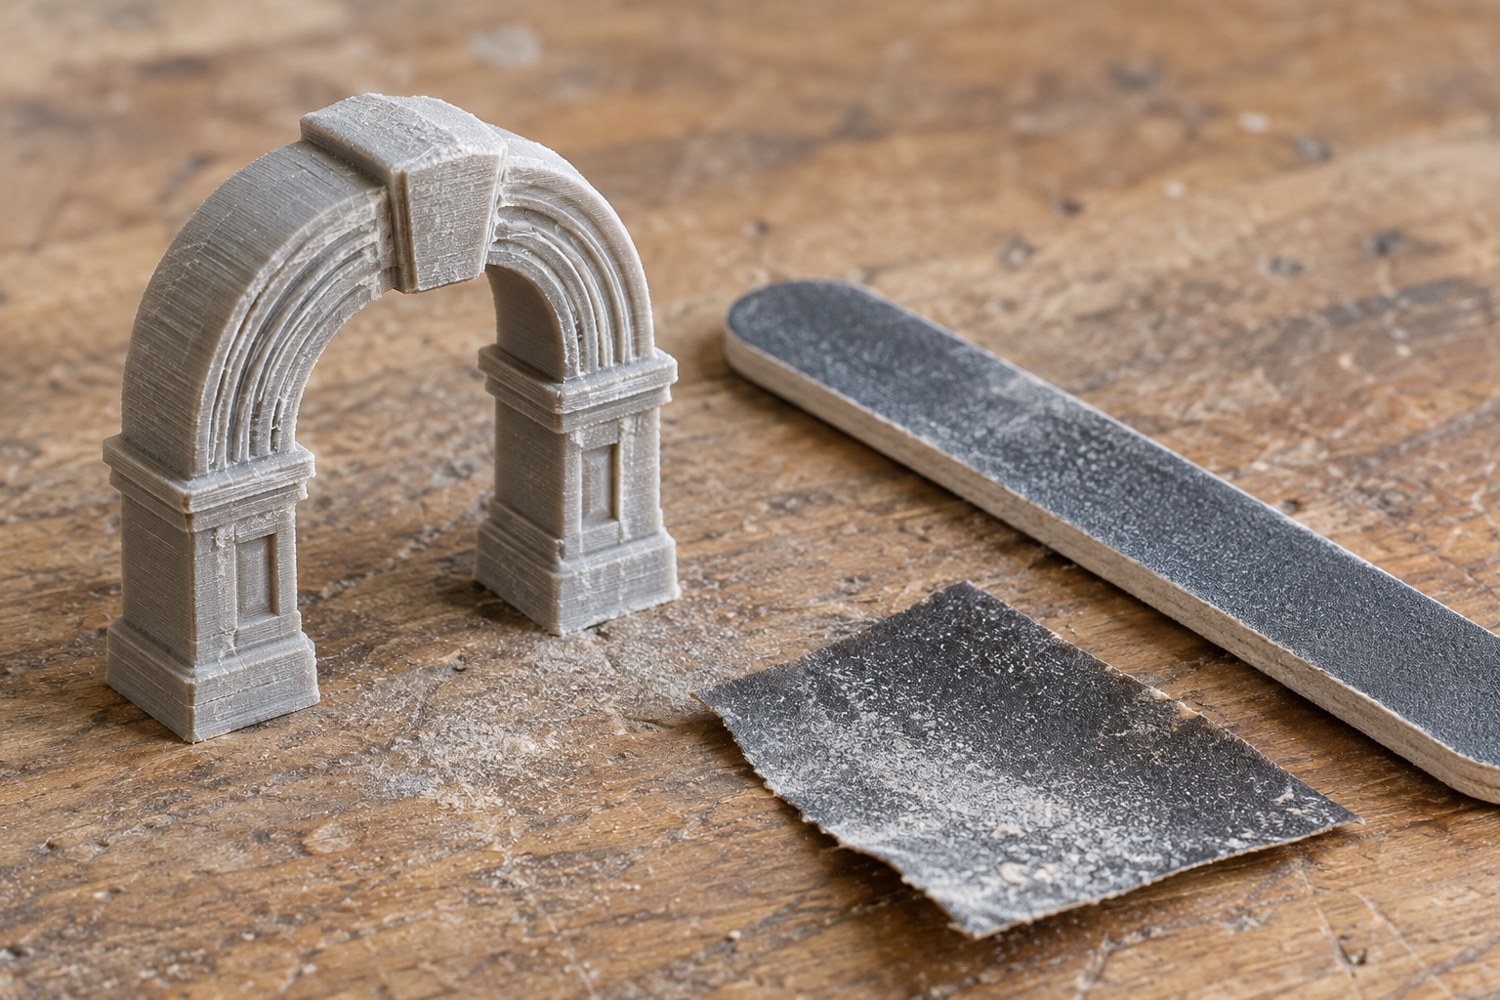
Read articlePreserve deliberate edges while removing only the surface marks that interfere with the finish.
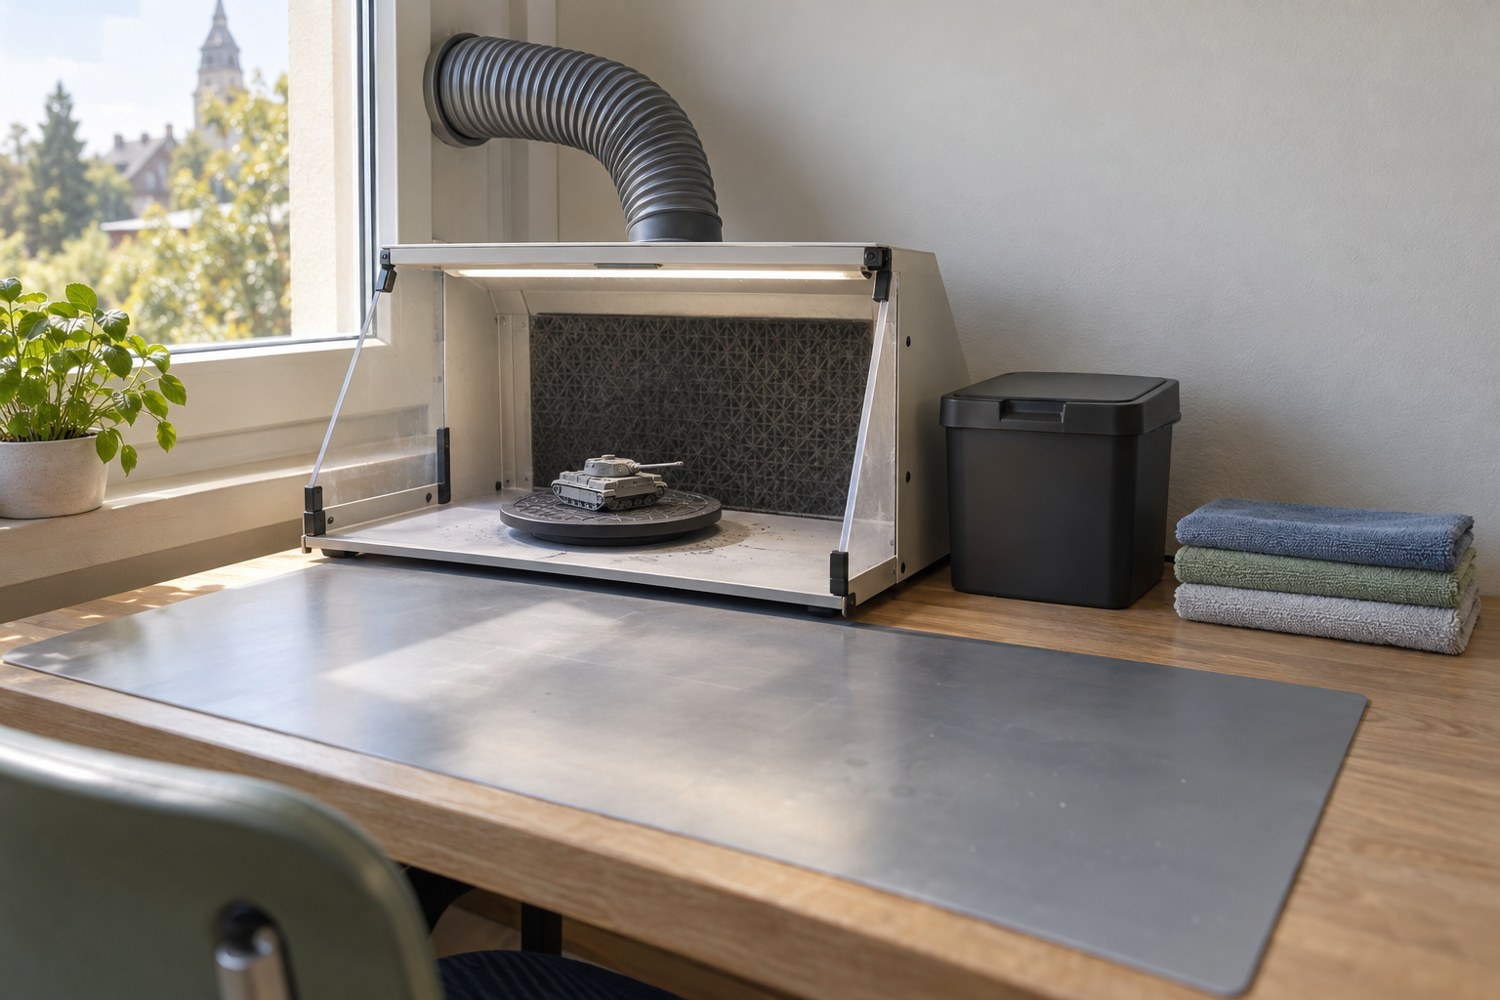
Read articleGive mixing, testing and cleanup separate places so colours remain identifiable through a painting session.
Read articleChoose a mat that fits the cutting task and leaves enough supported space around the model.
Read articleKeep colour recipes, application order and dried samples together for a terrain set painted over several sessions.
Read articleUse a small material sample to examine the features and finish your project actually needs.
Read articleTreat washing, drying and curing as distinct documented stages rather than one generic cleanup step.
Read articleLay out printing, dusty work and chemical handling around the controls each task requires.
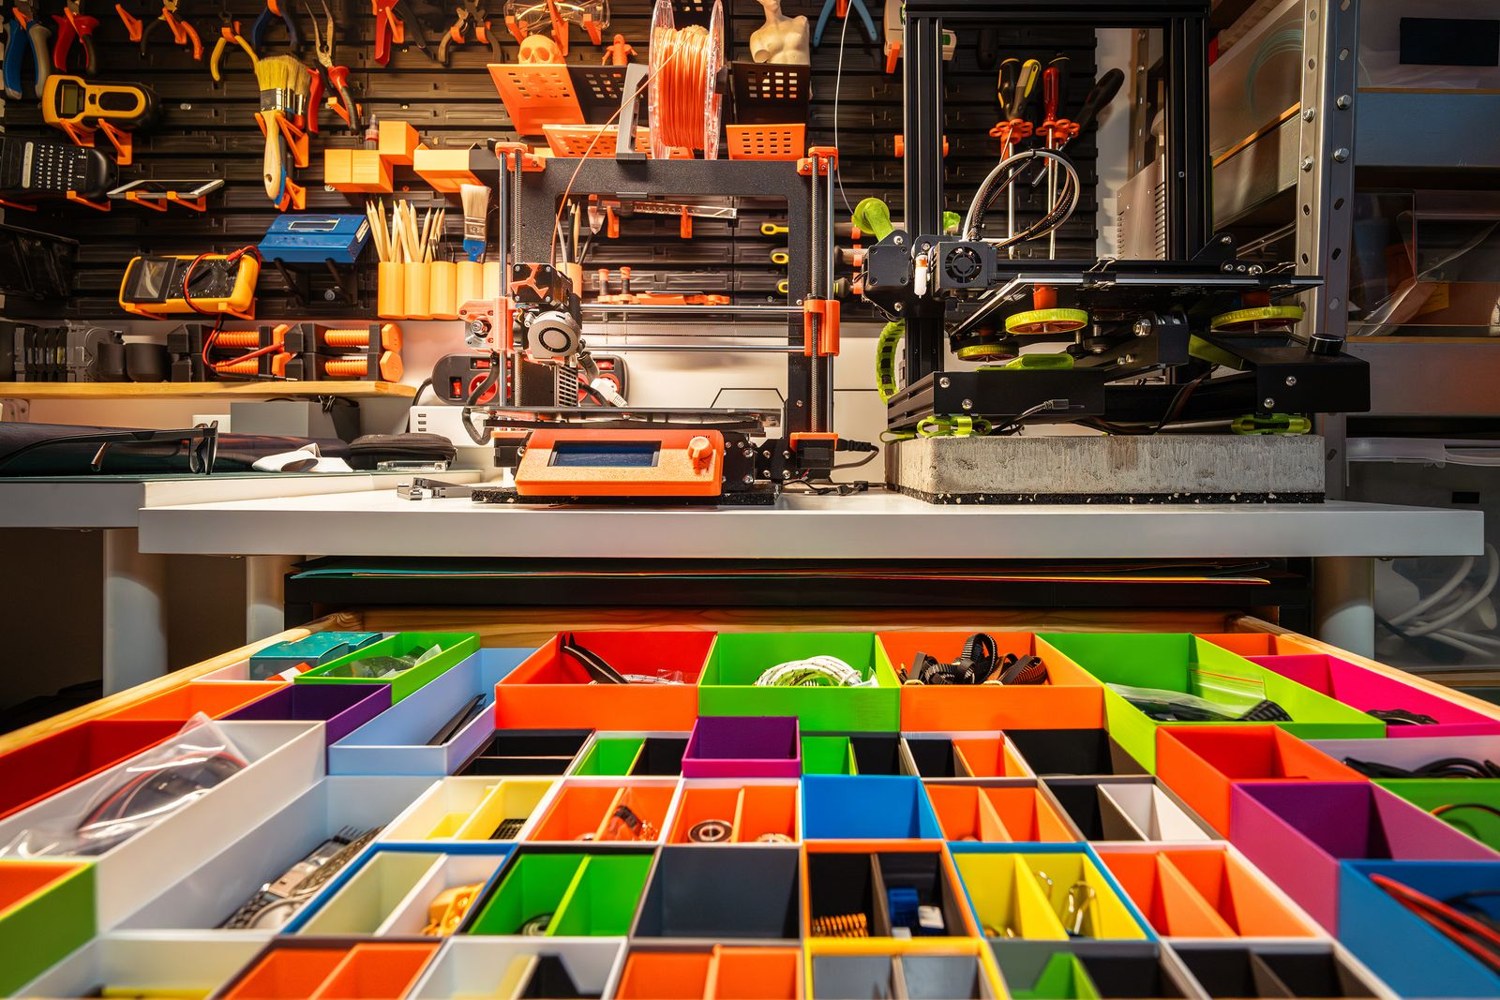
Read articleStore work in progress so the next session begins with identifiable parts and a clear remaining task.
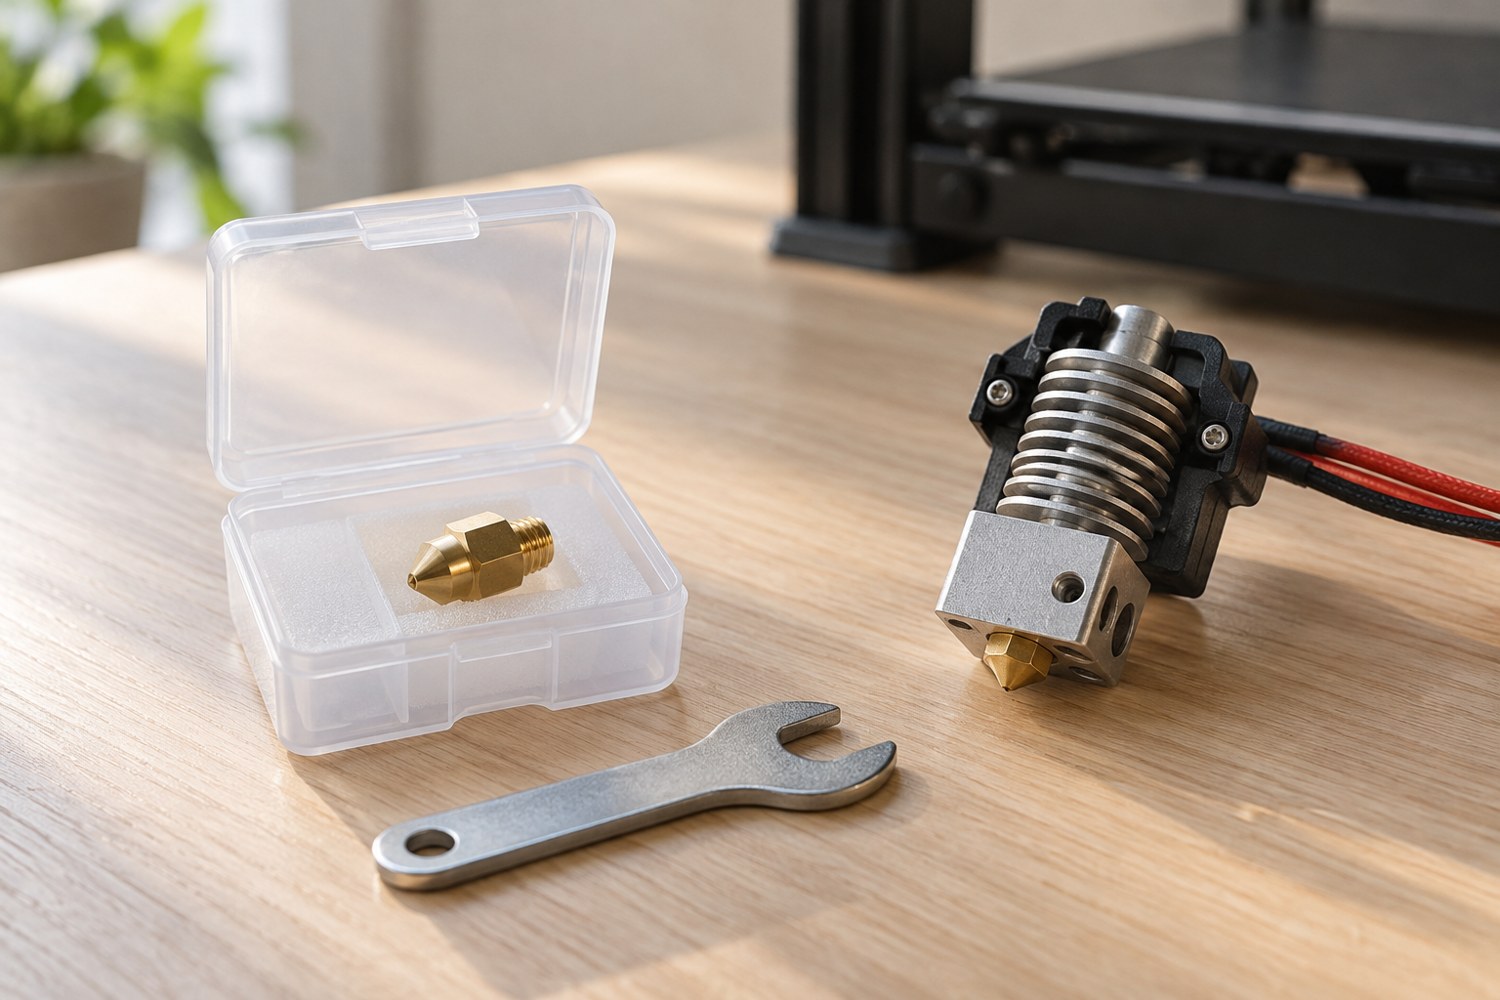
Read articleKeep a spare nozzle when it matches a documented need and the exact hotend configuration.
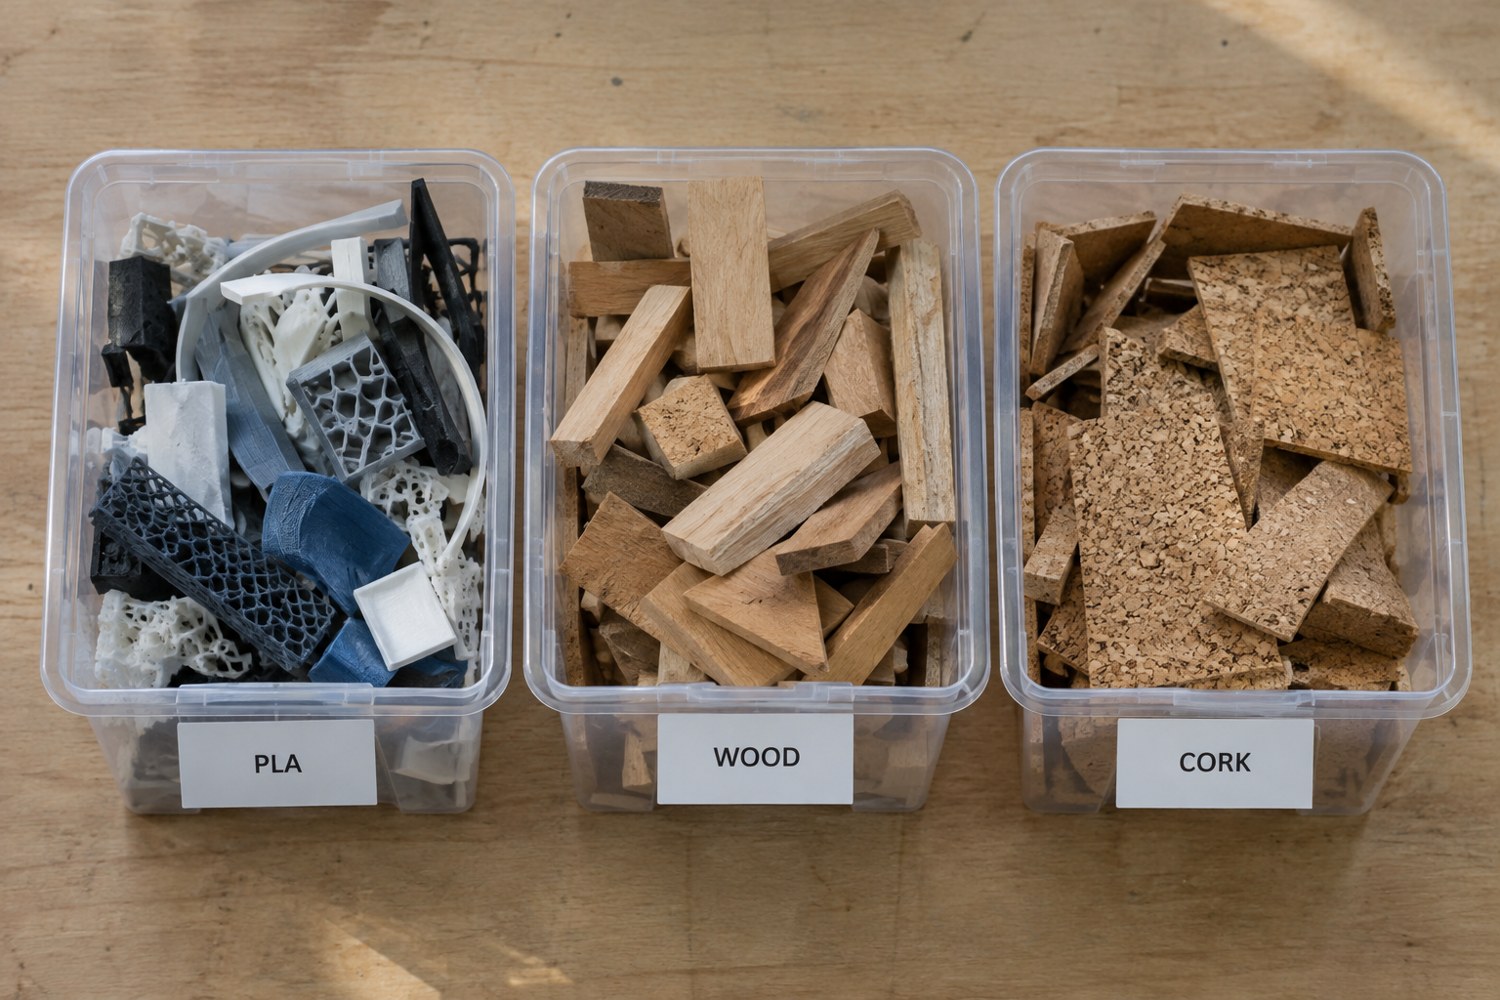
Read articlePut identity, process stage and cautions on the box so mixed materials do not become anonymous parts.
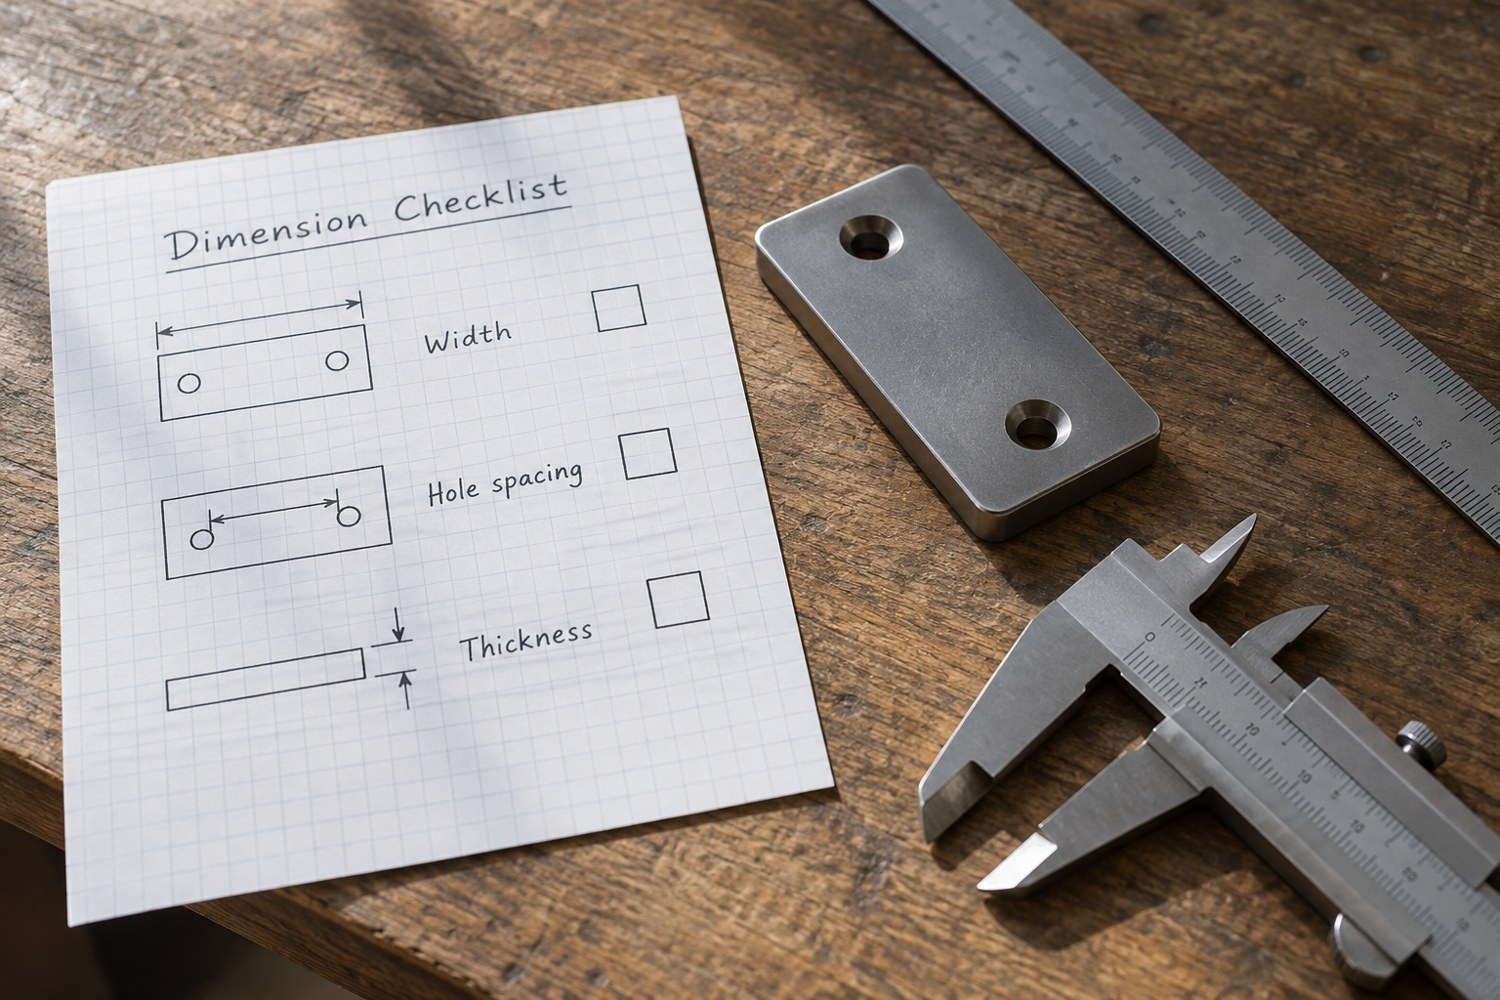
Read articleBuild a short dimensional brief before adding bevels, textures or decorative features. It gives every later modelling decision a reference.
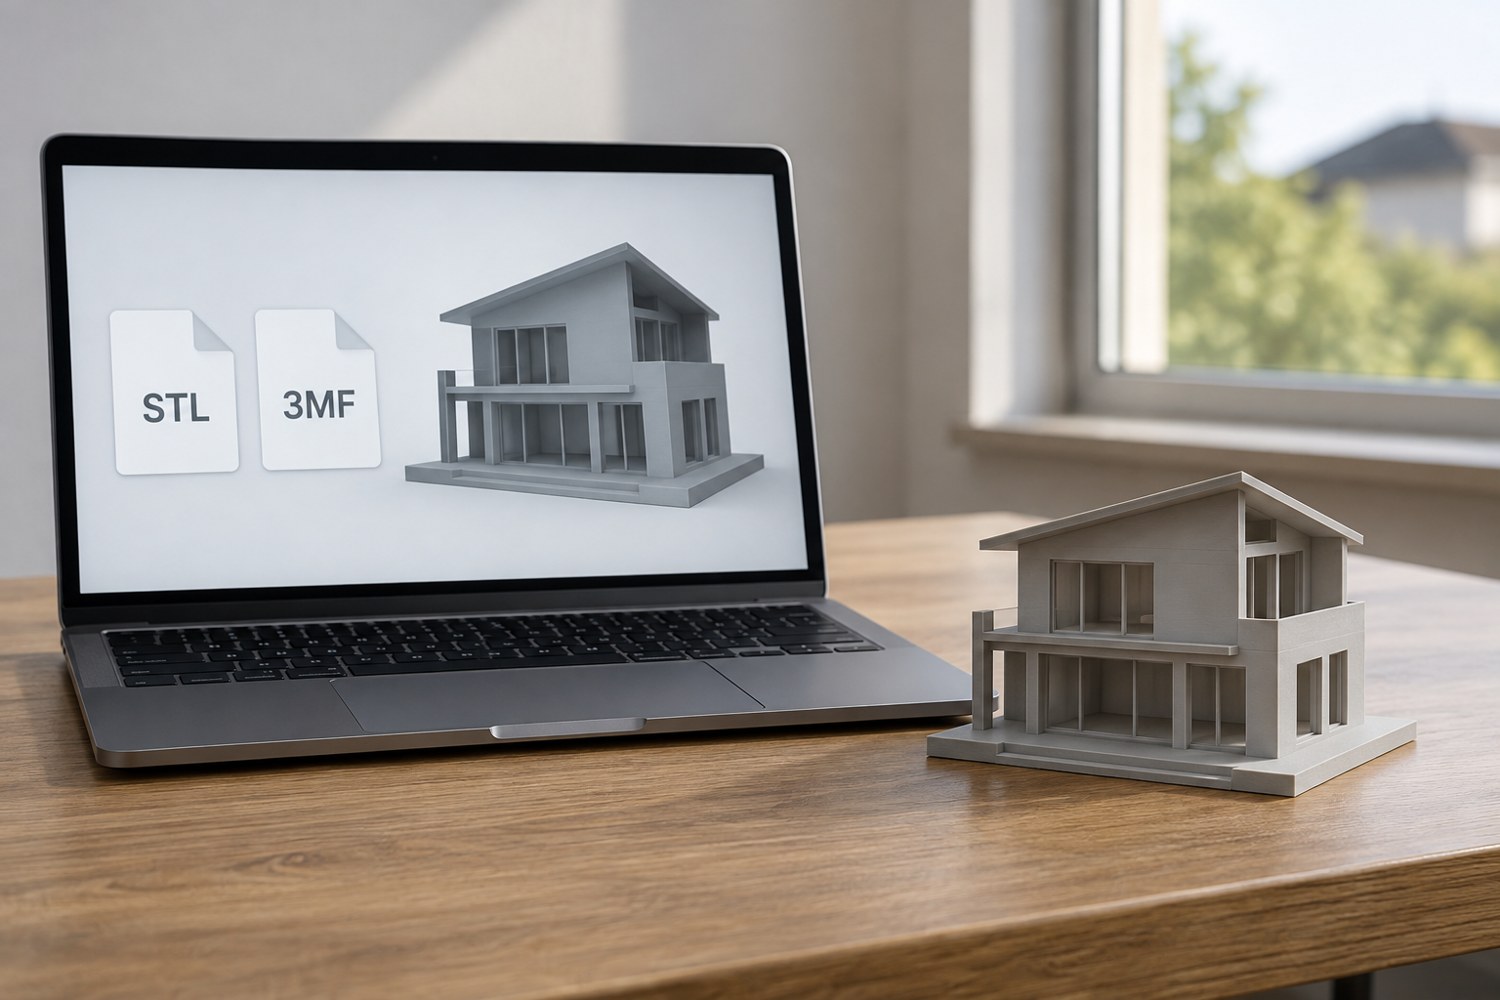
Read articleAn STL mesh and a saved 3MF project can carry different information. Decide what a recipient needs before choosing the file to send.
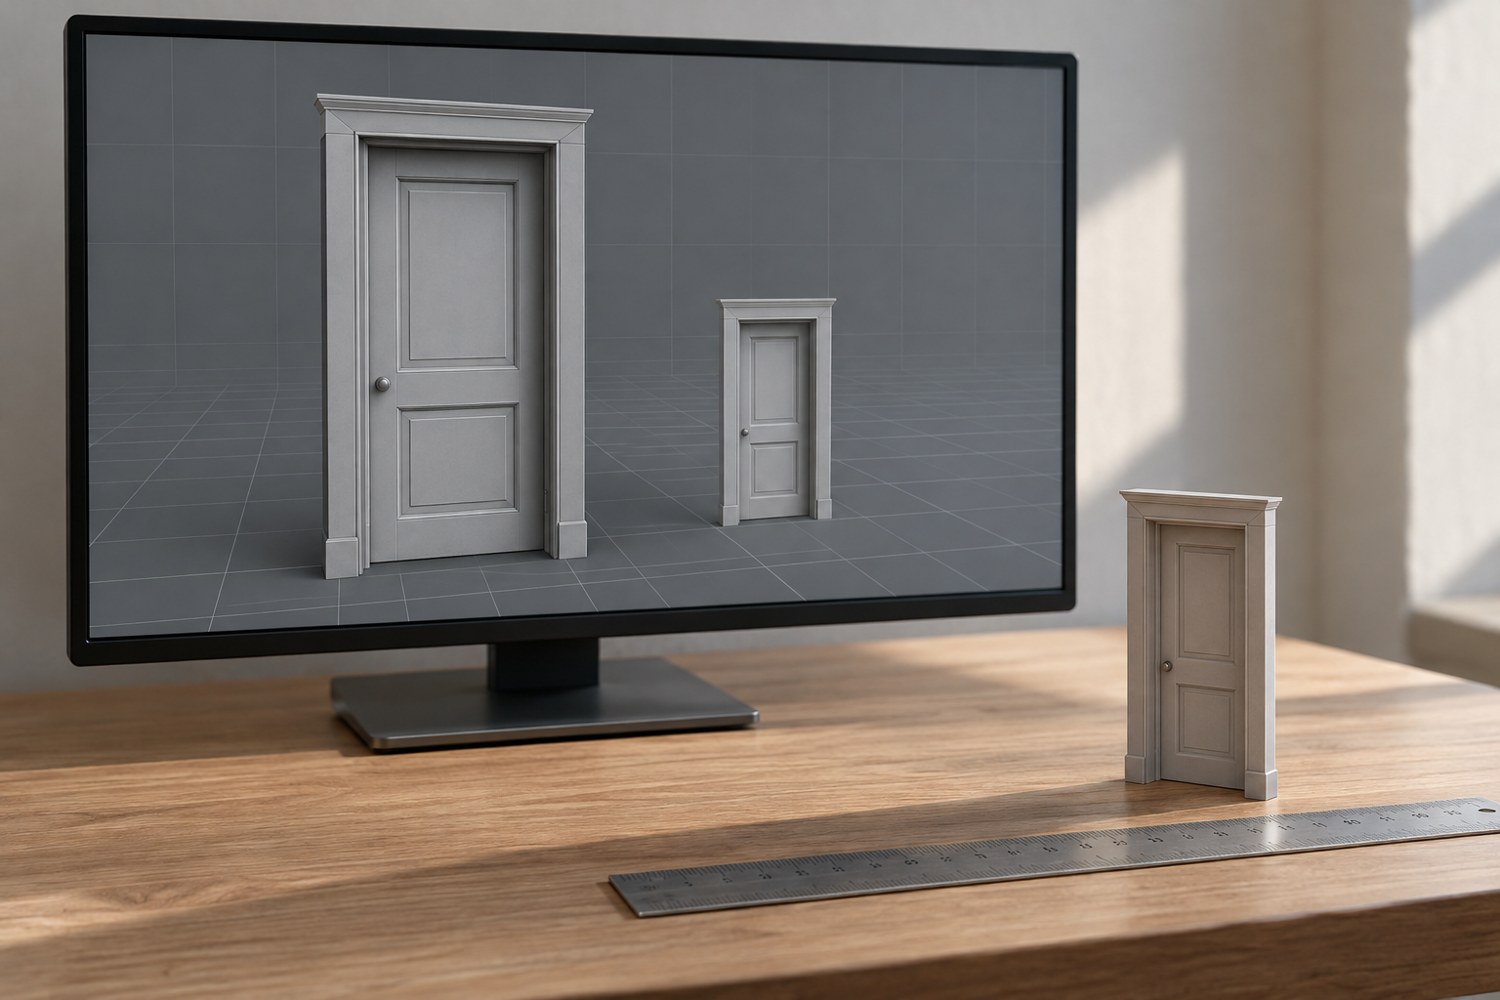
Read articleUse a known dimension to check an imported model before judging its proportions or preparing it for printing.
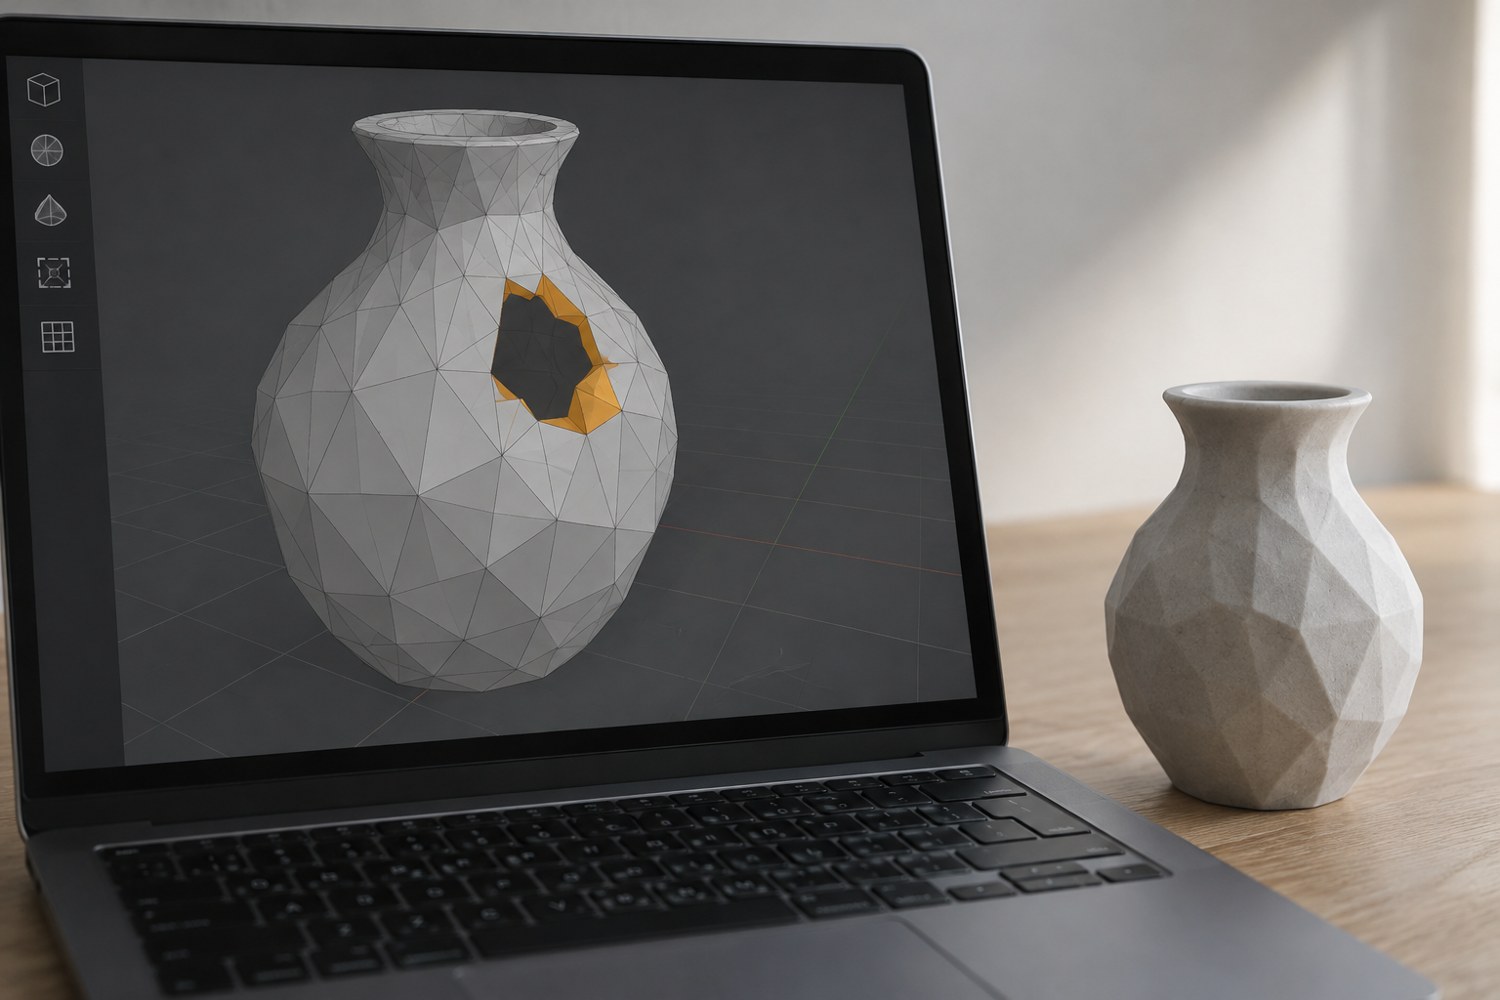
Read articleA repair command should answer a diagnosed mesh problem. Preserve the original and compare the result before accepting automatic changes.
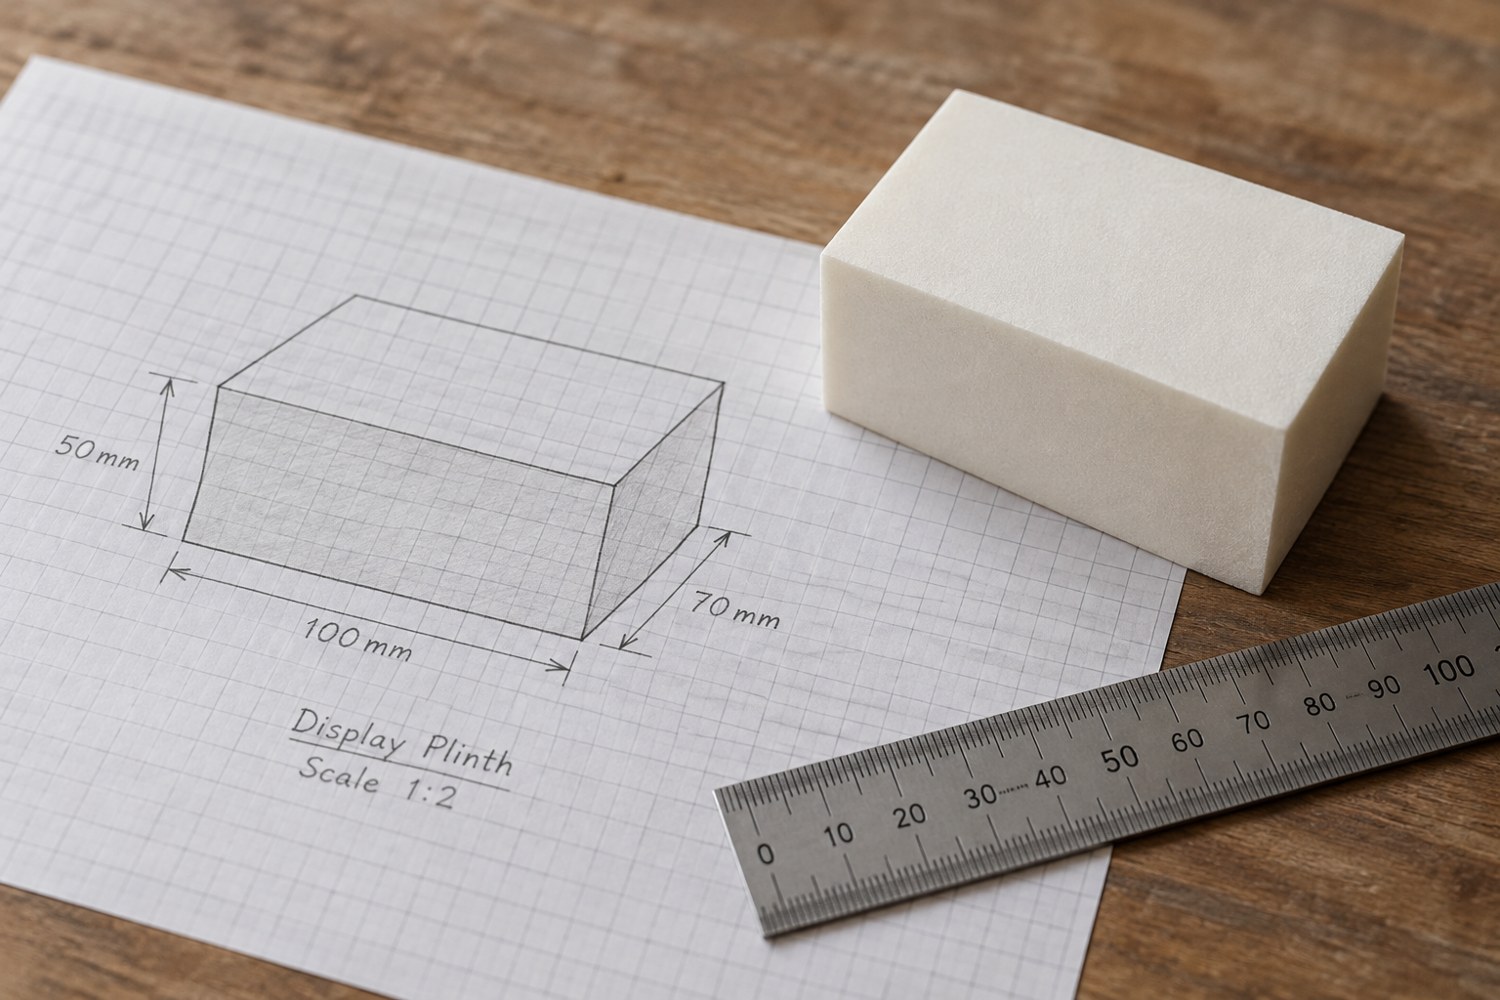
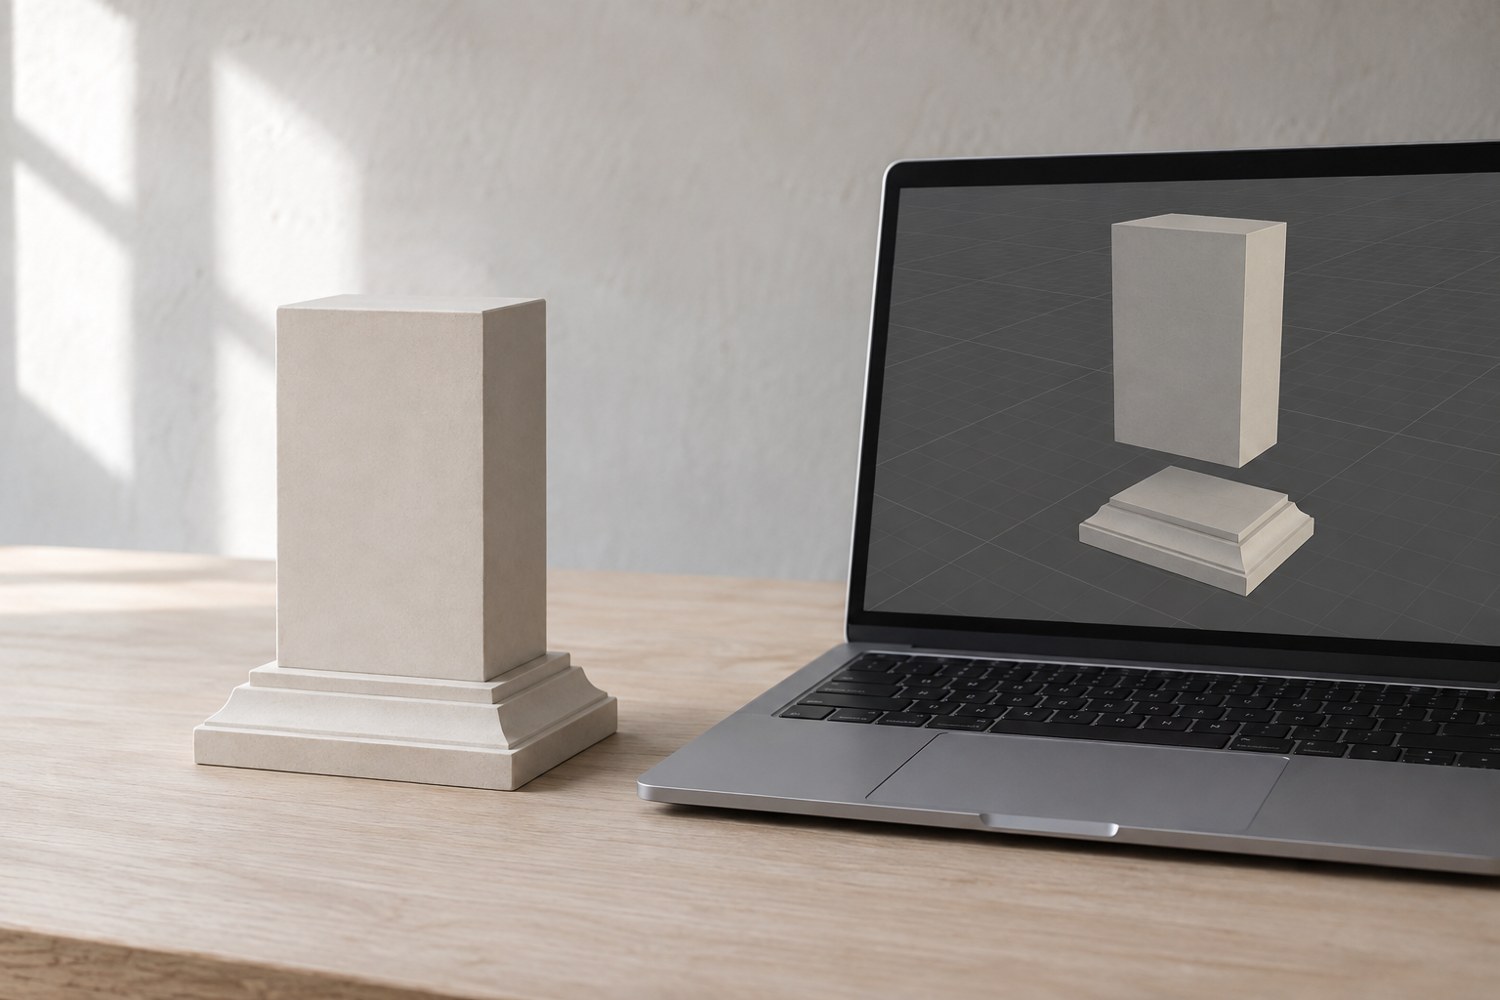
Read articleMake a display plinth around the object it supports, the viewing angle and the available shelf space before adding decorative edges.
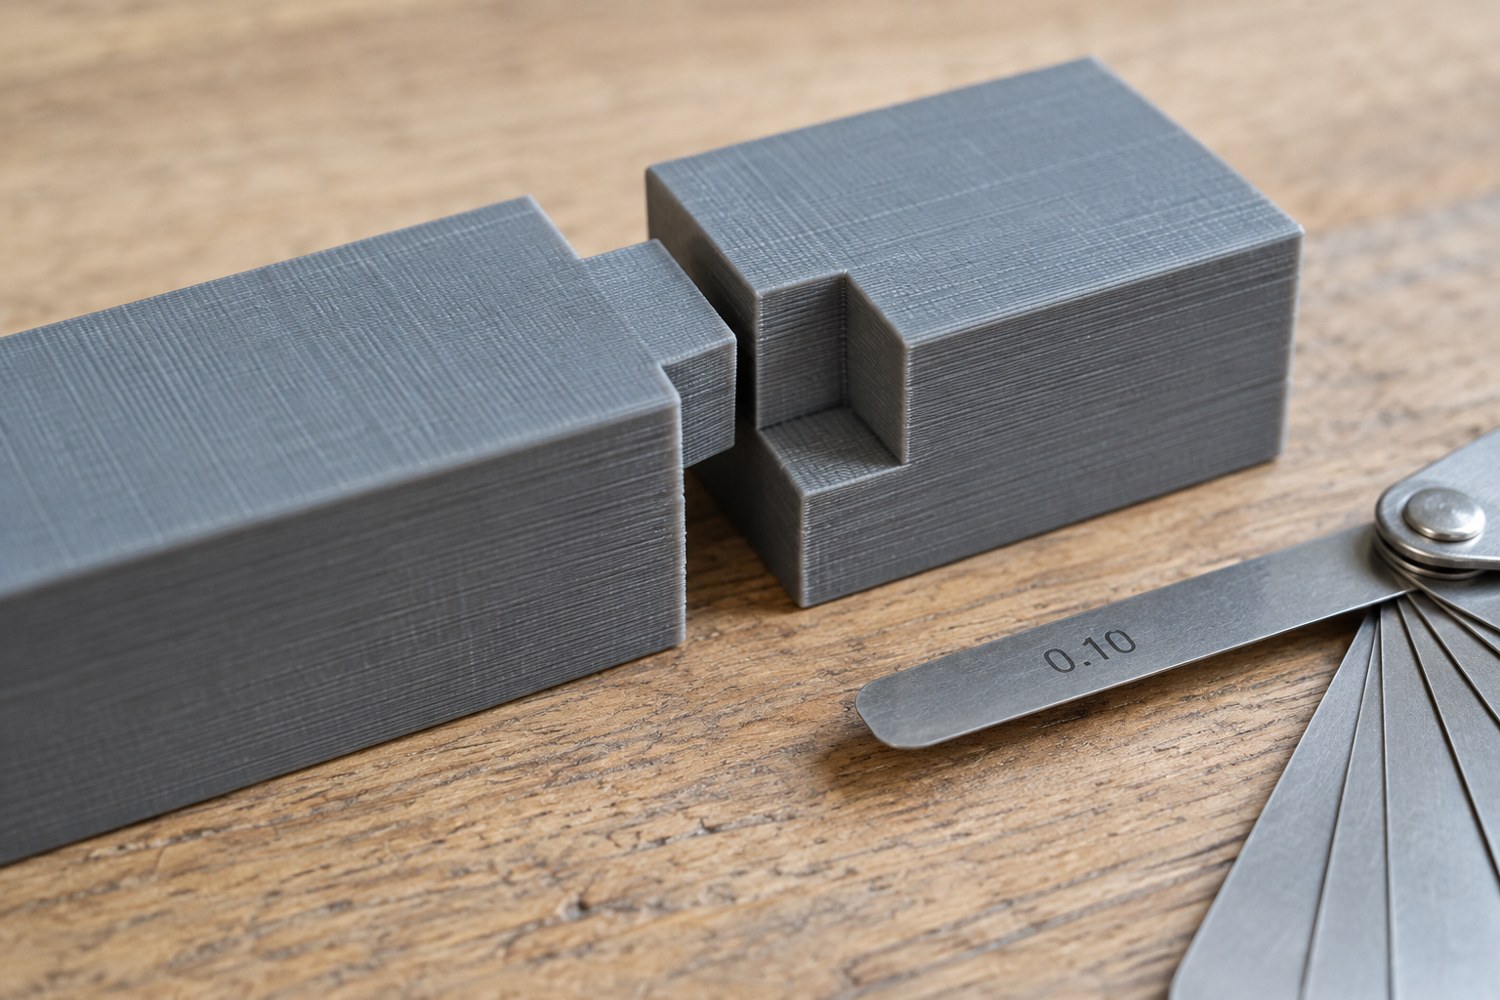
Read articleTreat clearance as a relationship between two surfaces, then test that relationship in the same orientation and material as the finished parts.
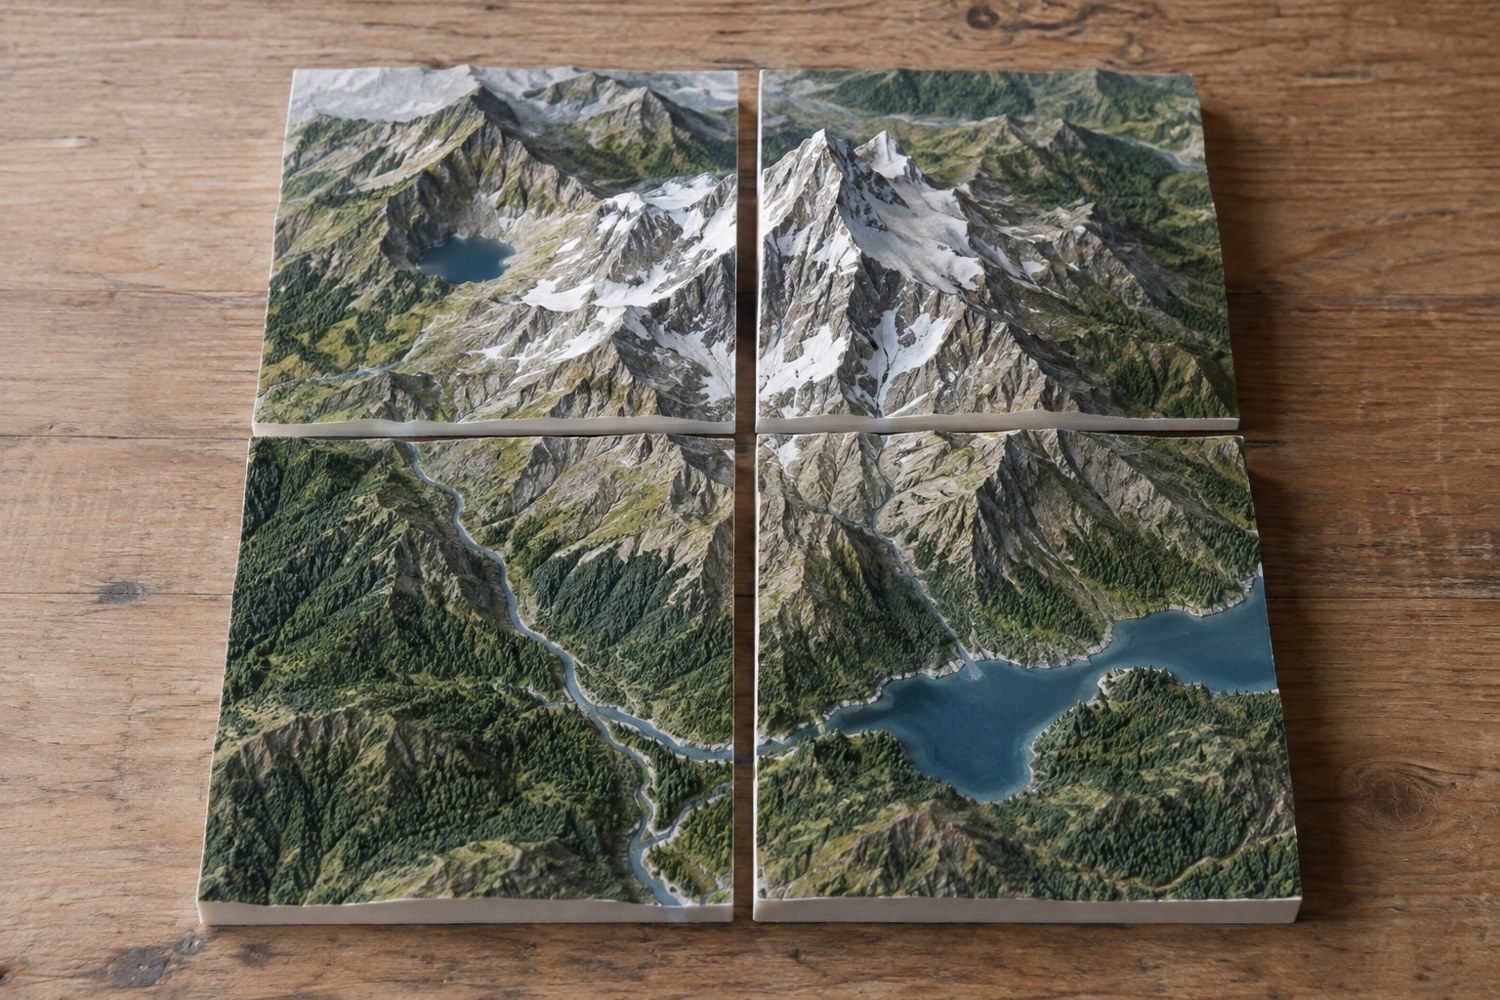
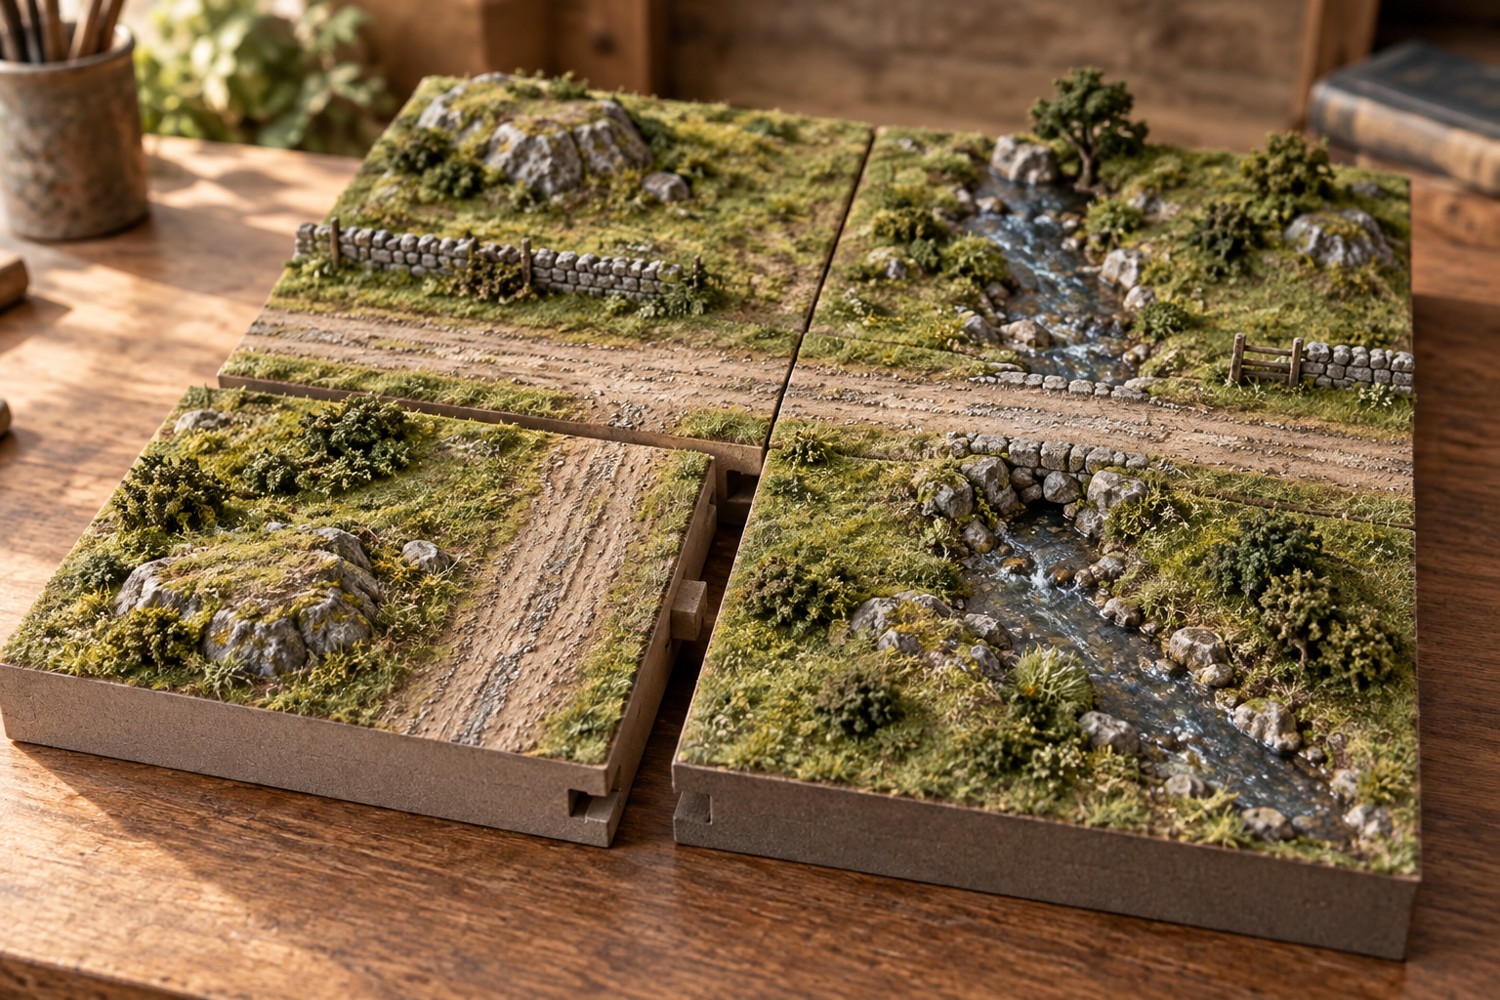
Read articleChoose tile boundaries for assembly, appearance and handling, then verify that every exported piece retains its place in the landscape.
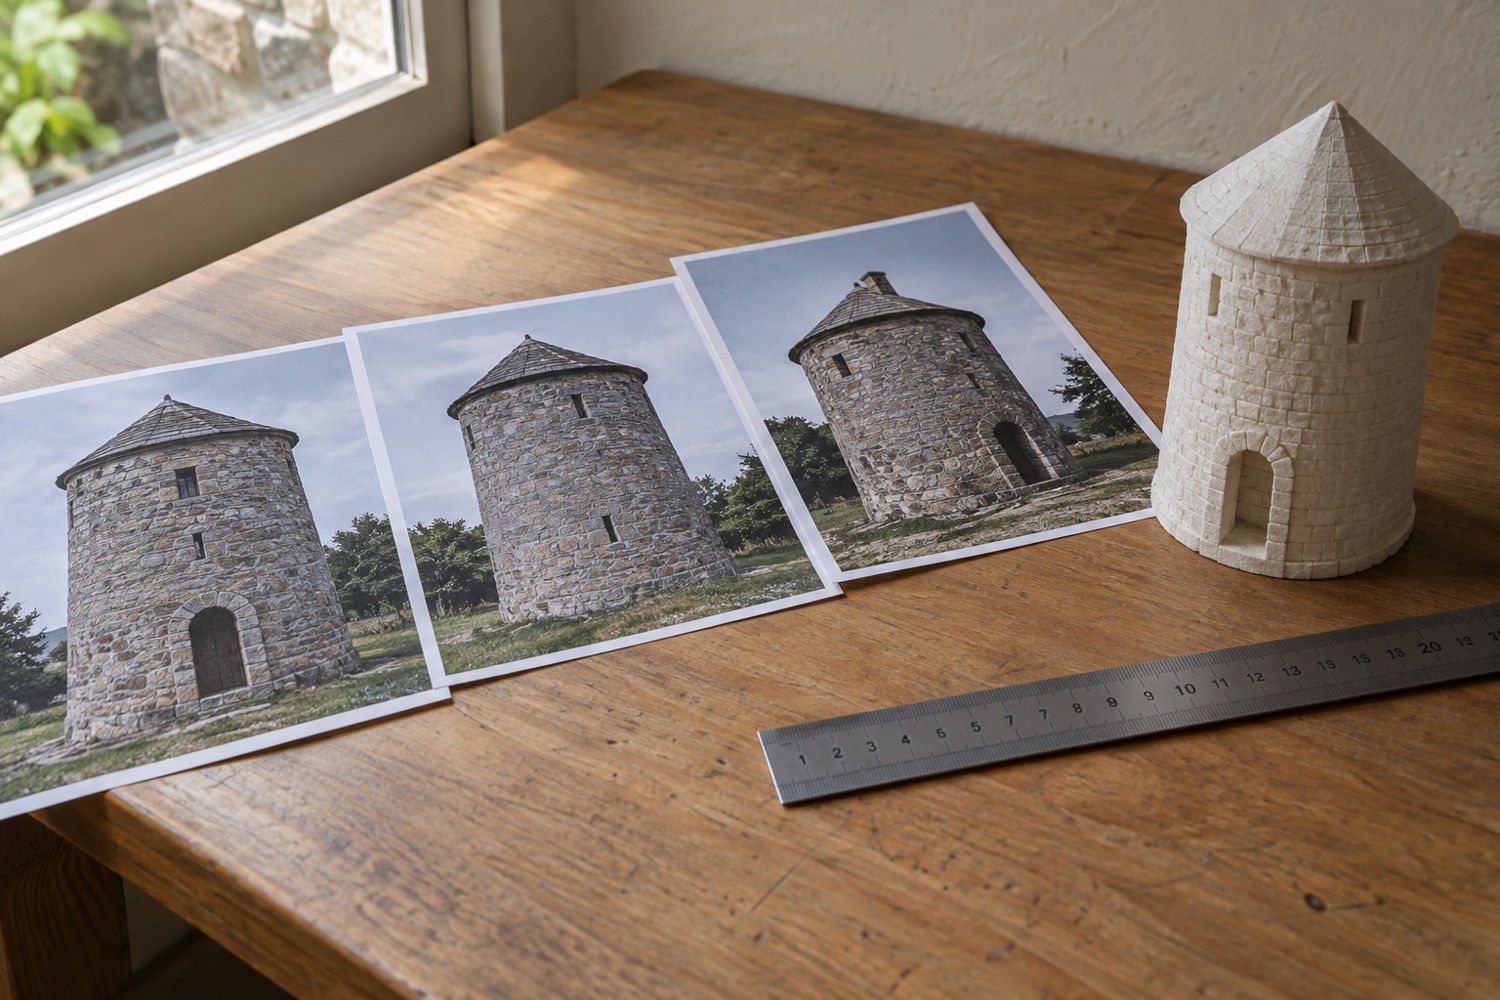
Read articleA reference photograph describes a view, not a ready-made set of dimensions. Separate visible shape from perspective before tracing it.
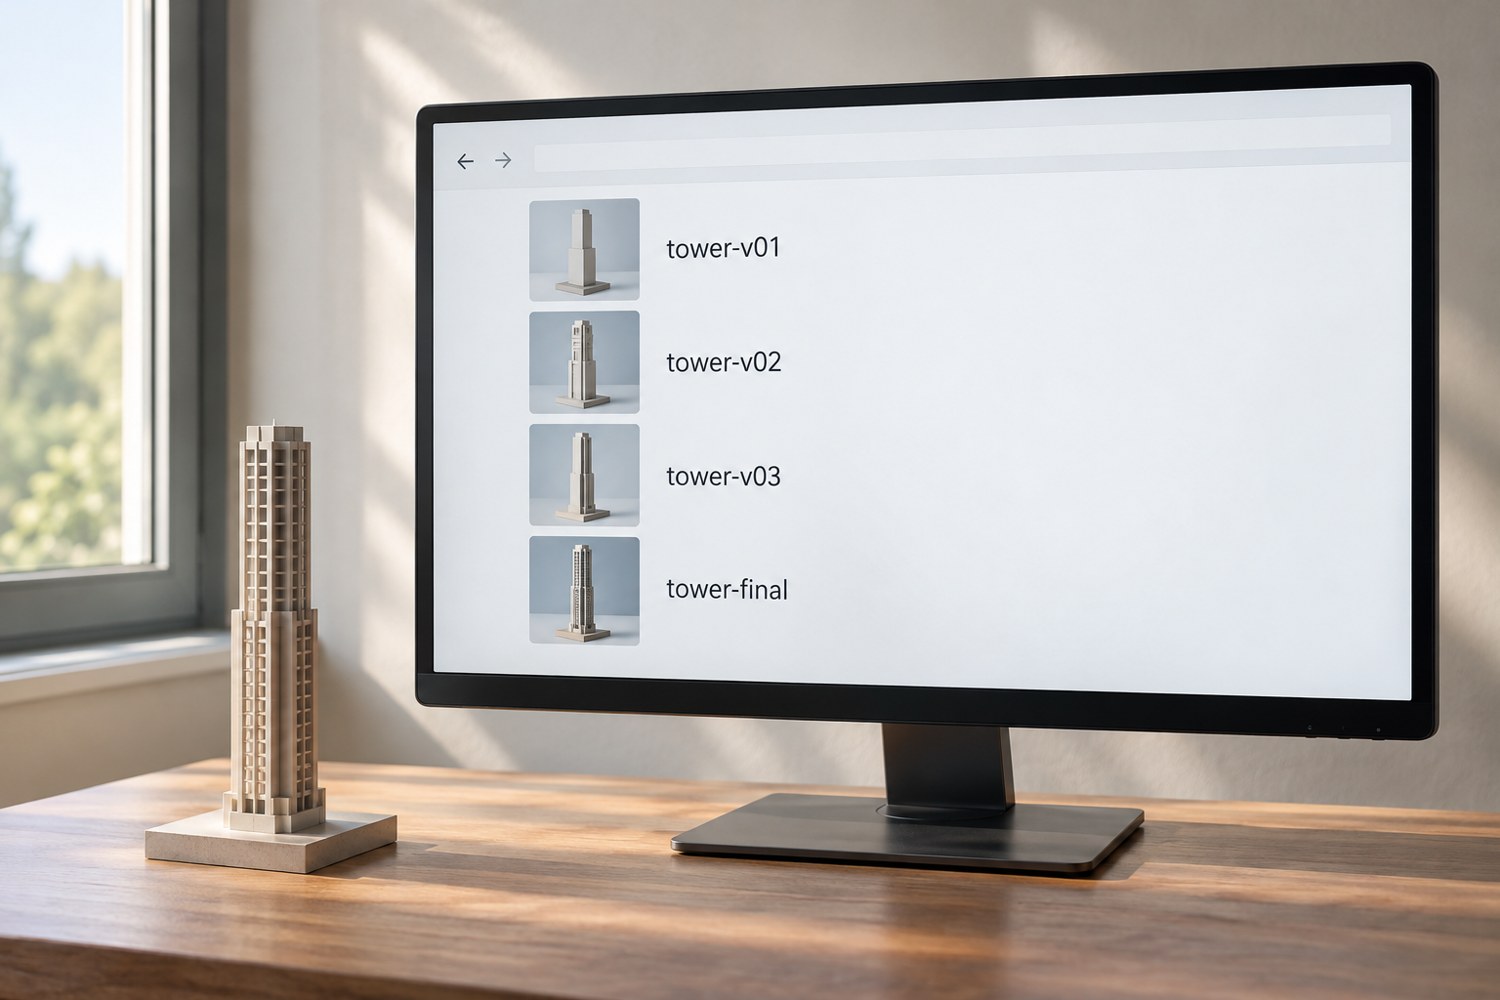
Read articleA small naming system makes it possible to connect an exported mesh, a test print and the editable model that produced them.
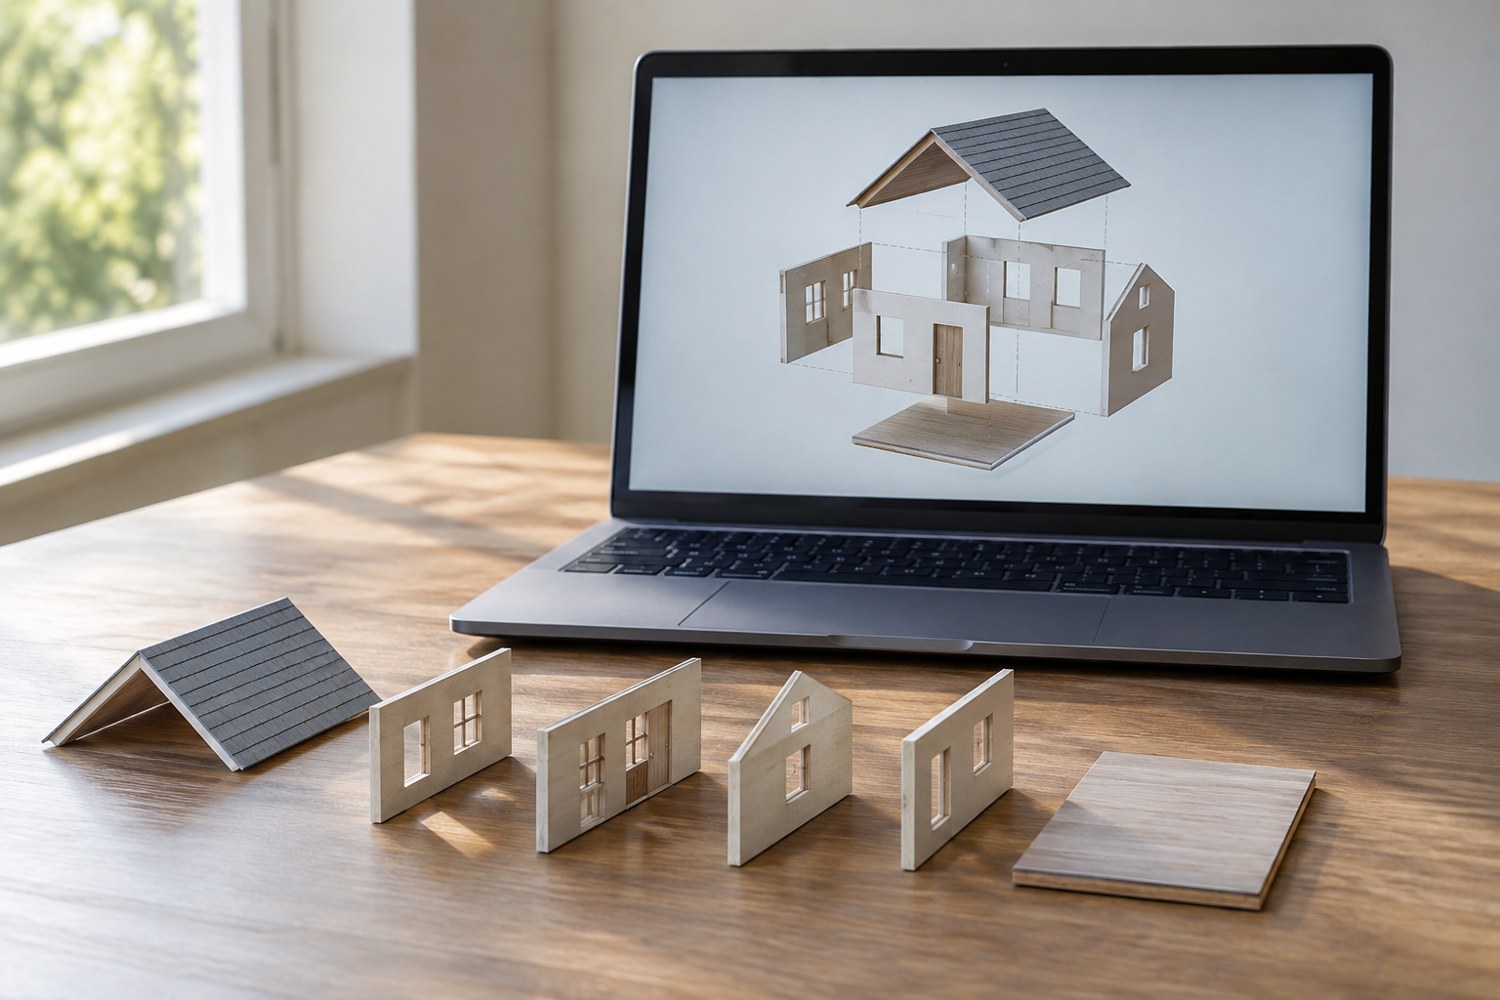
Read articlePreserve an assembled reference before exporting parts individually, then reimport the delivery files to check their relationships.
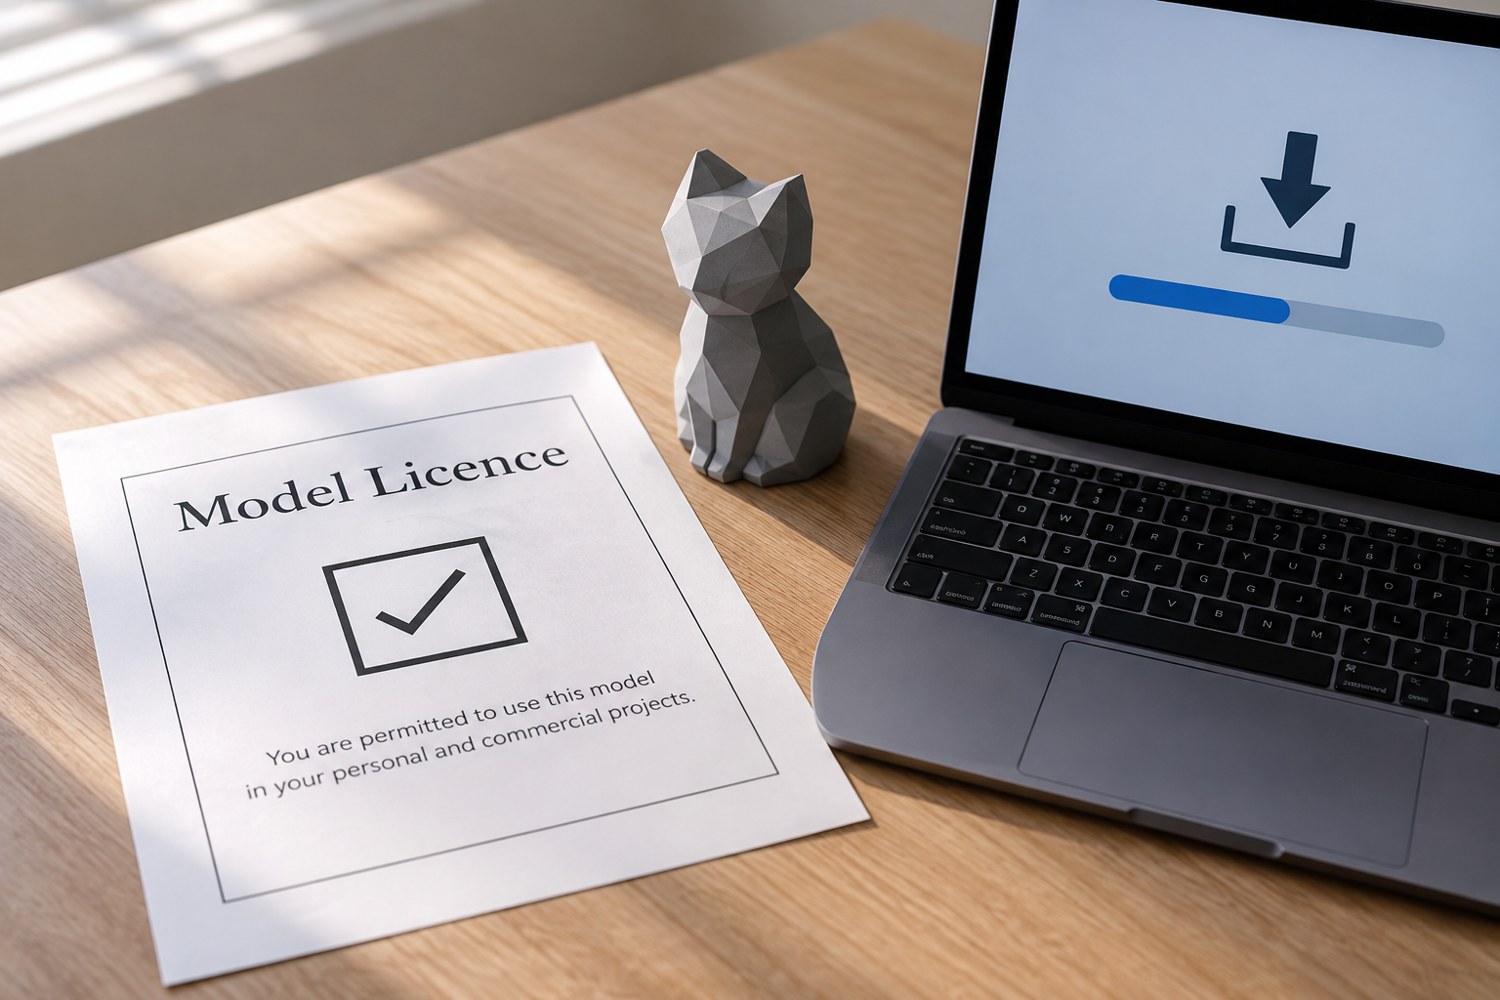
Read articleRead the licence attached to the exact model file and keep its conditions with your project before editing, sharing or selling anything derived from it.
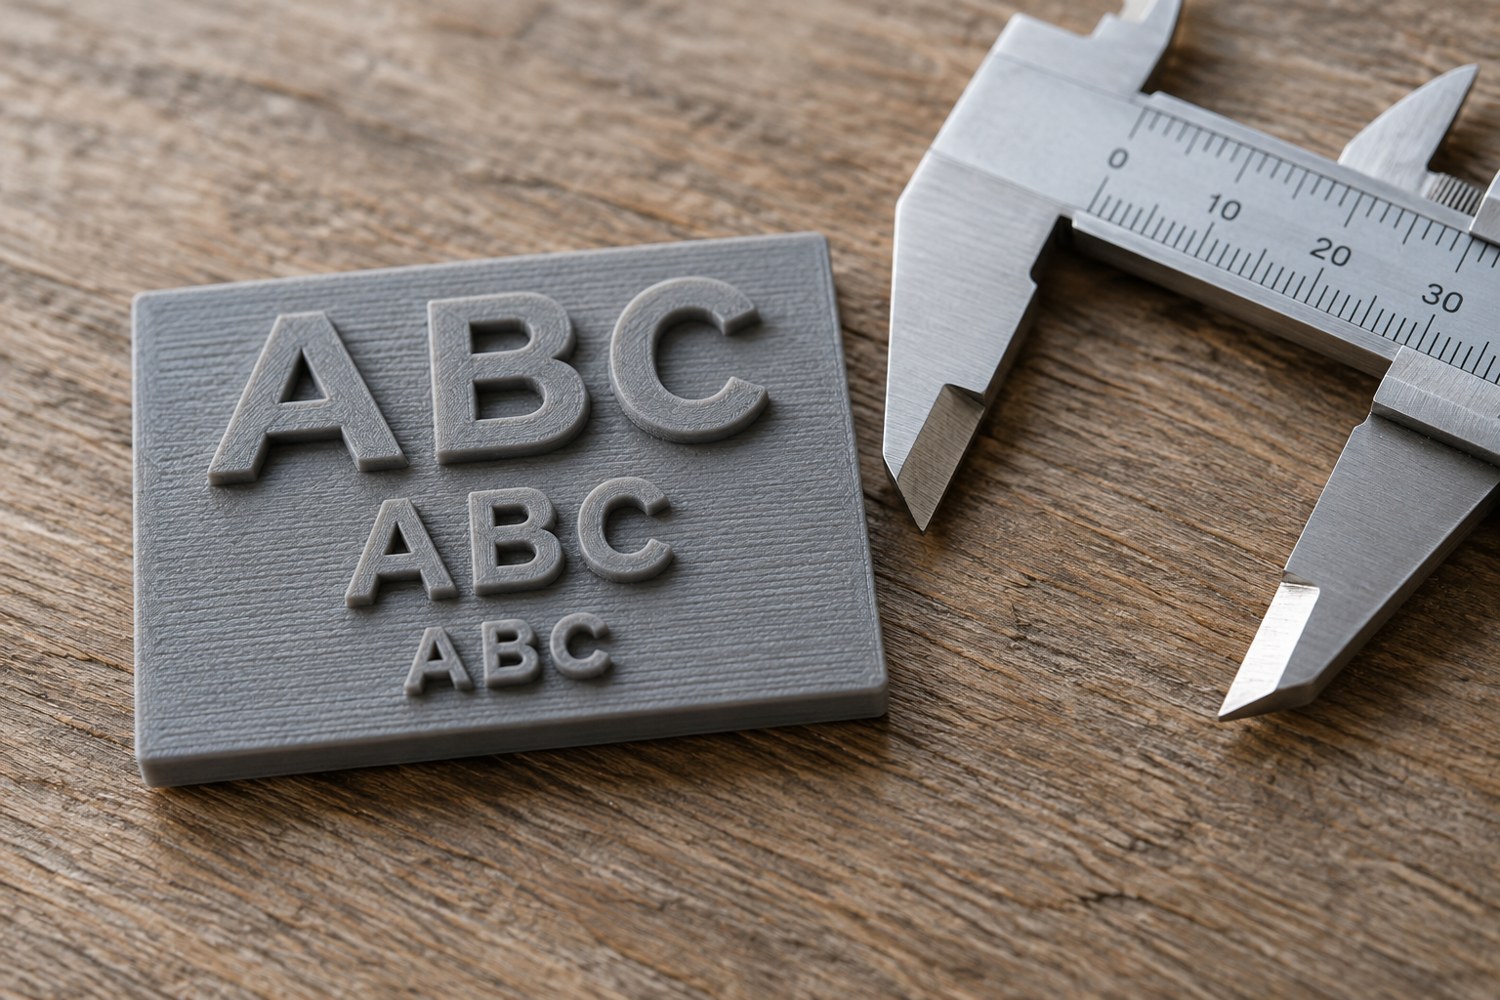
Read articleTest lettering at its intended size and orientation before committing a whole model to a font, depth or placement.
Read articleA removable lid needs an opening path, a repeatable fit and a way to grip it. Model those features before adding a decorative top.
Read articleLocating pins help establish position, but their shape, spacing and assembly direction must suit the joint rather than merely decorate it.
Read articleRemove geometry only after identifying what it contributes to the final object, its manufacture and future inspection.
Read articleChoose a modelling approach by the decisions the object requires: controlled dimensions, organic form or a combination of both.
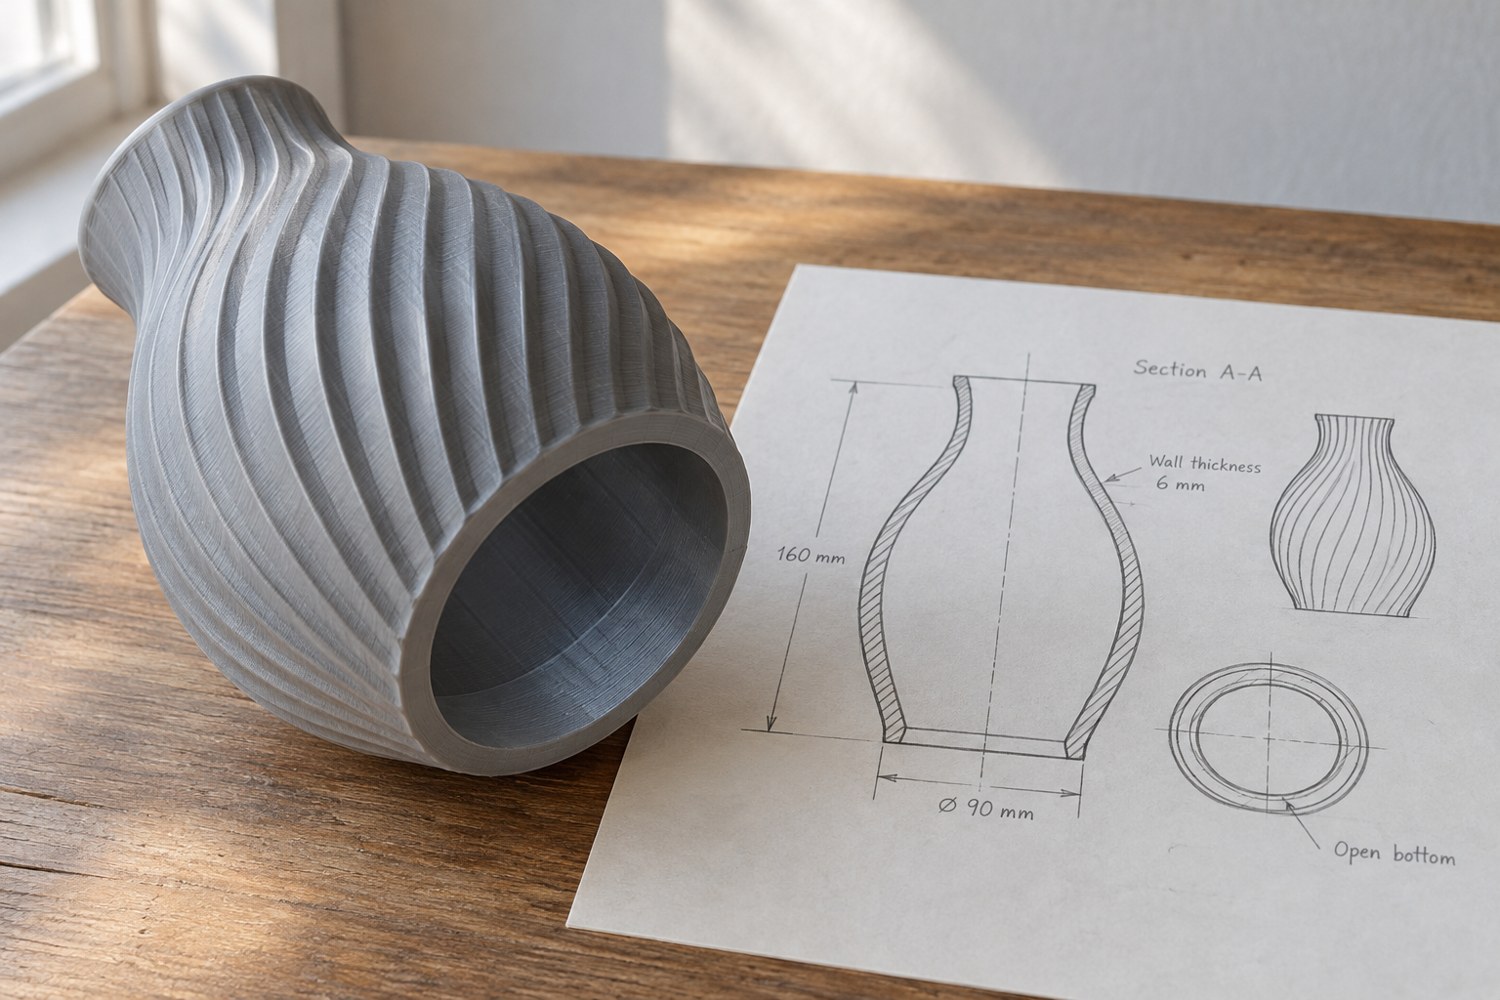
Read articleDecide how a hollow part will be printed, opened, inspected and cleaned before adding an internal cavity.
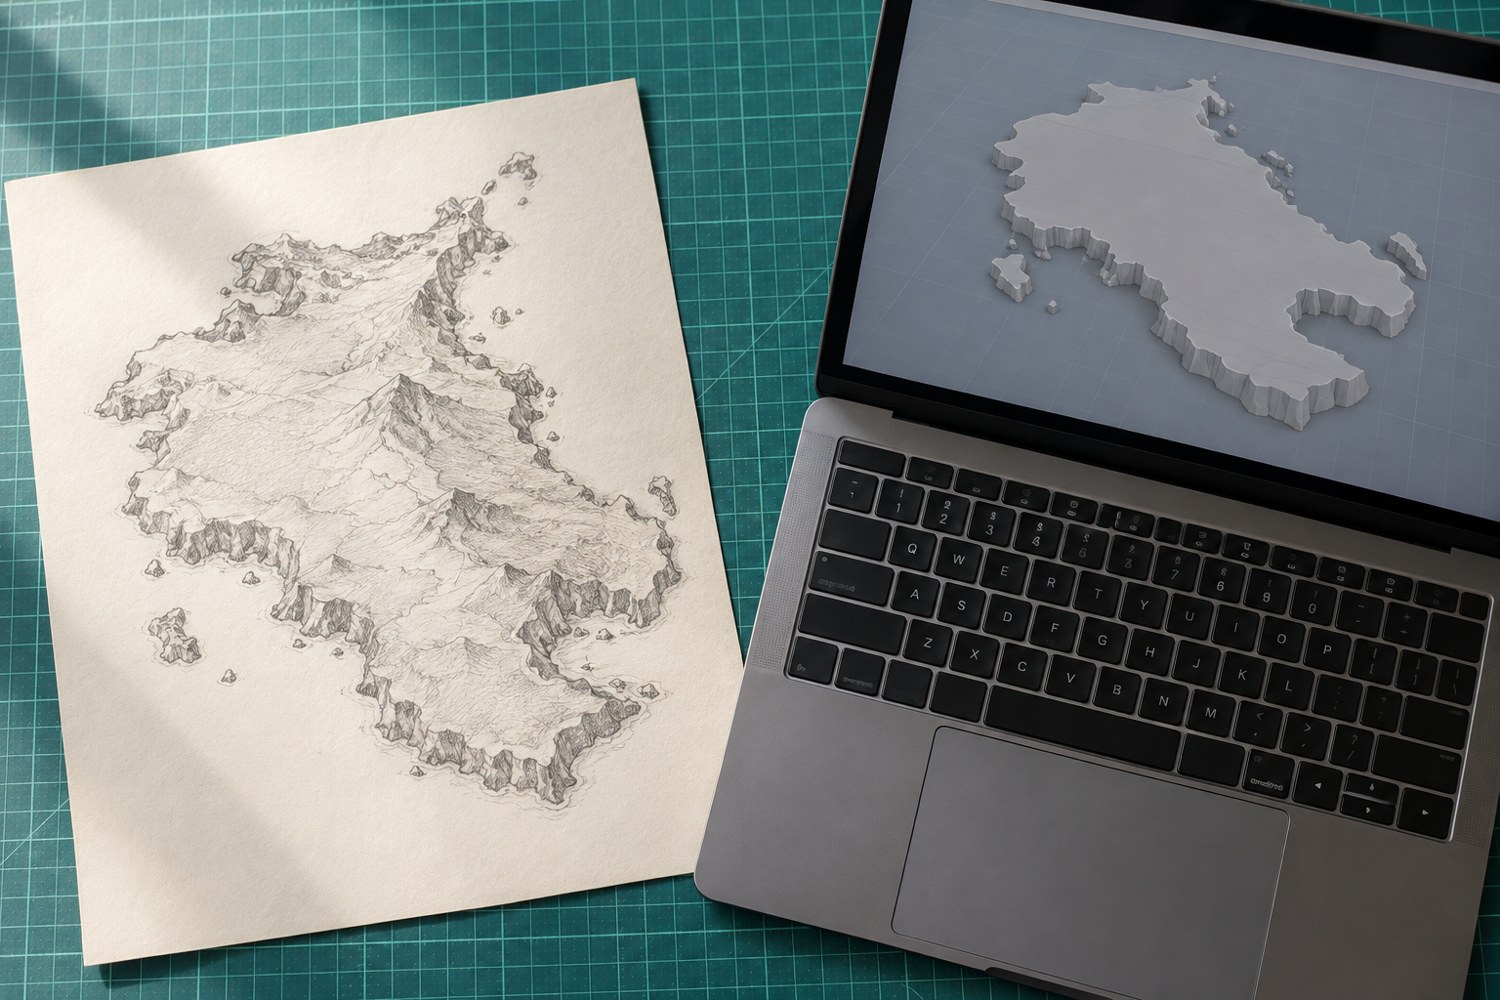
Read articleBuild a coastline from a deliberate silhouette and a few large landforms, then add only the detail that supports the scene.
Read articleKeep the file that explains how a model was built, not only the mesh that can be printed today.
Read articleGive a printing service the dimensions and relationships that determine success, rather than asking it to infer them from a mesh alone.
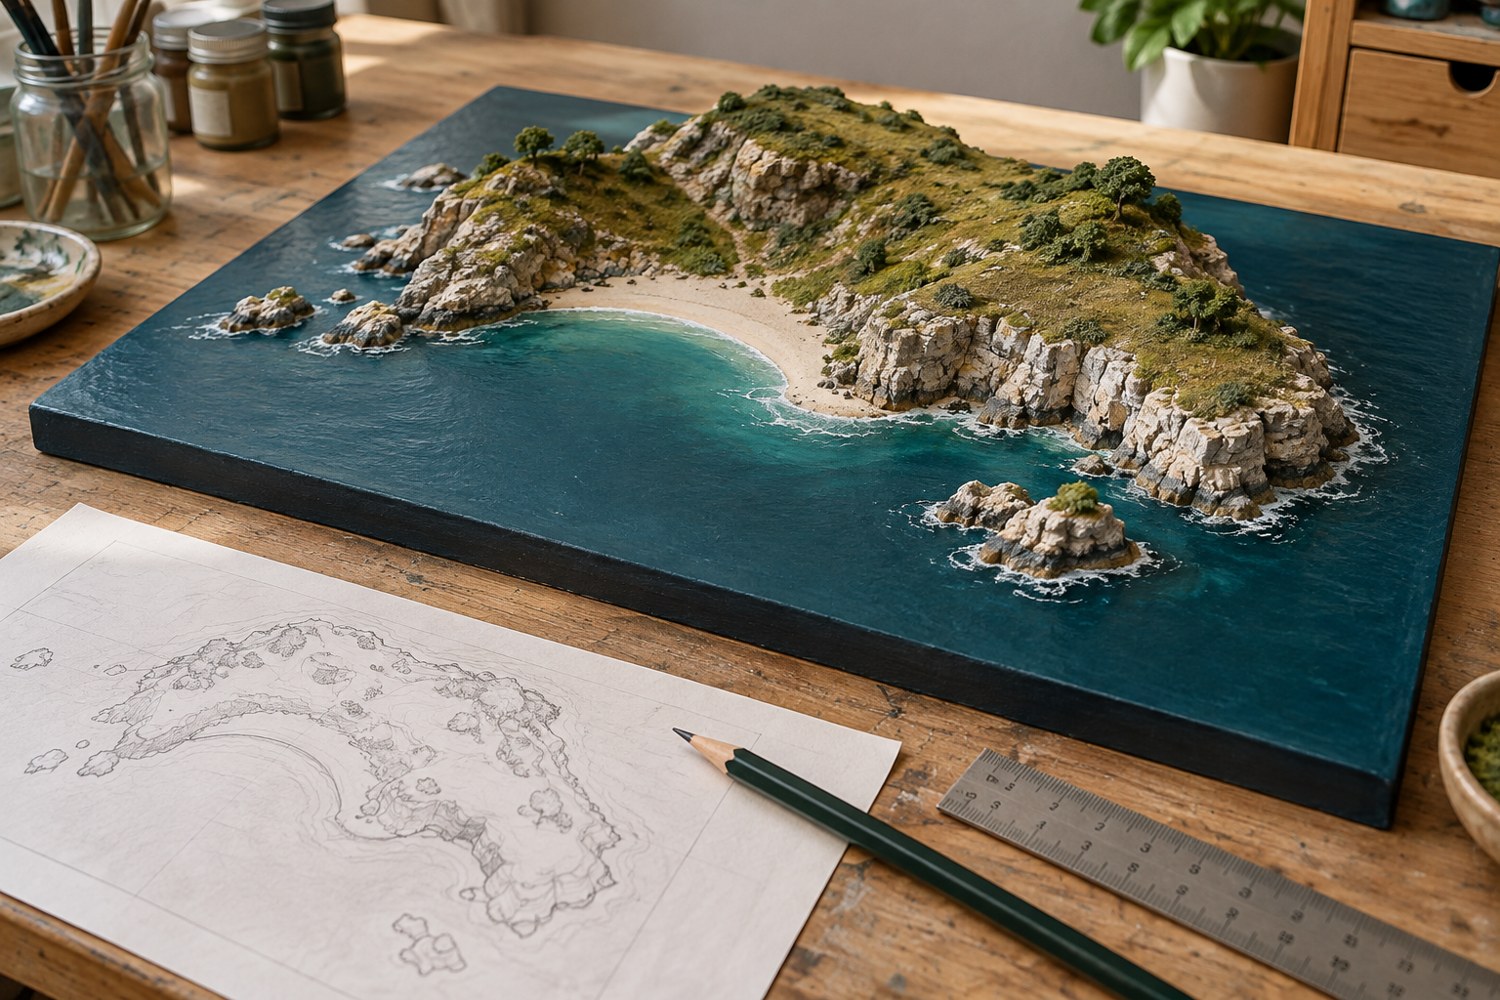
Read articleTurn an island idea into a buildable composition by deciding the viewing angle, scale, shoreline and assembly order on paper first.
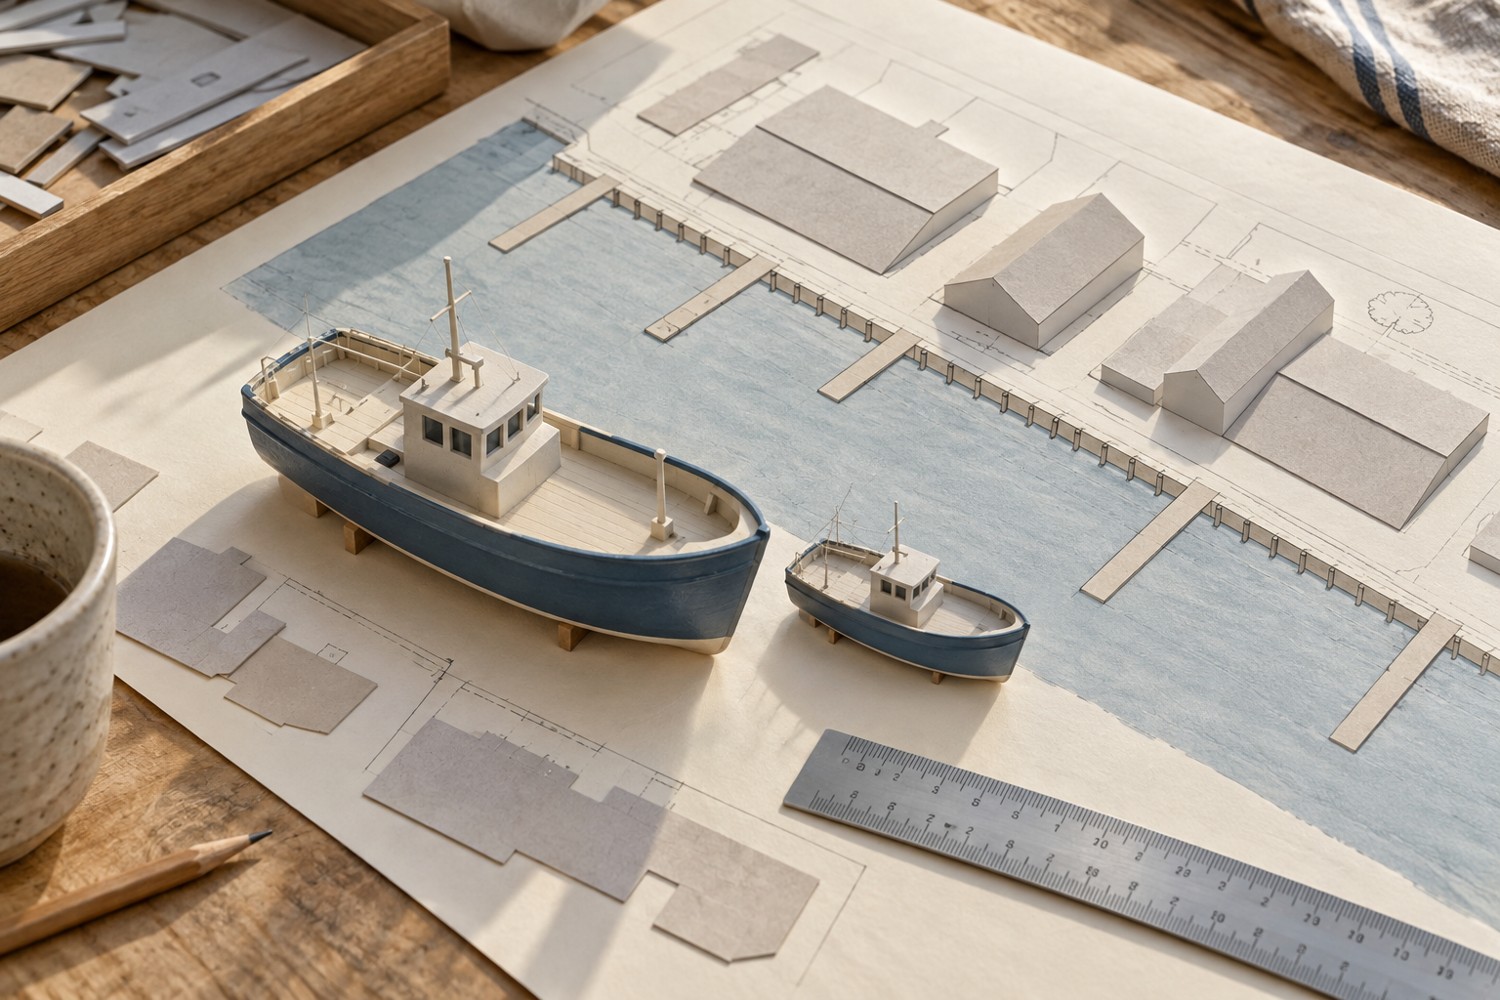
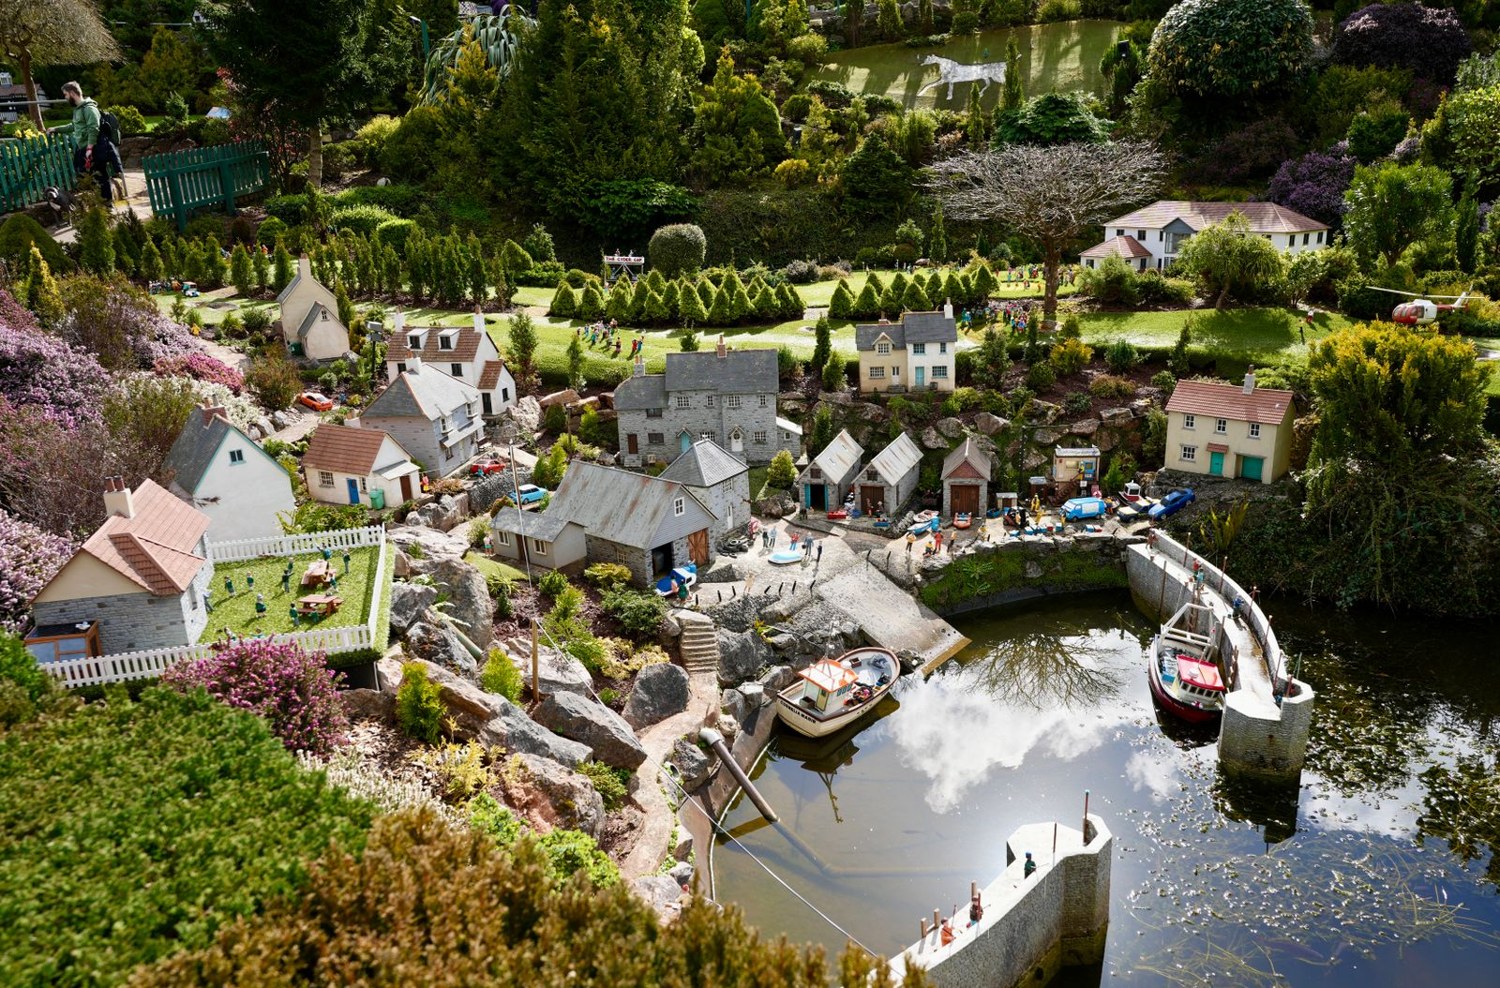
Read articleUse the largest boat and the available footprint to choose a harbour scale before buying buildings and fittings.
Read articleSeparate foreground, middle distance and skyline with overlapping forms that remain clear from the intended viewing angle.
Read articleDefine a common edge profile and test several tile arrangements before adding texture or connectors.
Read articleKeep a gaming building removable by separating its scenic footprint from the surfaces used to locate and lift it.
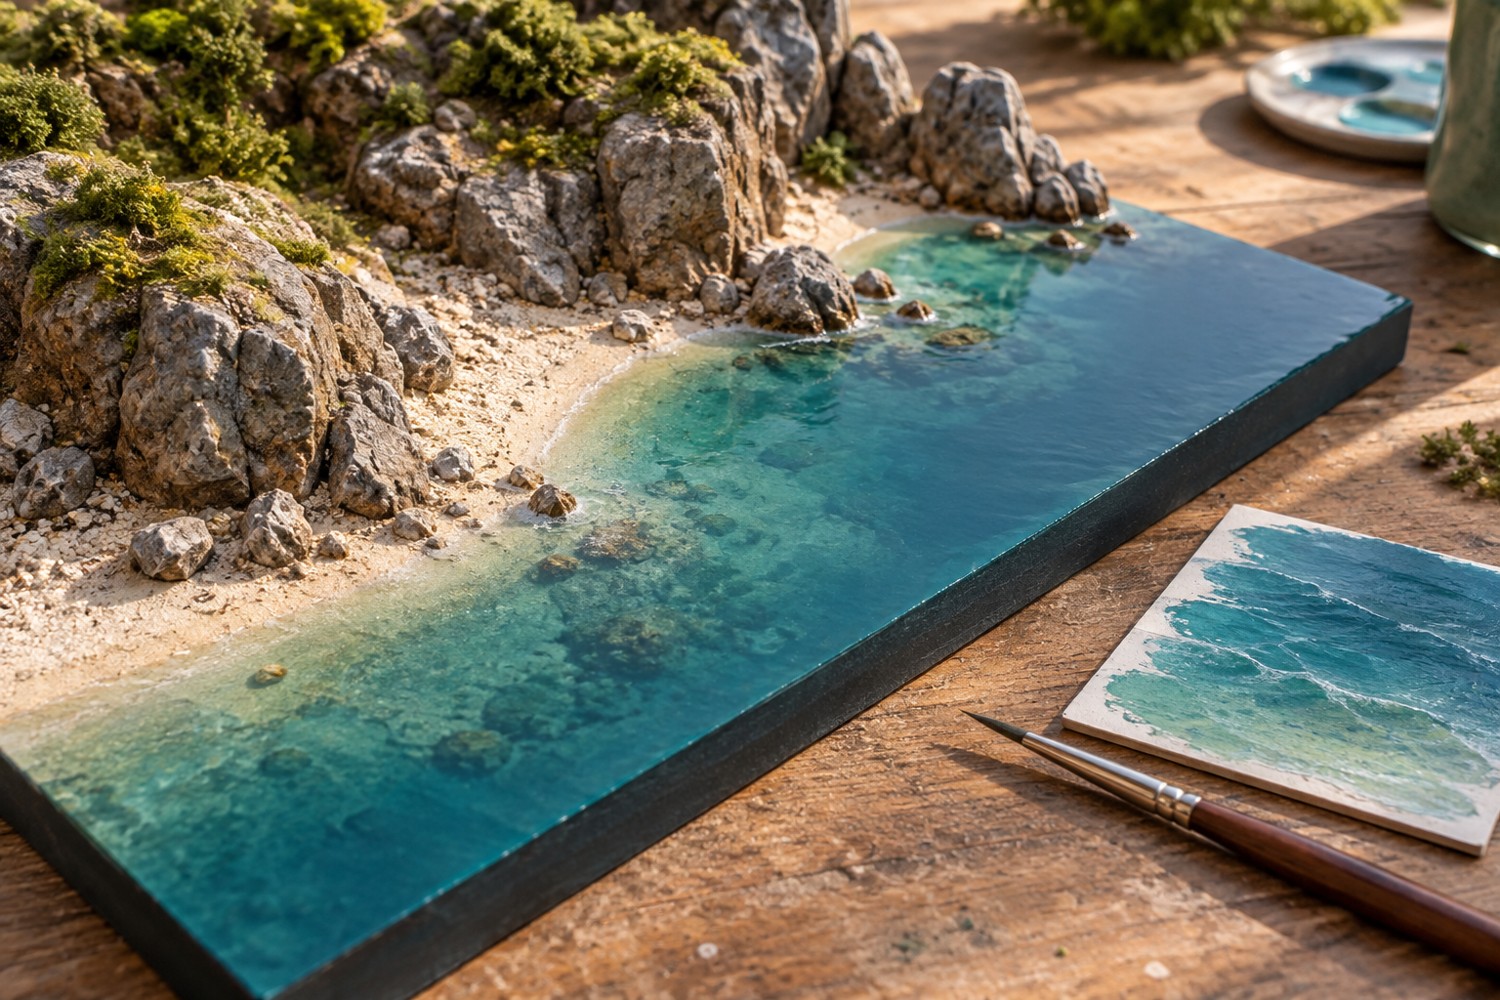
Read articleSuggest shallow water with colour and surface sheen while keeping the coastline build free from deep pours.
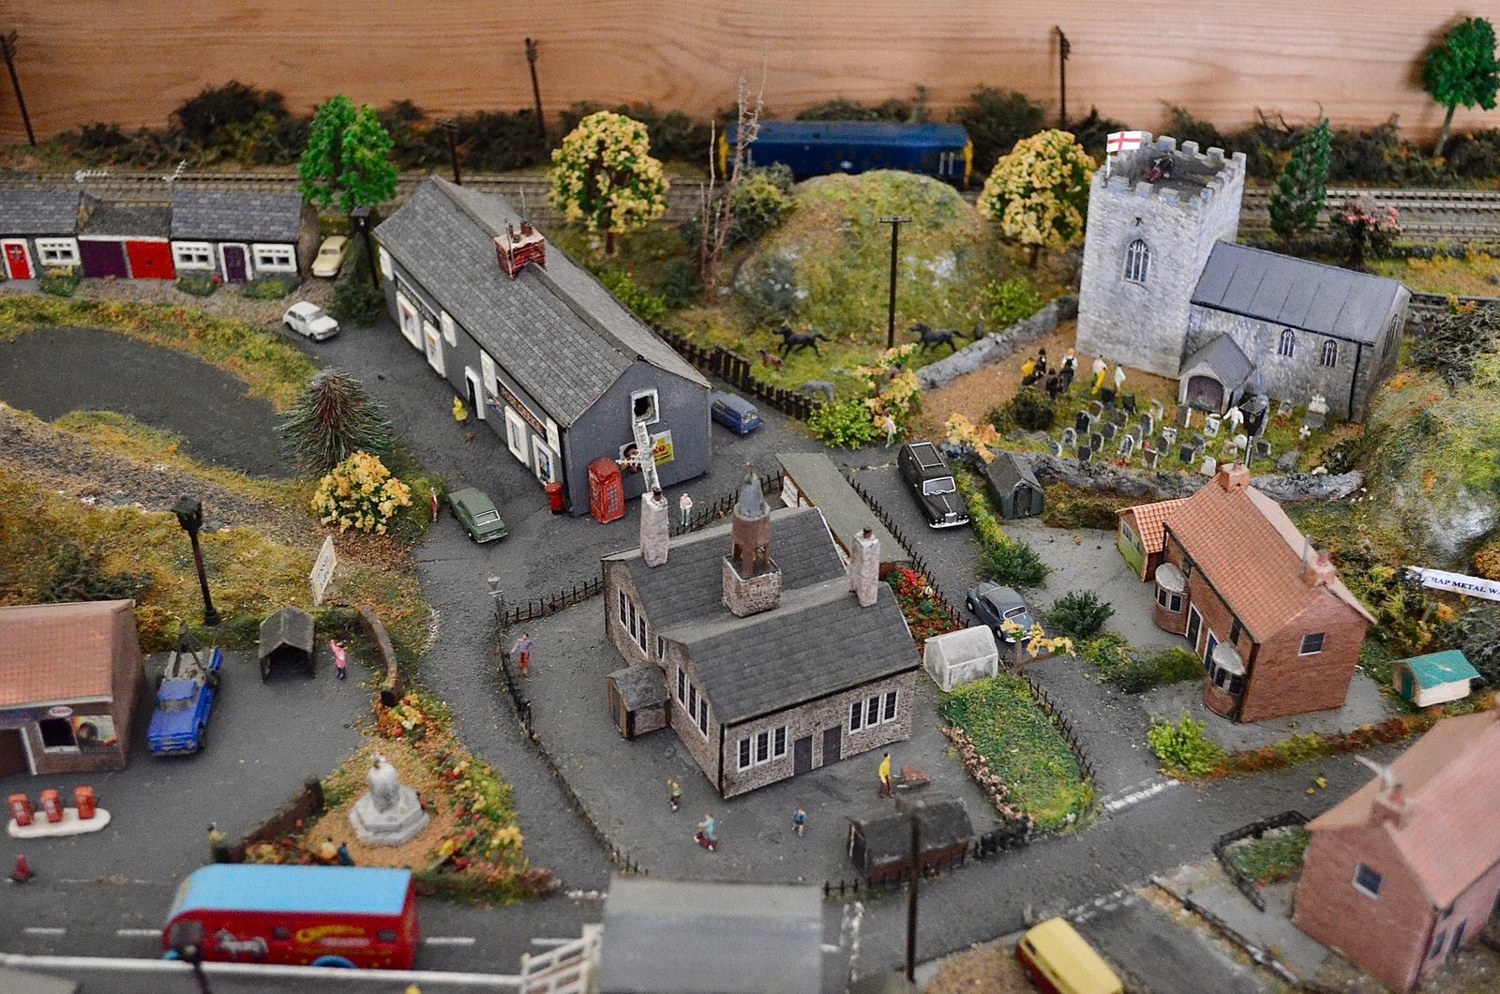
Read articleUse shape, contrast and open space to give a miniature village one clear centre of attention.
Read articleDraw usable routes through a scene before buildings and scenery make them impossible to change.
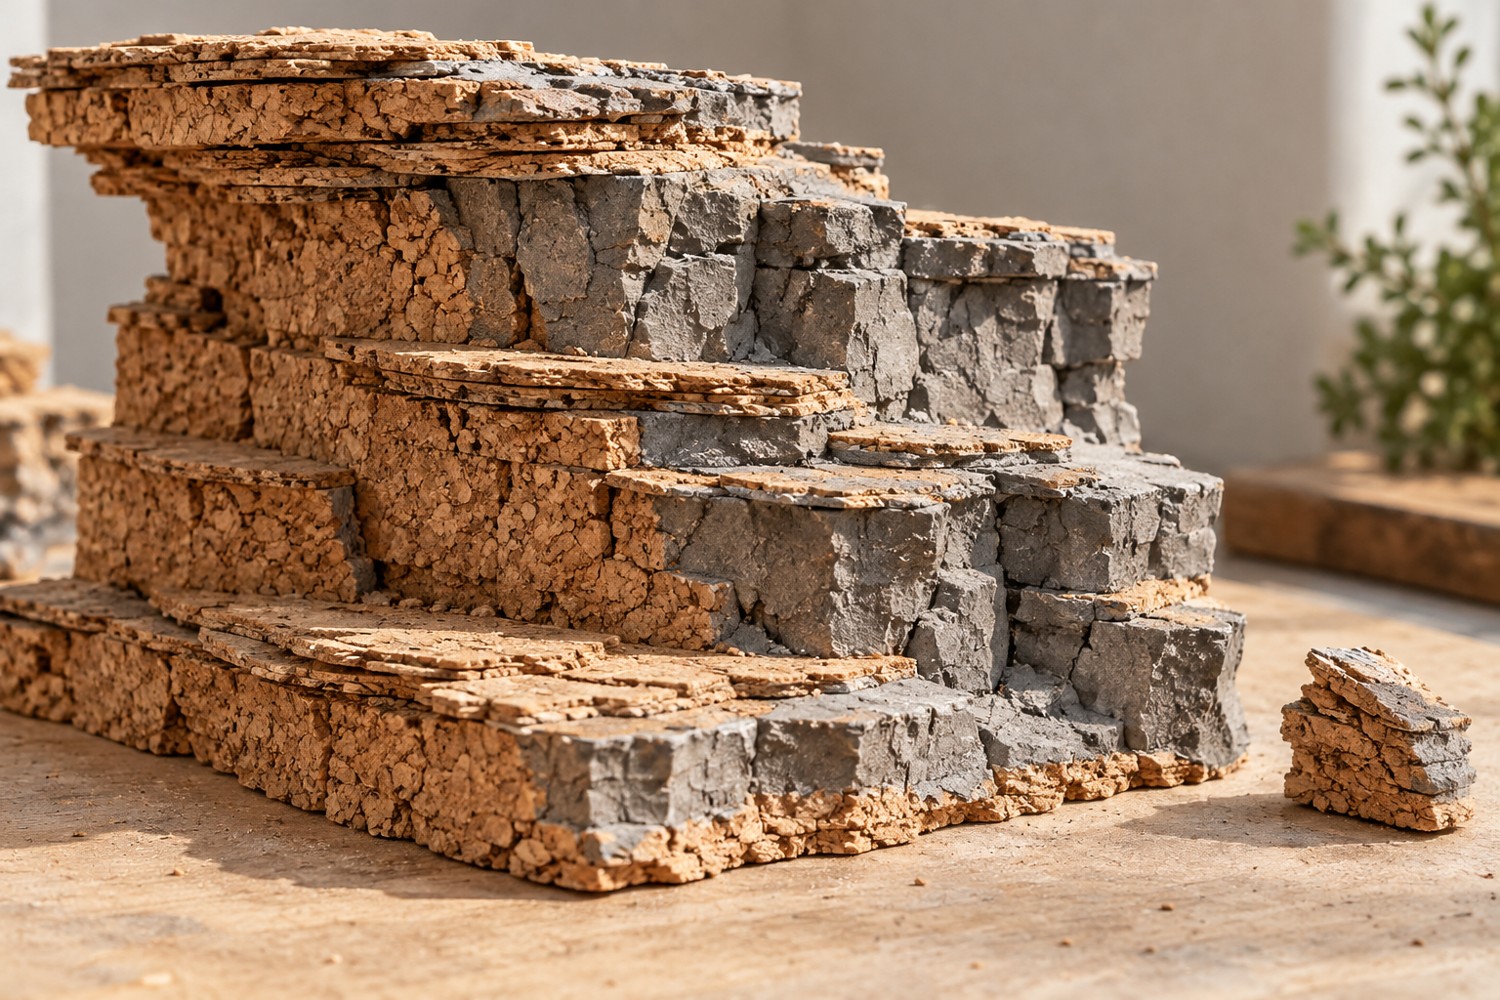
Read articleArrange cork fragments around a consistent layer direction rather than stacking random chunks of texture.
Read articleJudge miniature trees beside buildings and paths, then use their shape and canopy spread to organise the scene.
Read articleSet the storage envelope and handling route before committing to a tall tower, tree or cliff.
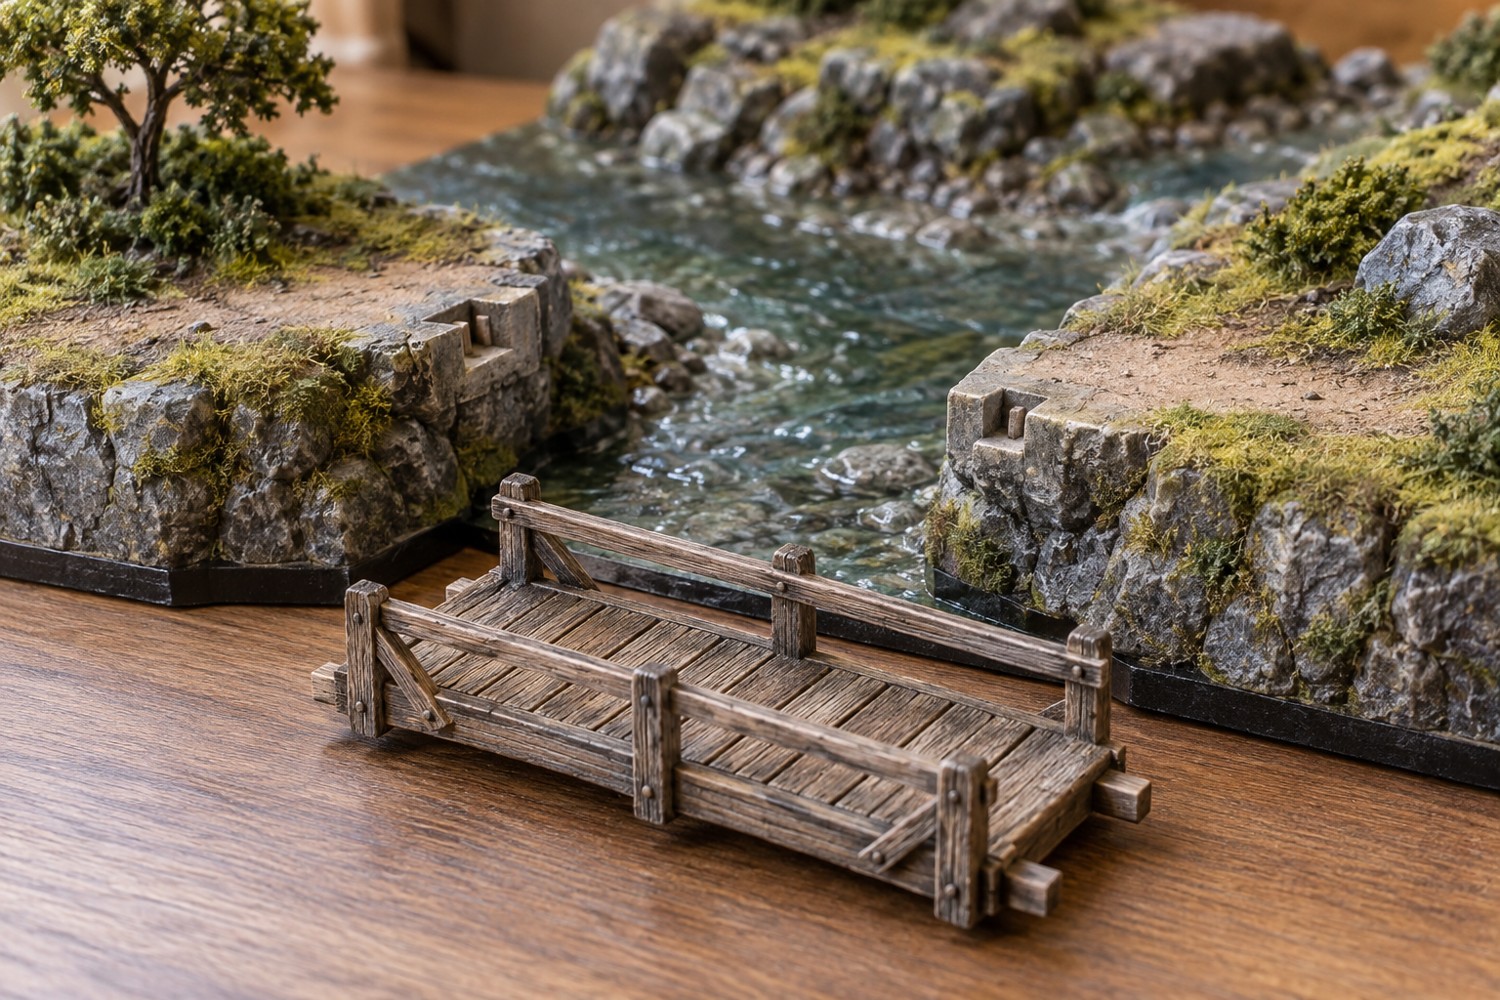
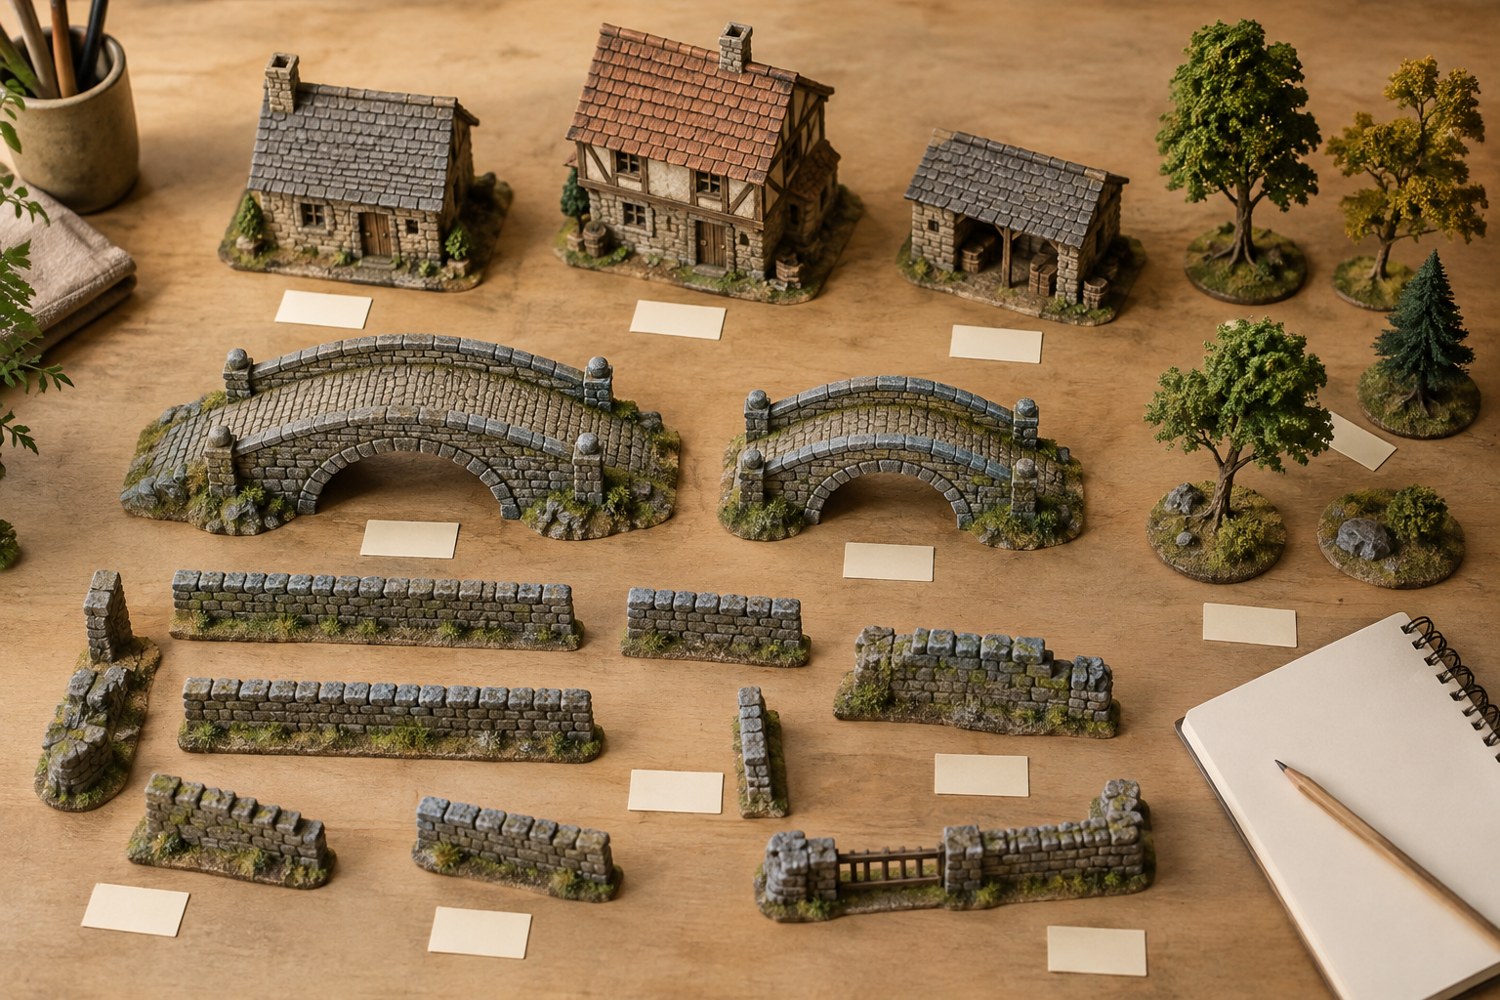
Read articleDesign a bridge and its landing points together so the span can be lifted out without disturbing the surrounding scenery.
Read articleVary placement, grouping and context while preserving the underlying identity of repeated buildings or terrain components.
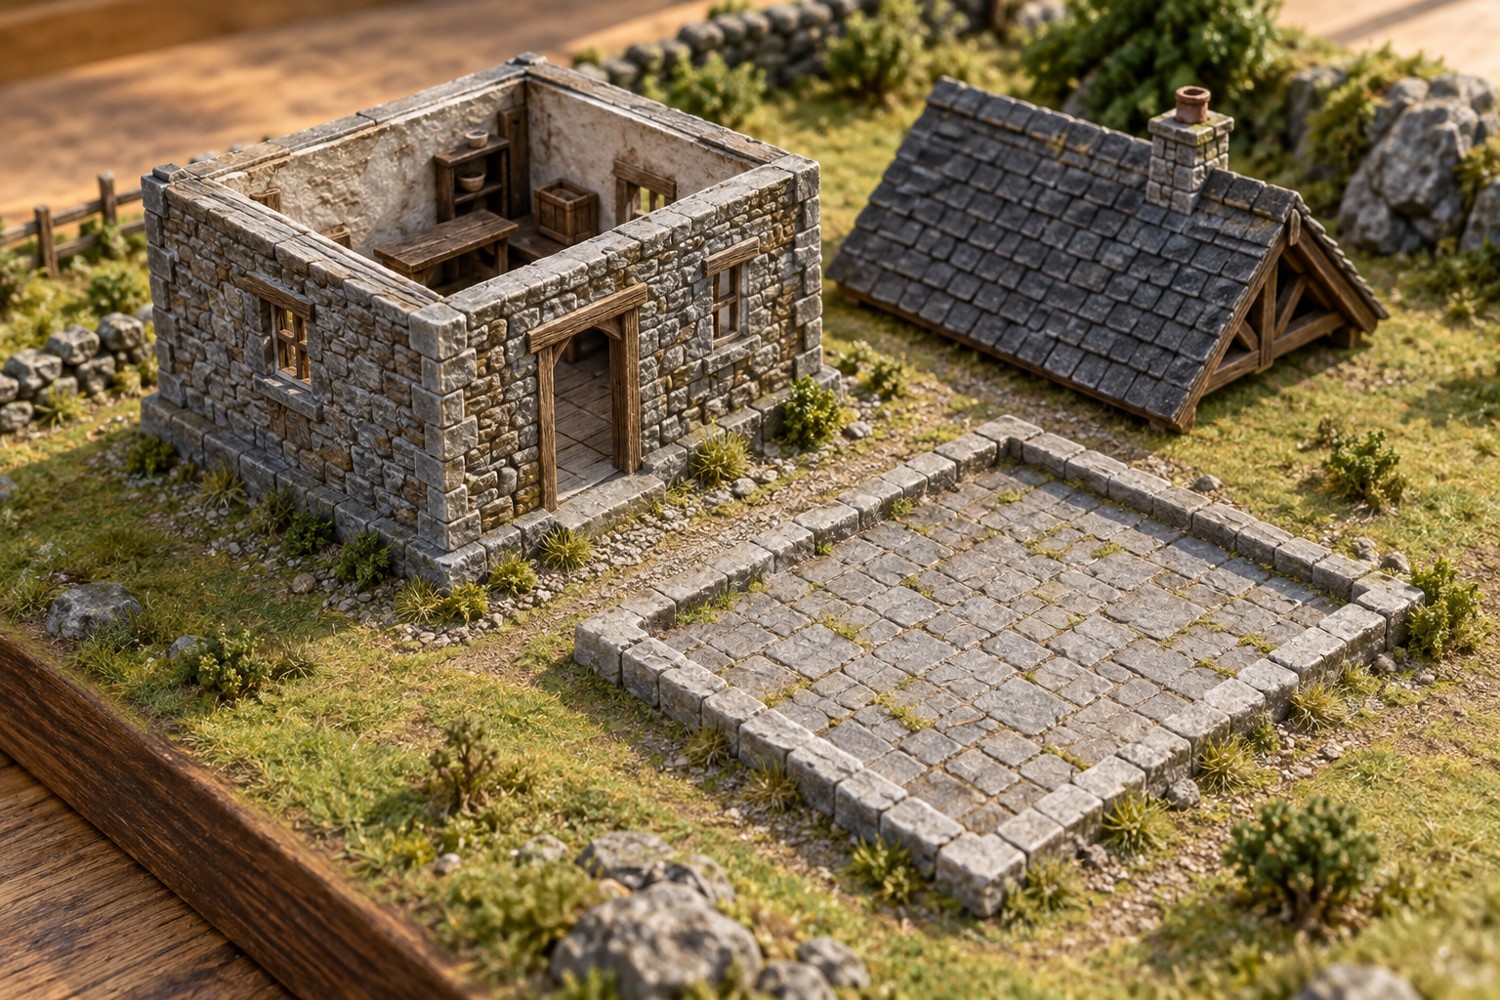
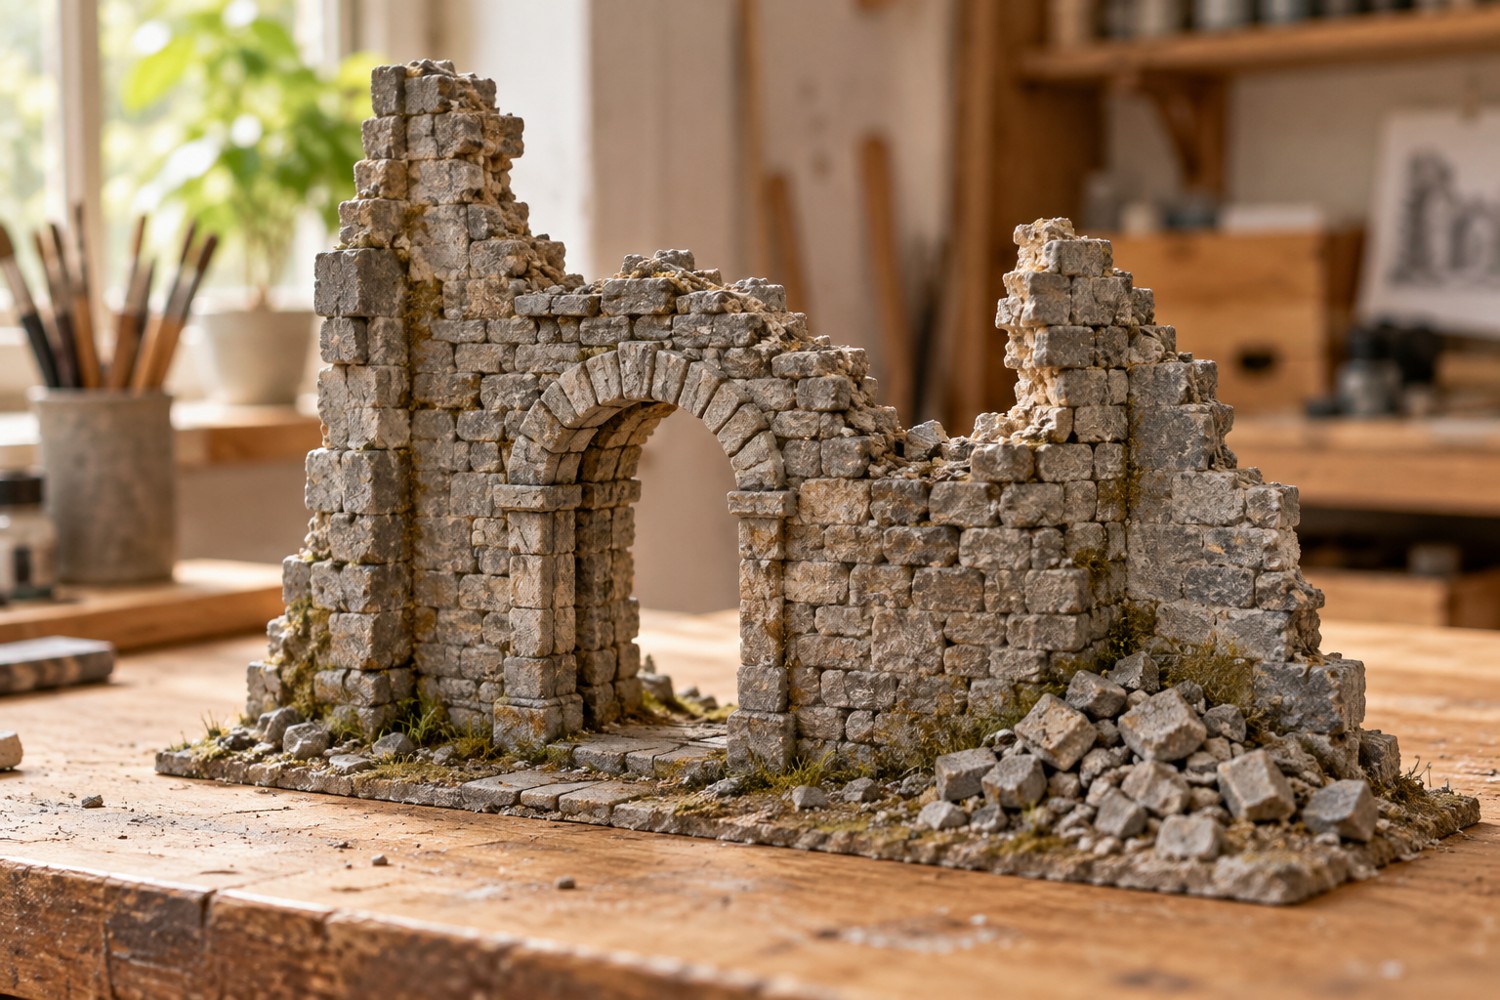
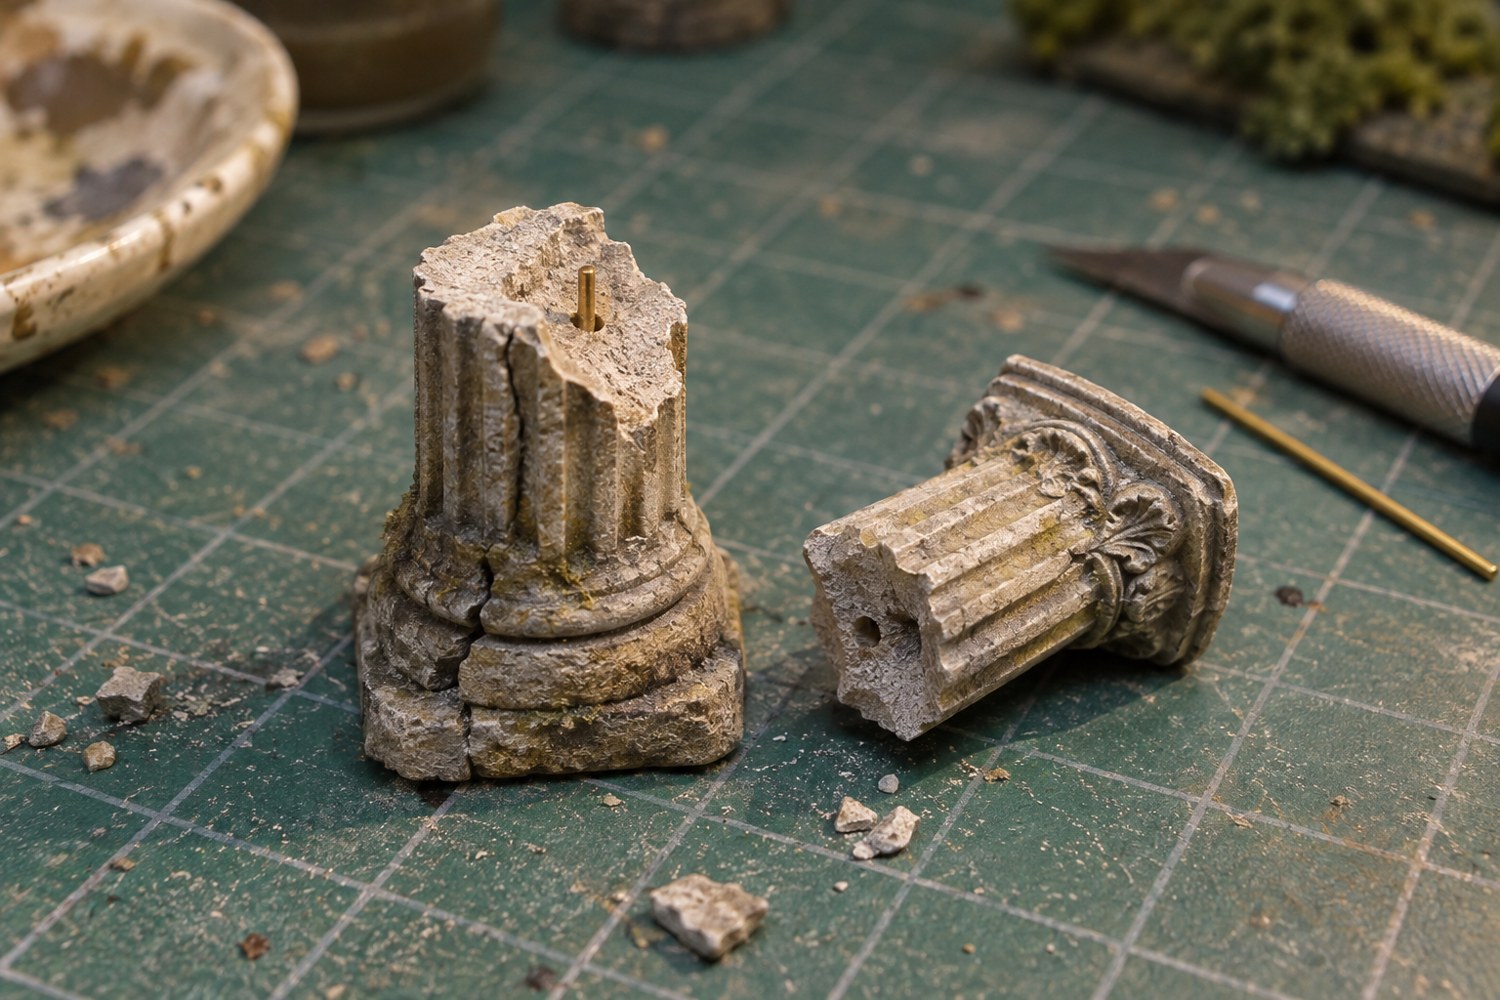
Read articleKeep the wall's original construction legible so broken edges and rubble describe damage rather than random texture.
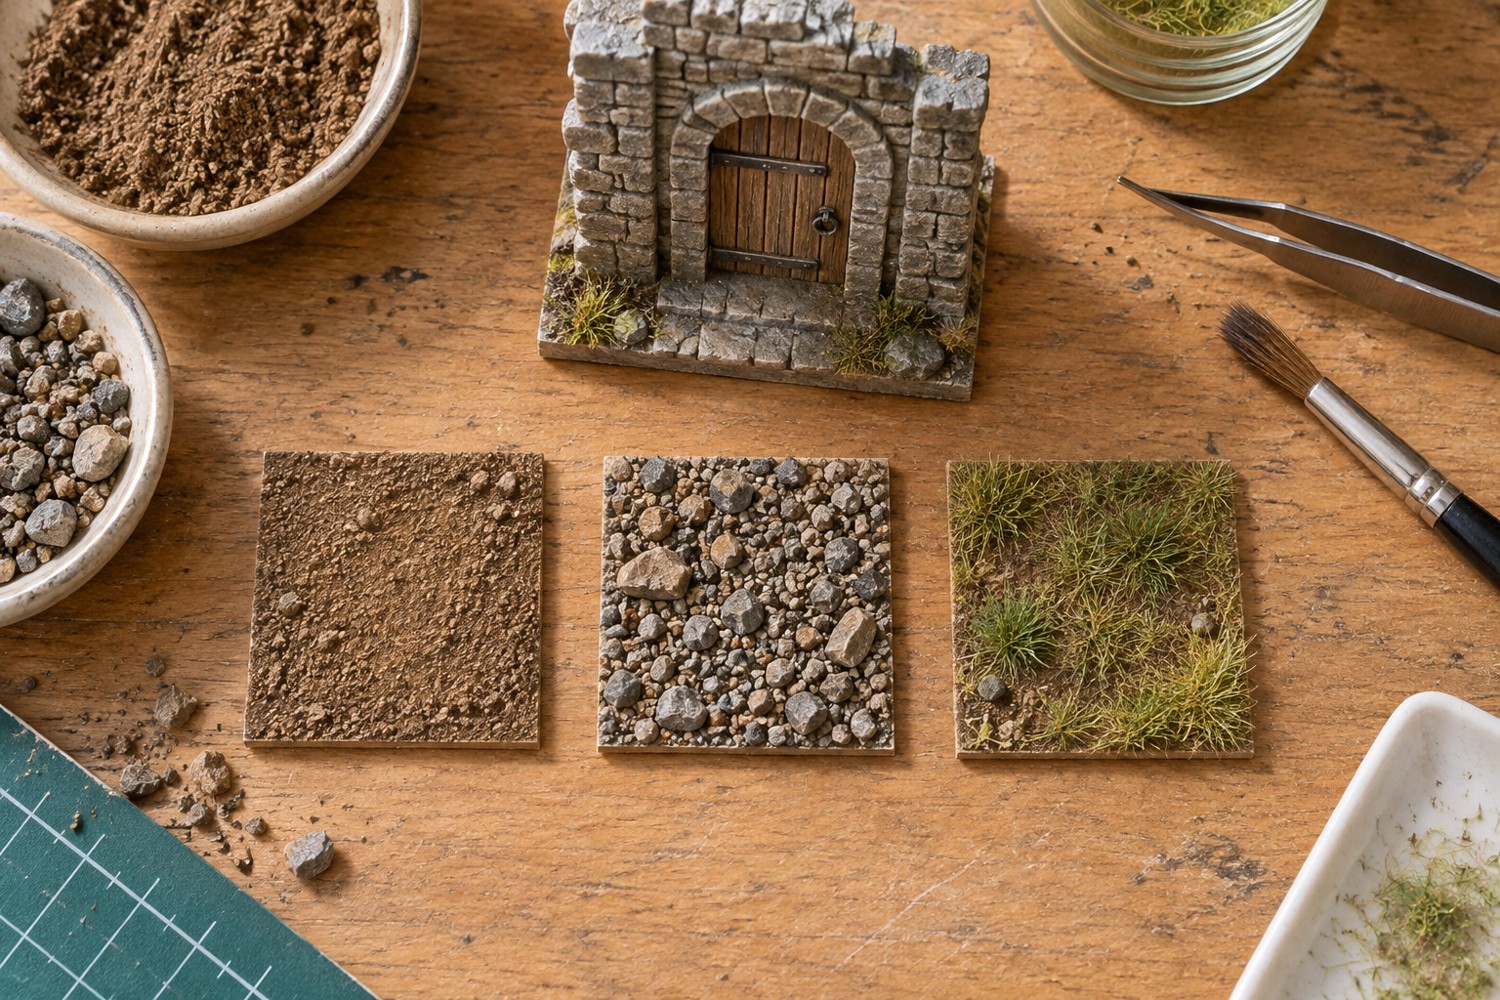
Read articleMatch the size and contrast of ground particles to the scene rather than choosing texture by its appearance in the bag.
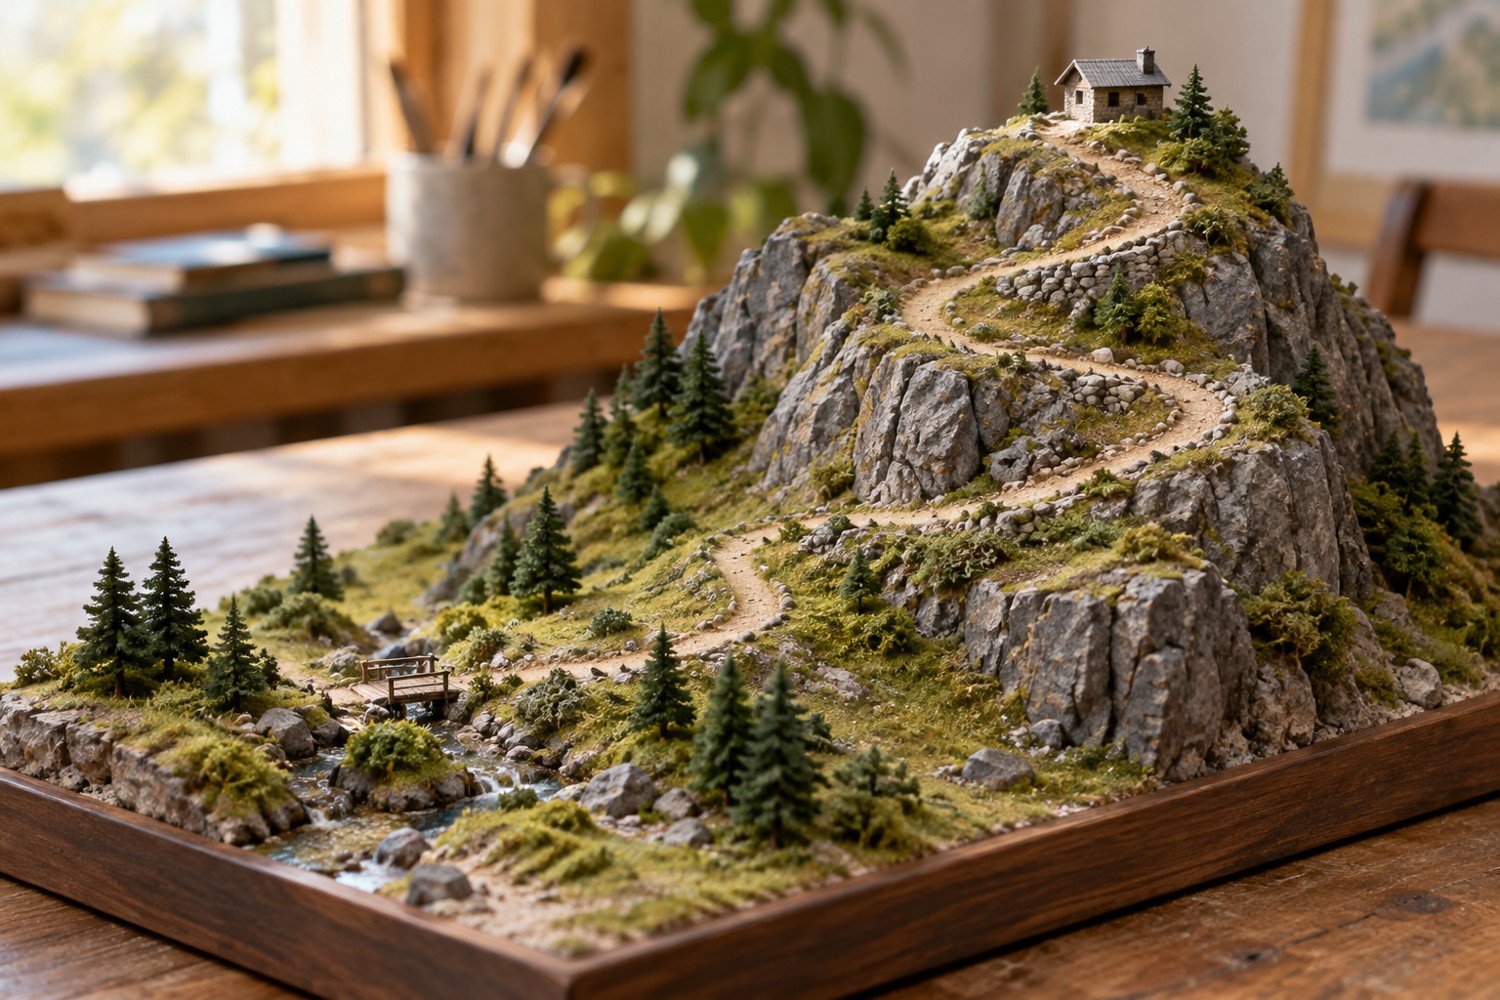
Read articleMake a mountain route readable in plan and side view, with enough space for its switchbacks and destination.
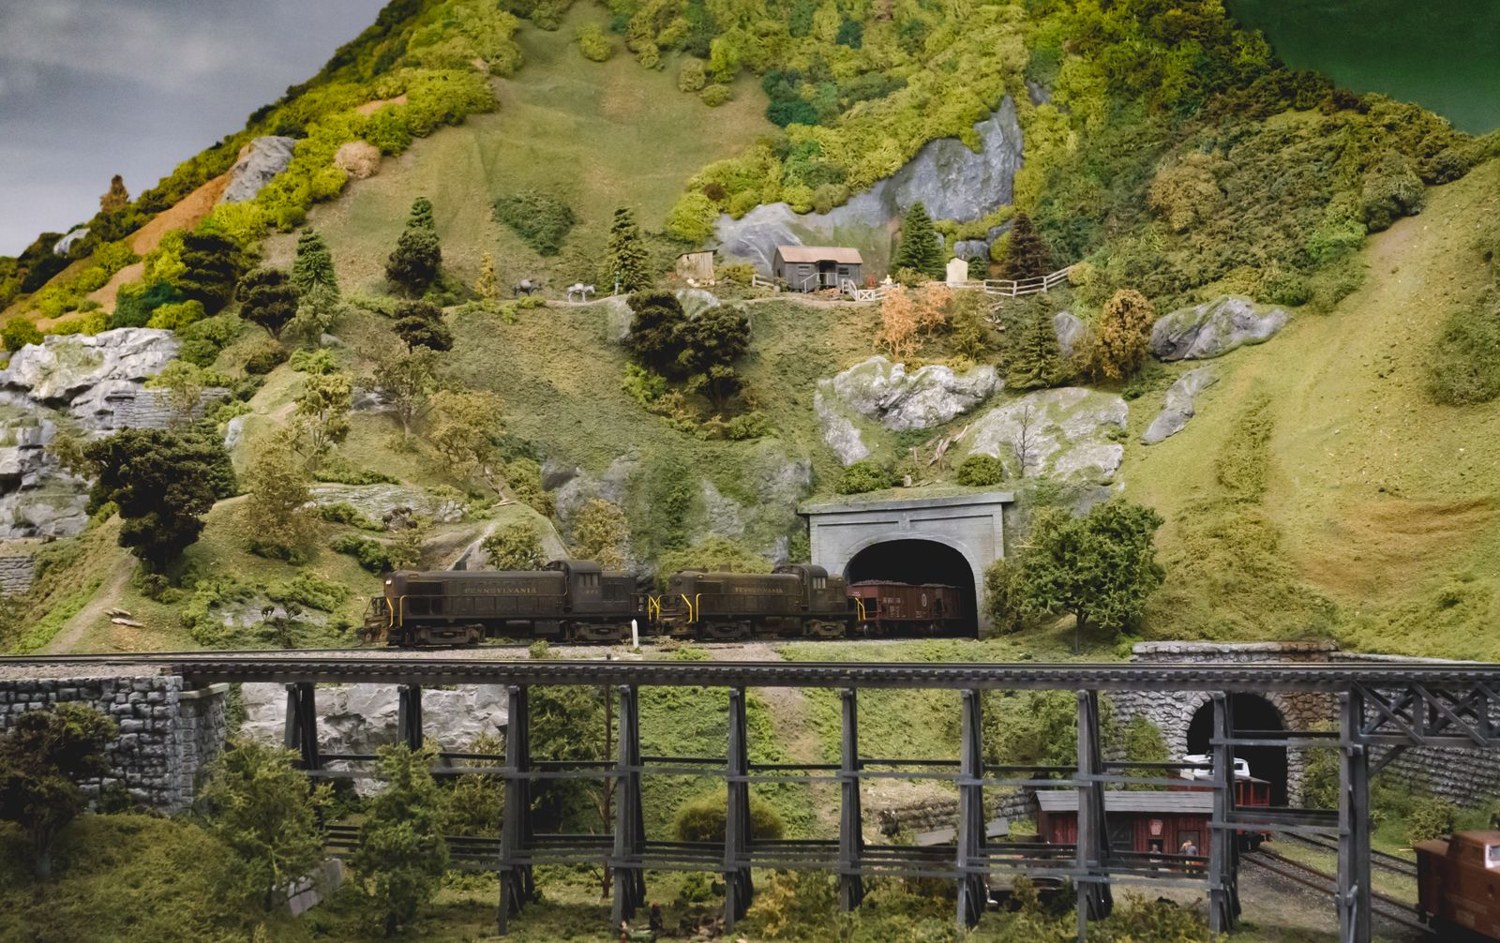
Read articleUse a controlled viewing height, a quiet horizon and a few overlapping forms to join three-dimensional scenery to a backdrop.
Read articleReserve the miniature's footprint and viewing space before building rocks, vegetation or dramatic changes in height.
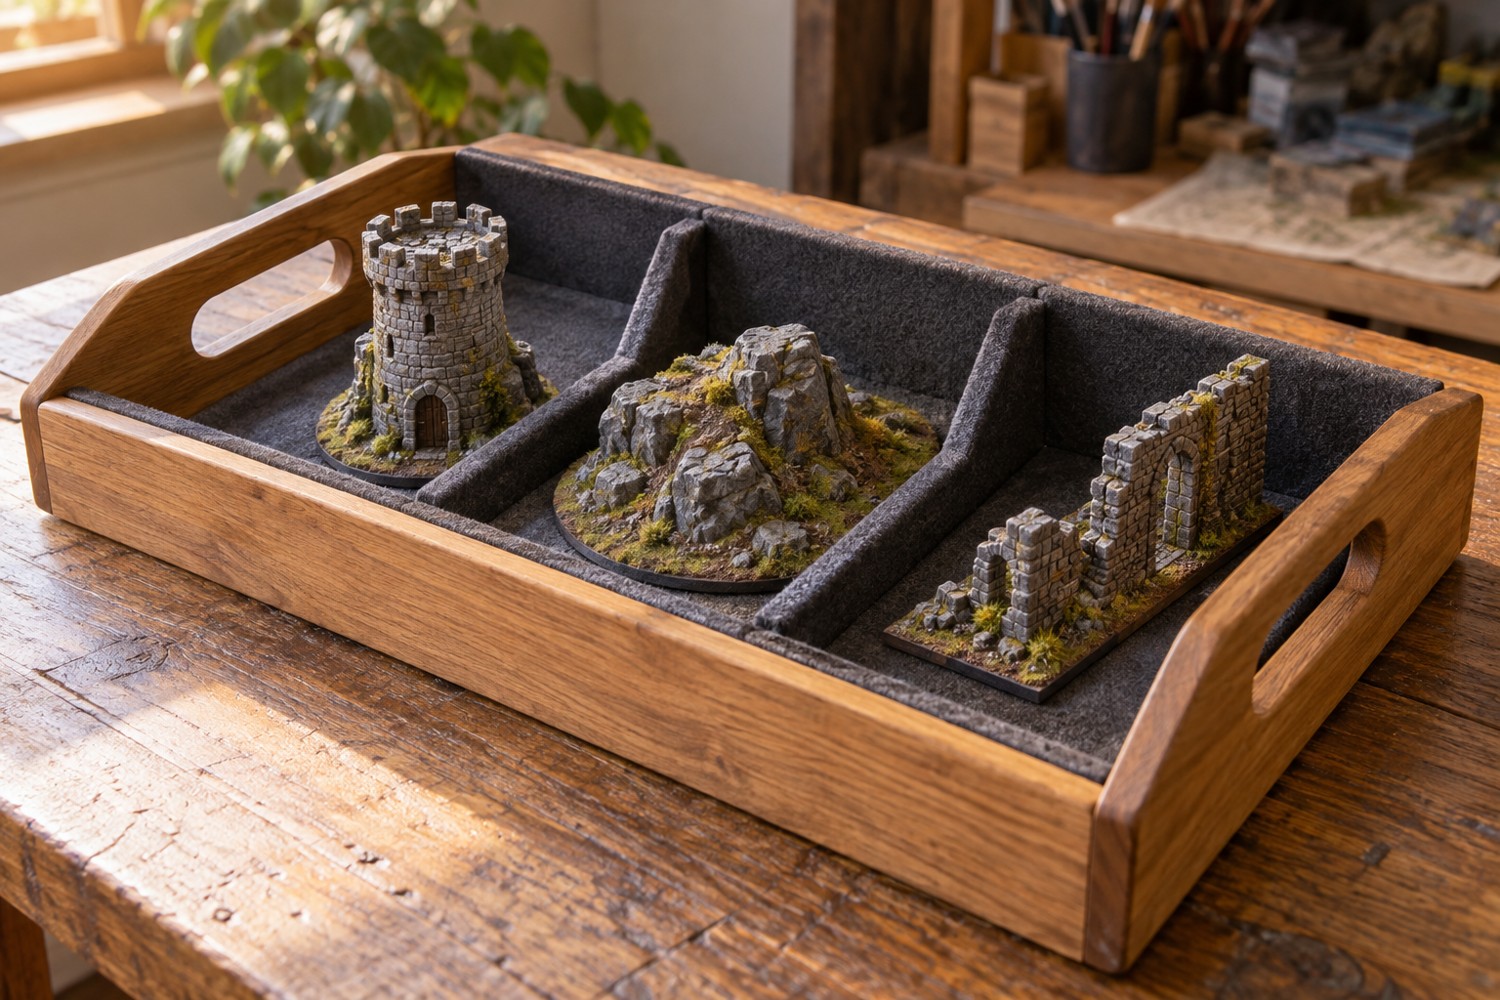
Read articleBuild a terrain tray around its load, lifting points and storage space, then decide how scenery will be restrained.
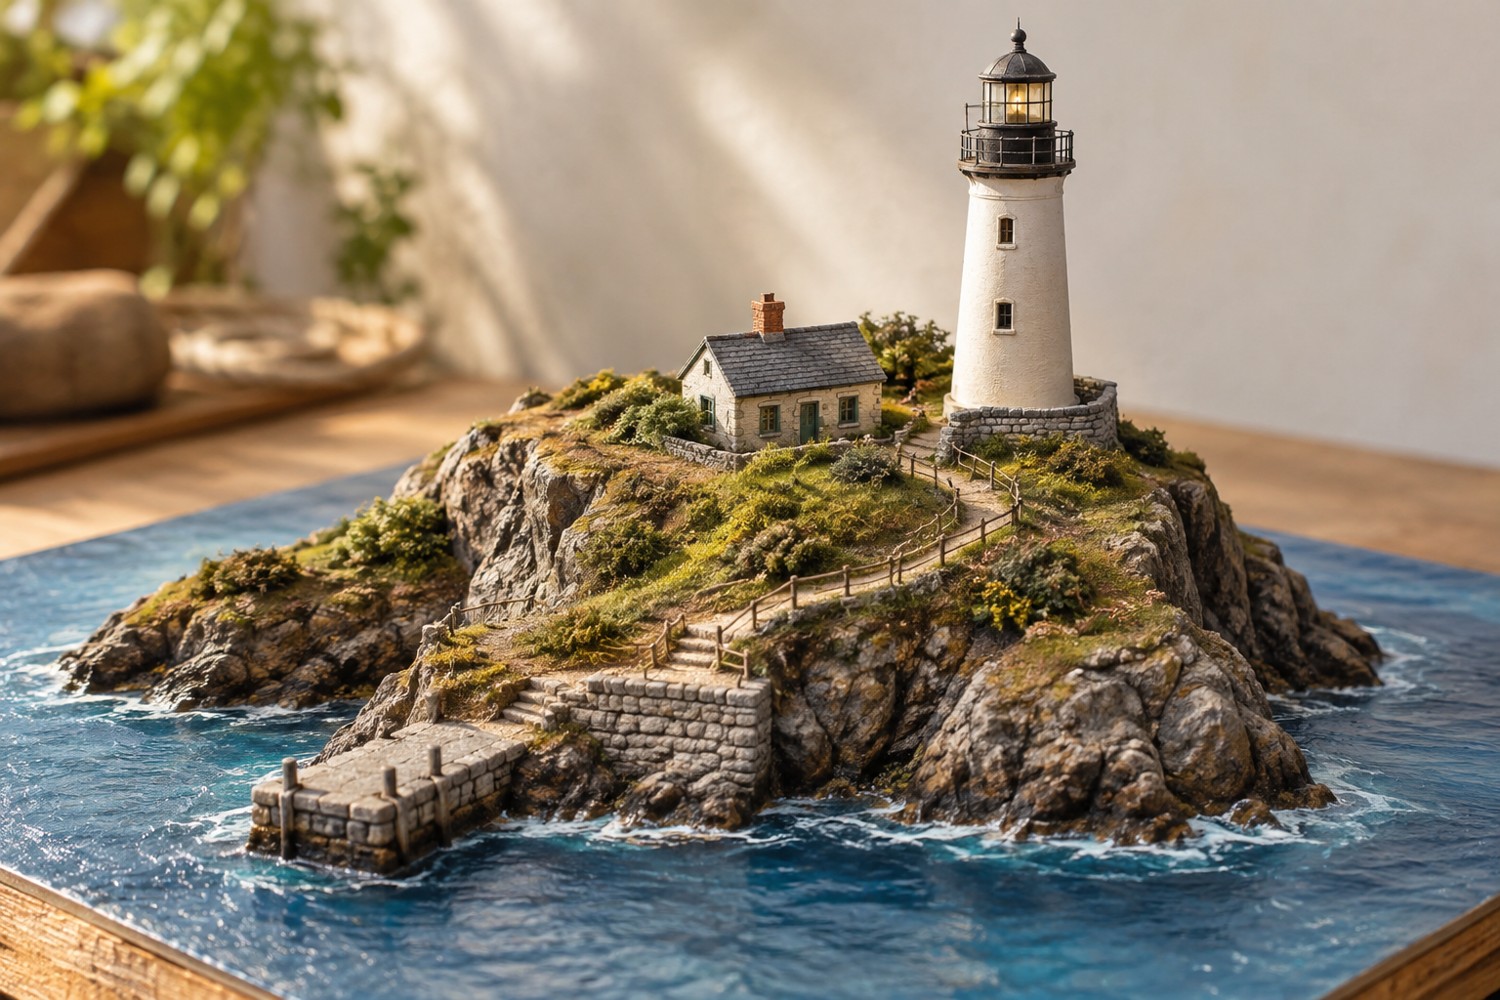
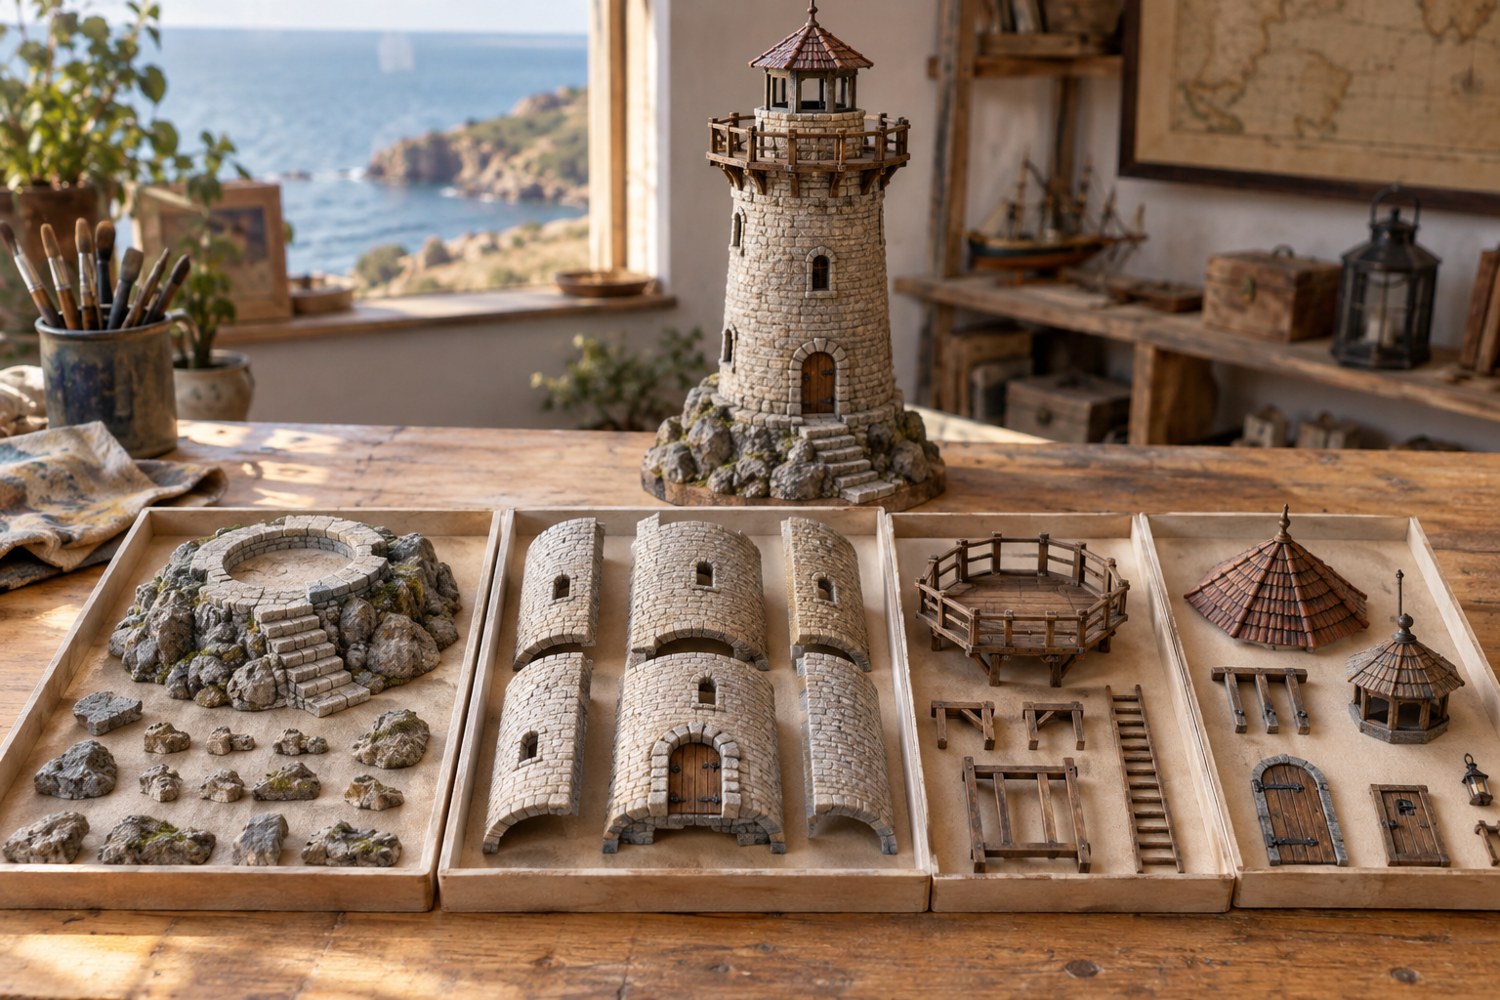
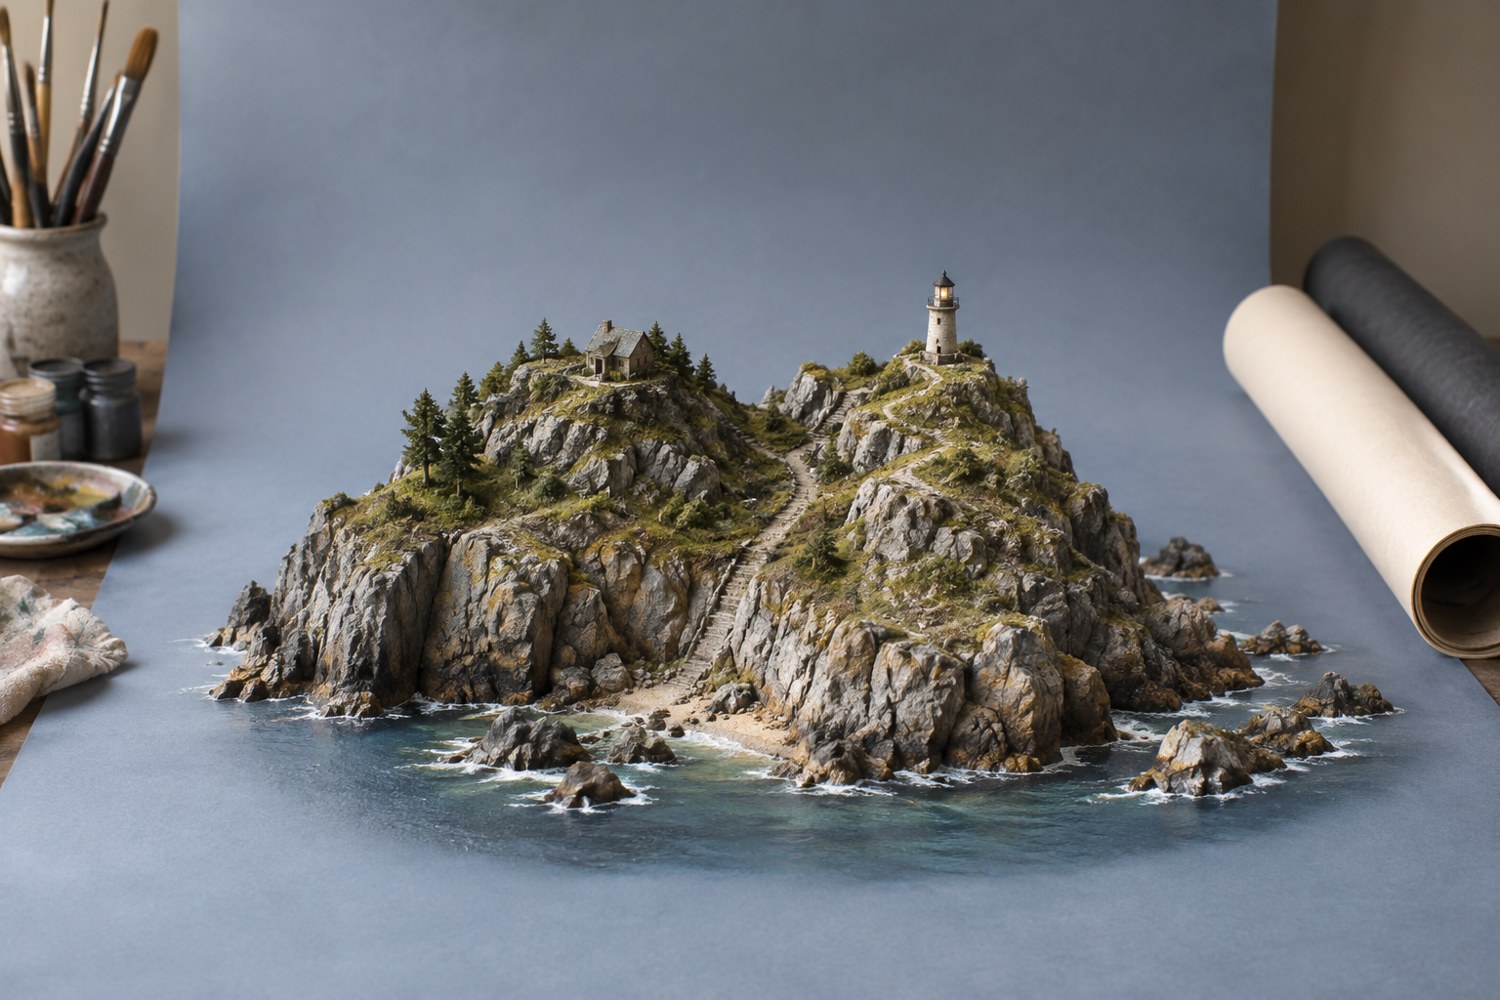
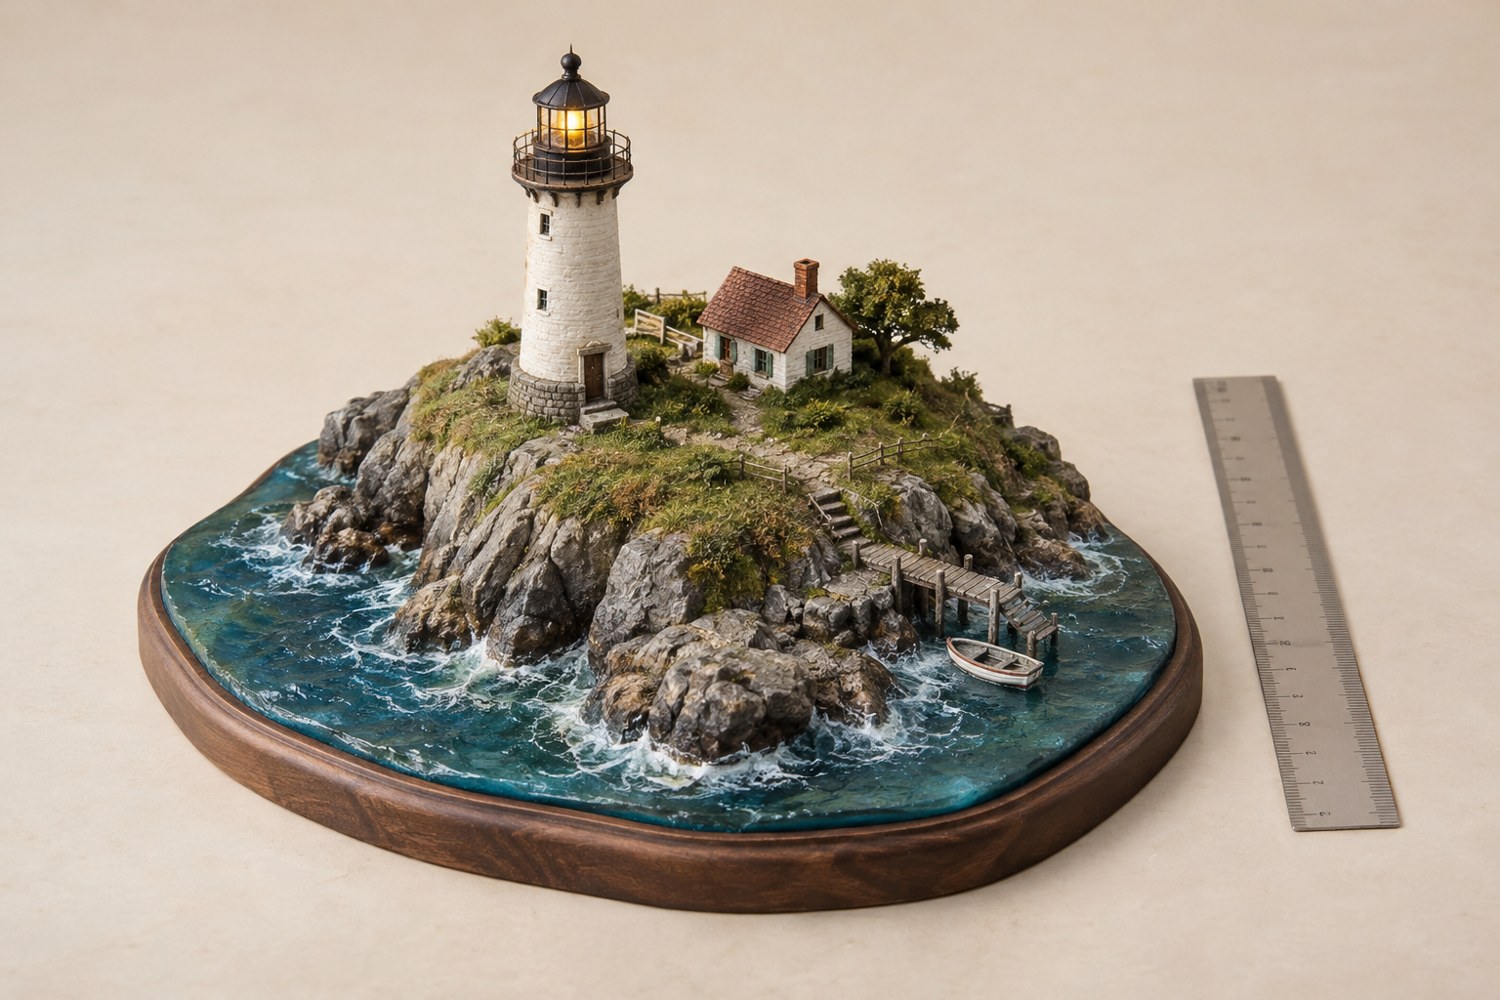
Read articleMake the lighthouse, headland and route from the landing point work as one composition before adding coastal details.
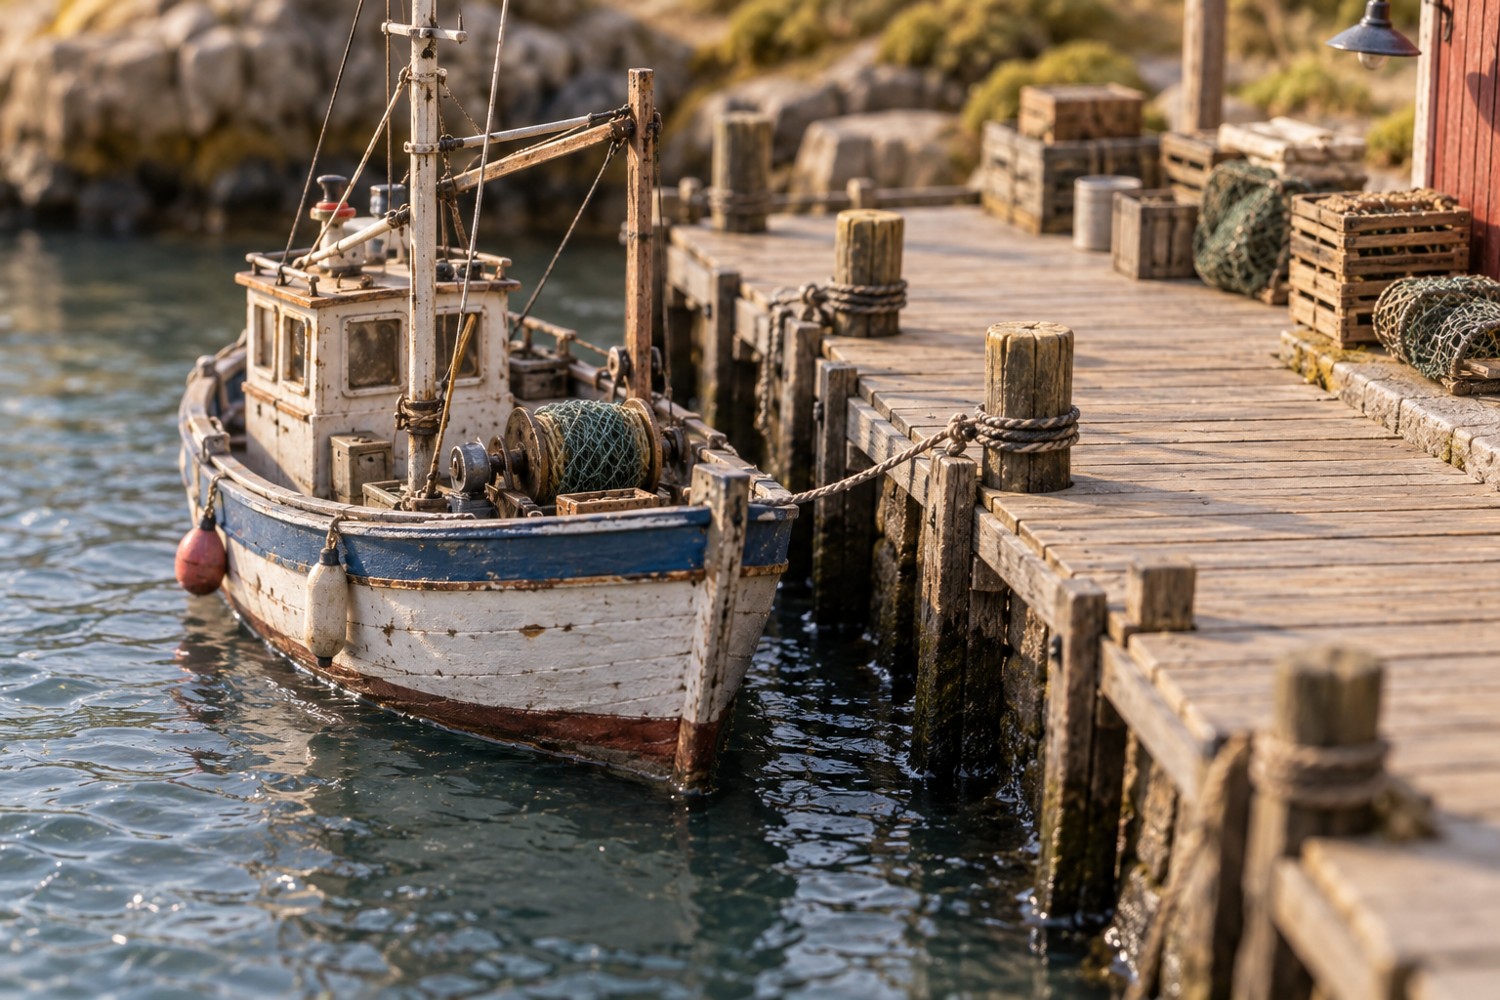
Read articleUse the boat, walkway and working areas to set dock spacing before adding bollards, crates or ropes.
Read articleReduce a landscape to a few colour masses so you can test contrast and mood before painting the detailed model.
Read articleUse separate scenic inserts and clear handling points to give a winter scene details that can be removed without scraping the snow surface.
Read articleOrganise terrain by support needs and unloading order so the journey does not undo the work on its exposed details.
Read articleCheck alignment, access and assembly order with temporary placement before an adhesive makes the decision permanent.
Read articleIdentify each support scar and protect the surrounding shape before removing material from a finished print.
Read articleTest the complete primer and paint sequence on representative spare material before coating the model.
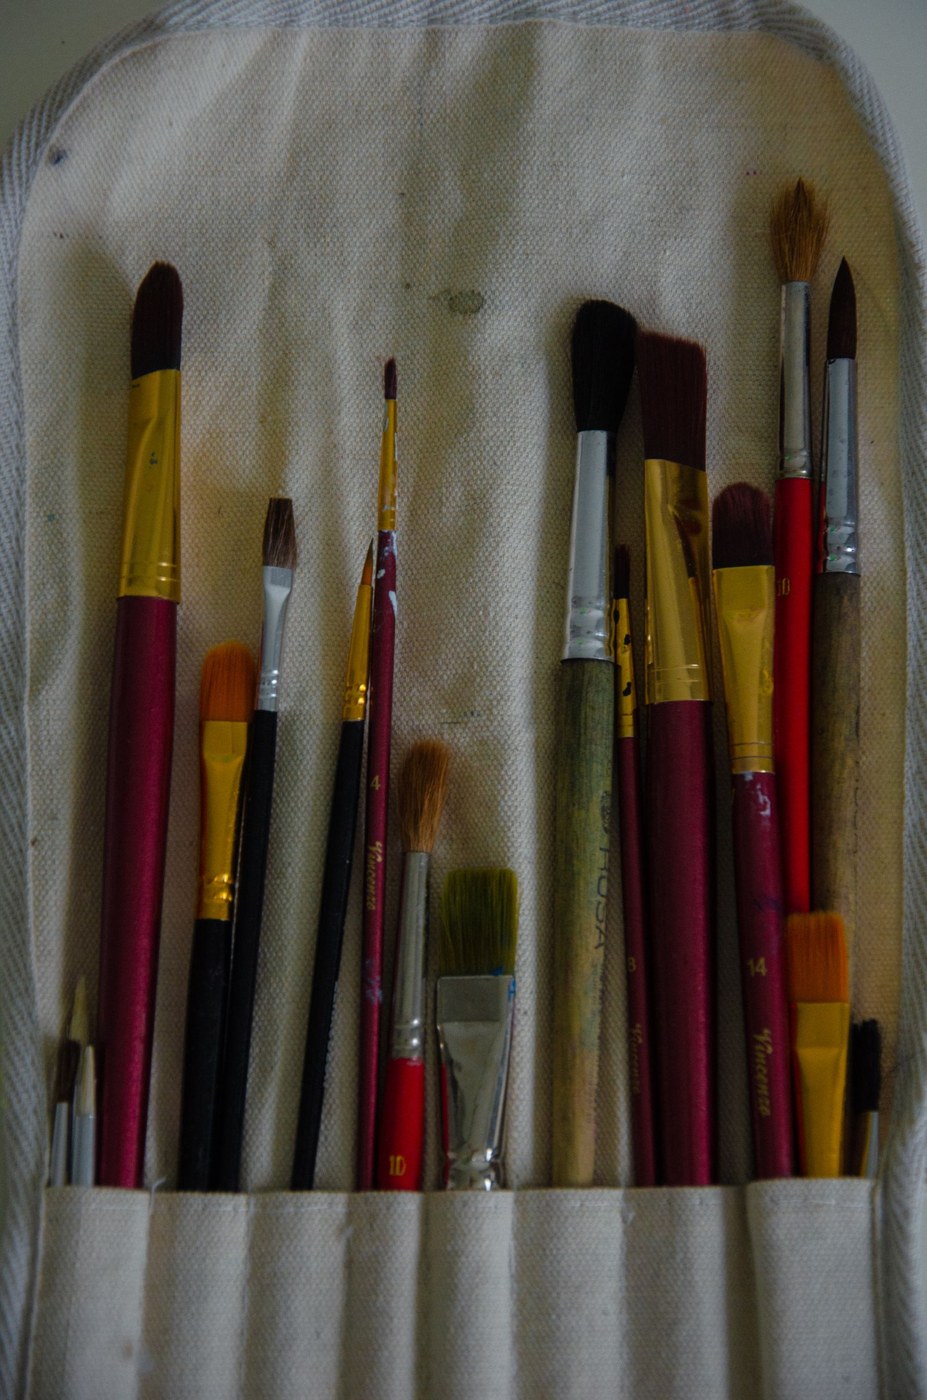
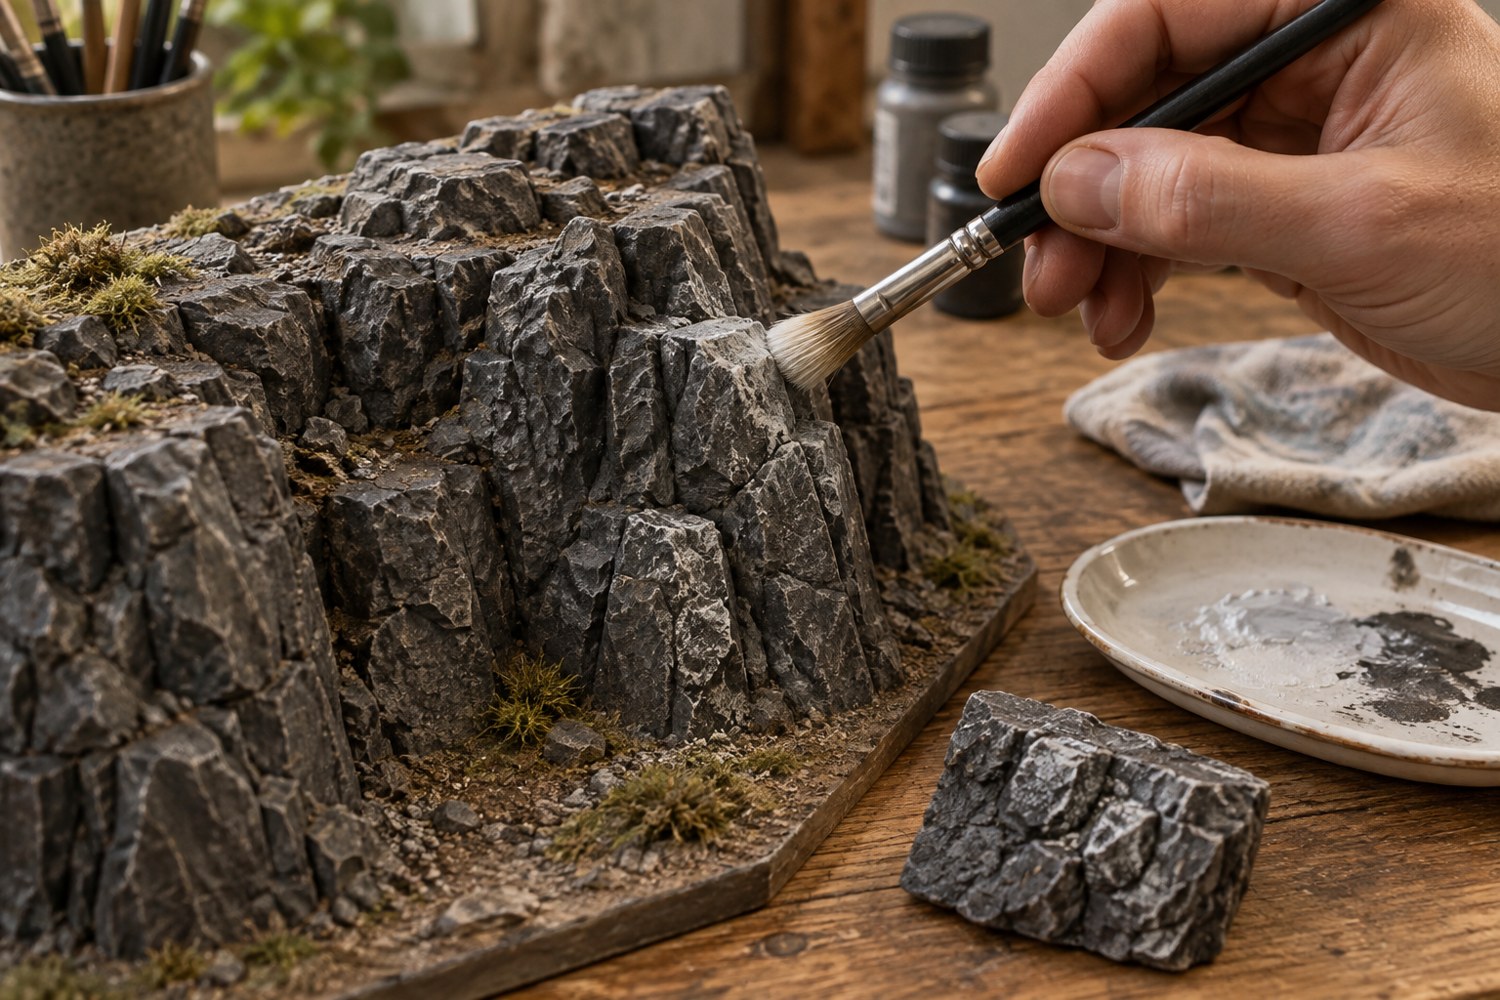
Read articleChoose brush shapes around the surfaces you need to paint, with a separate tool for rough texture work.
Read articlePlace a wash where the model needs separation, then remove excess before it collects into distracting pools.
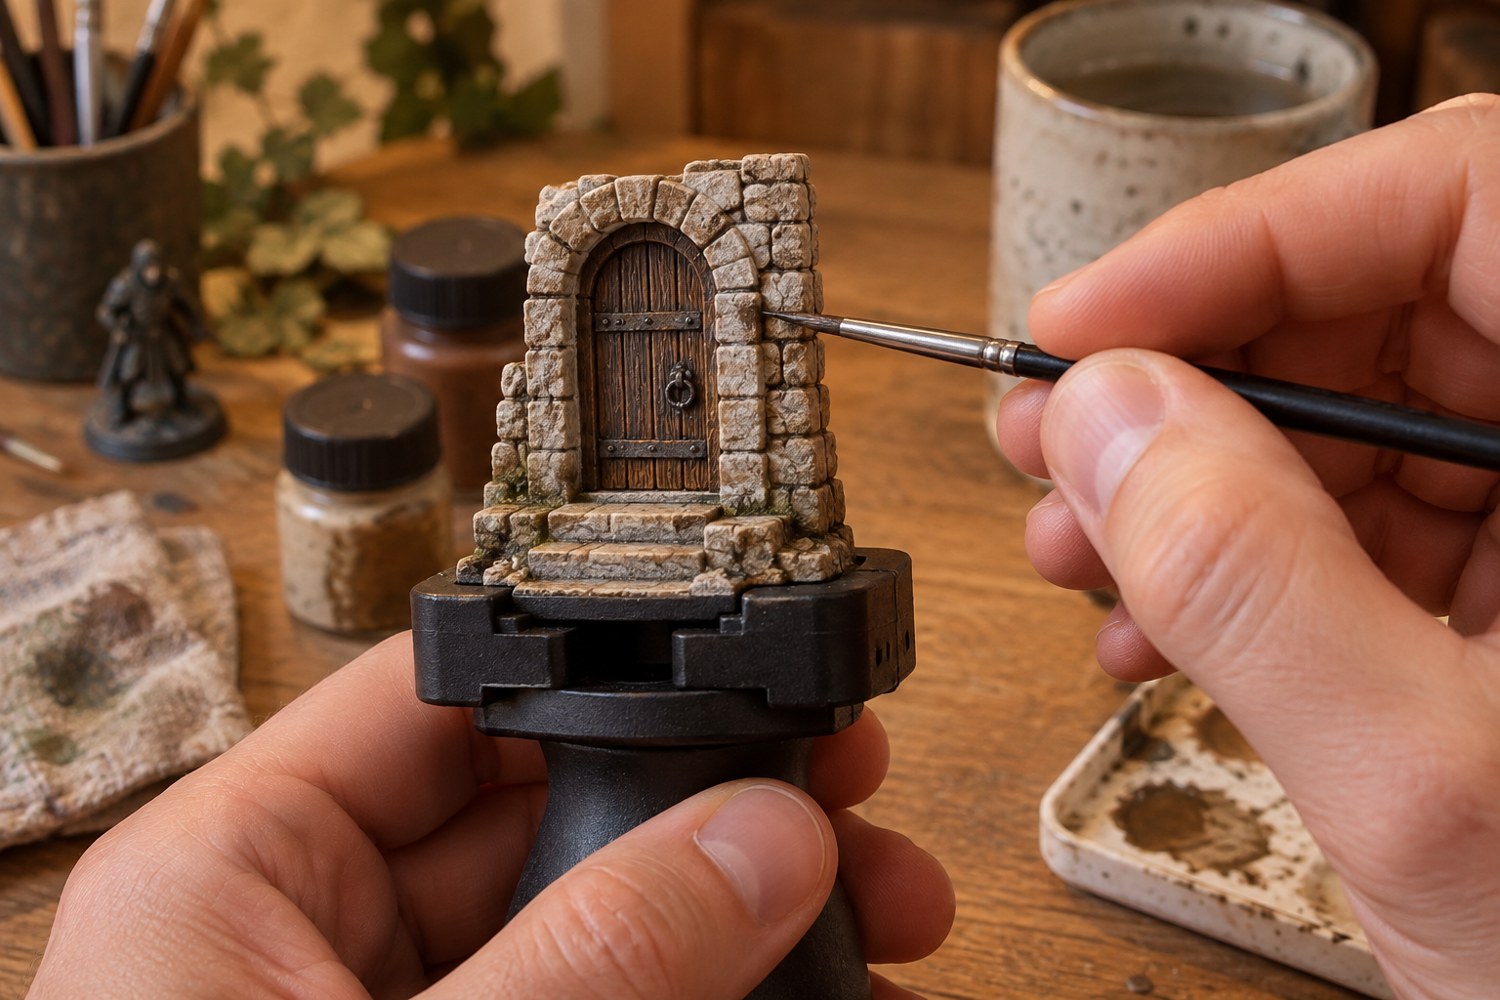
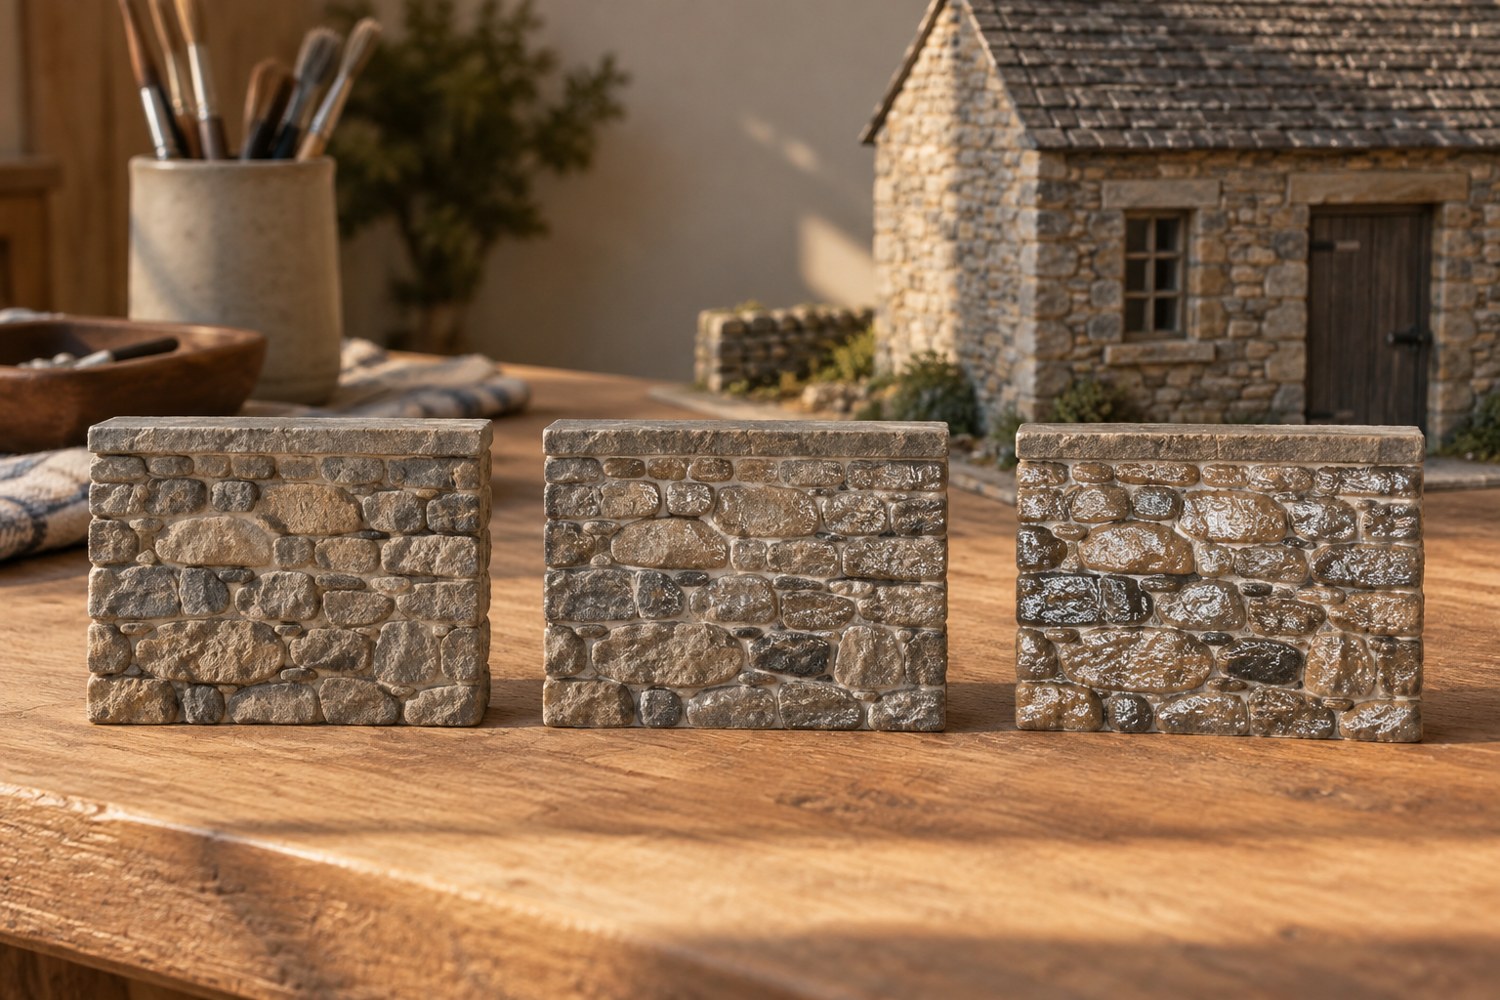
Read articleUse a spare textured piece to establish paint load, pressure and highlight colour before touching the finished stonework.
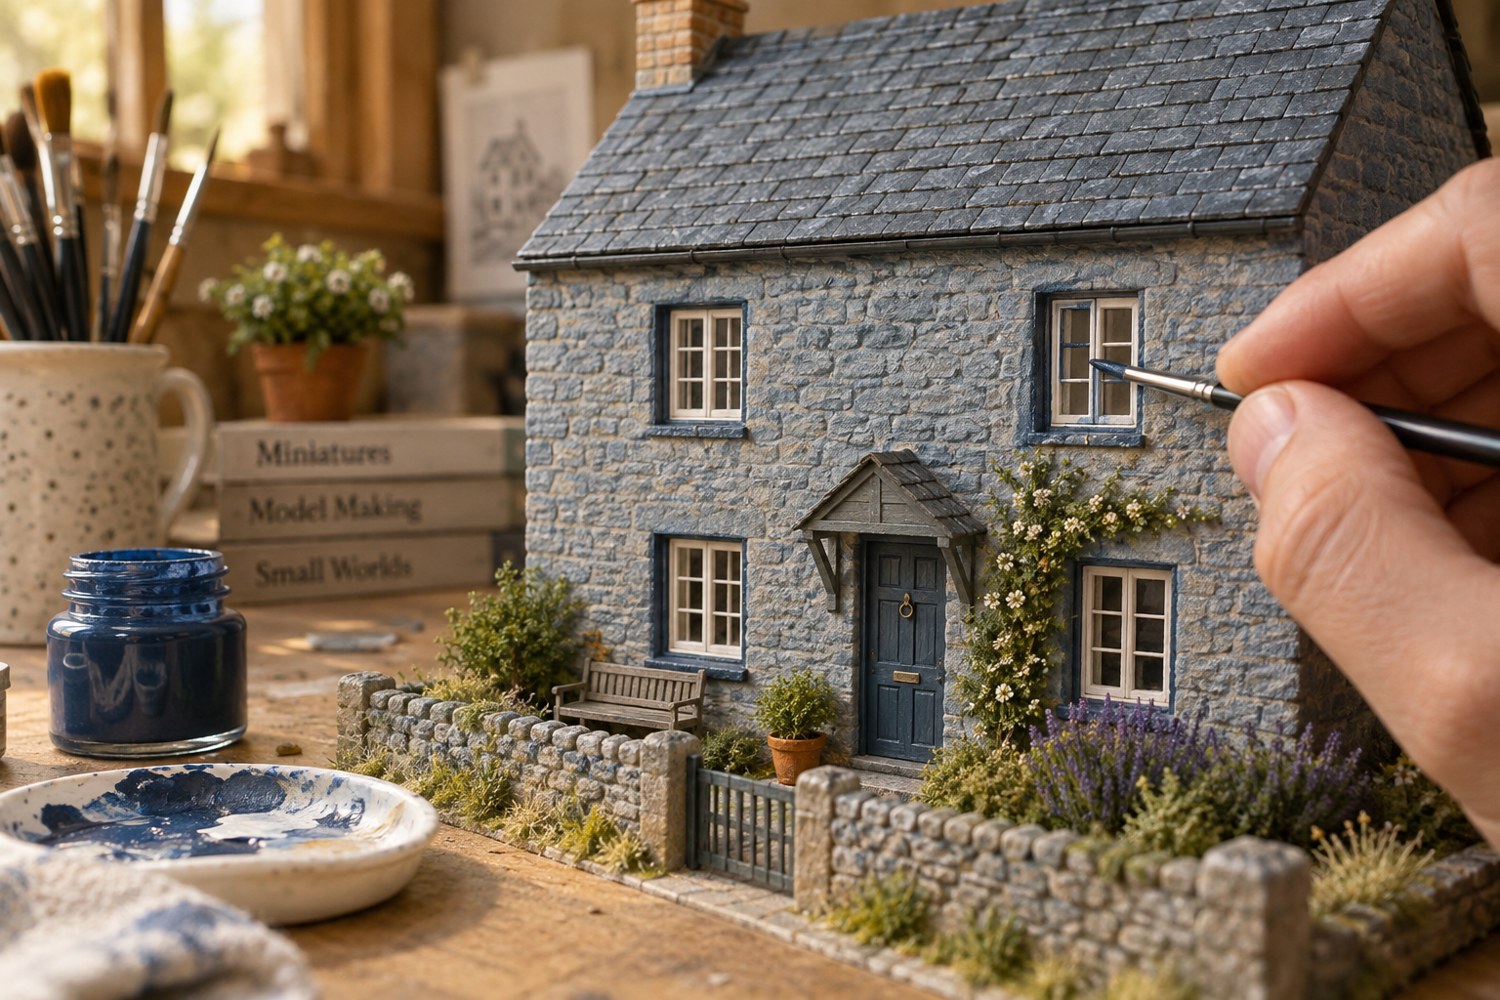
Read articleUse a clear dark shape and selective reflections to suggest tiny windows without turning every pane into a heavy grid.
Read articleDecide whether a terrain join is permanent or removable before using filler, colour or scenic details to disguise it.
Read articleAssign colours to material roles and reserve one accent before painting a miniature building.
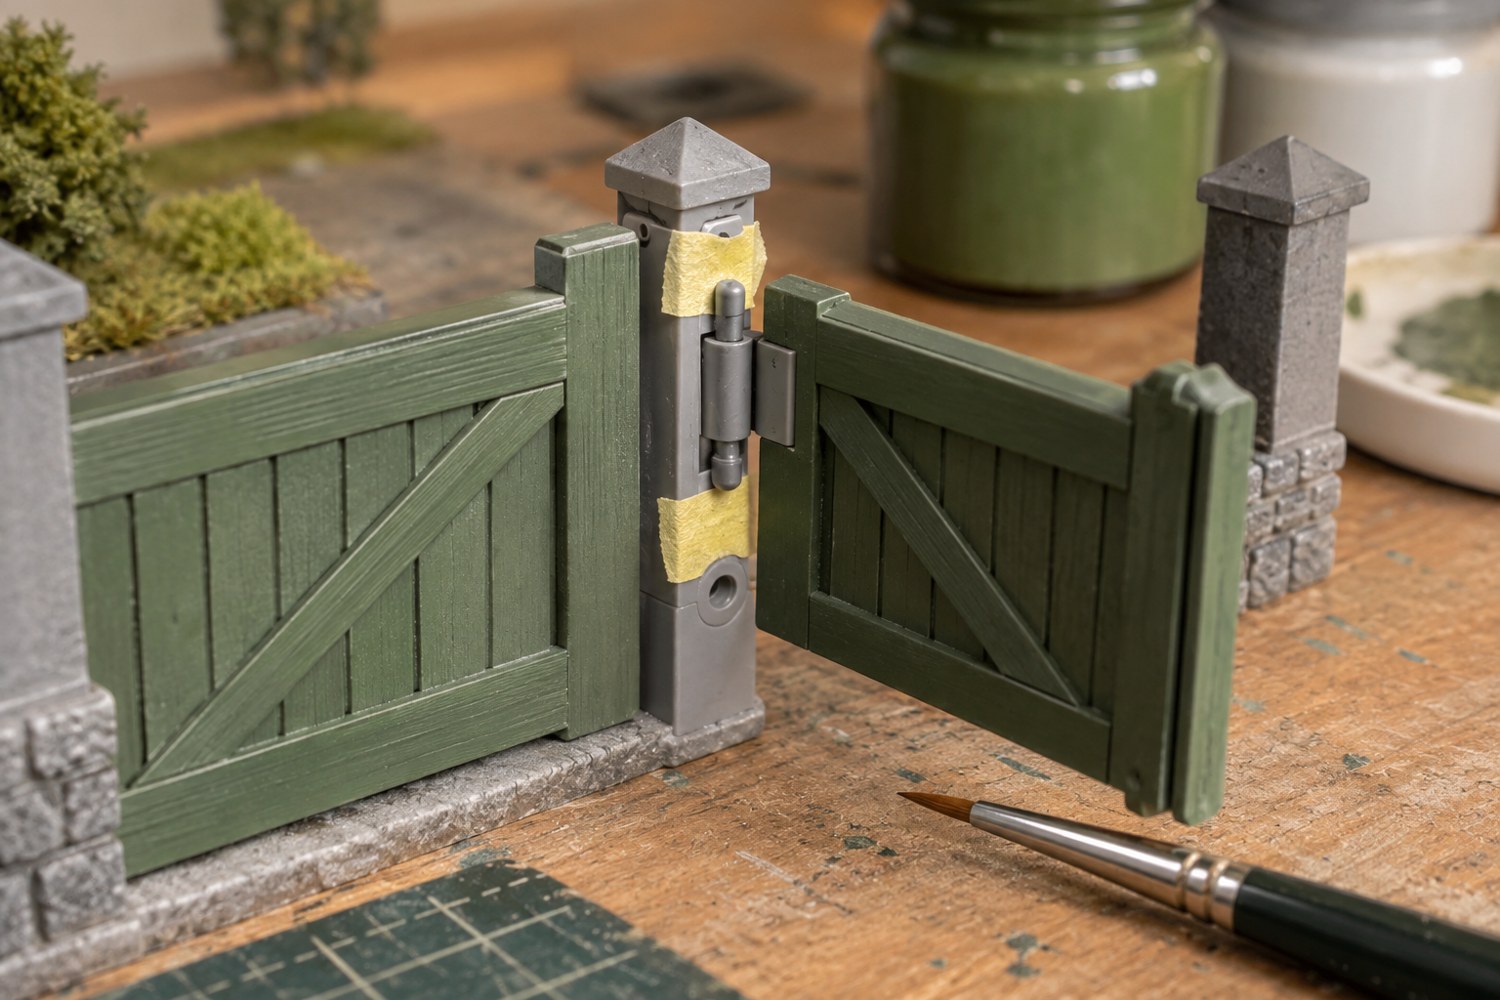
Read articlePlan the paint boundary, test the tape and control the paint load before masking a small straight edge.
Read articlePlace weathering where water, handling and exposed edges would leave different marks on a harbour structure.
Read articleChoose surface sheen and a protective coating around the model's materials, contact points and intended handling.
Read articleIdentify bearing, sliding and locating surfaces before painting so the finish does not turn a movable assembly into a tight fit.
Read articleIdentify the cause of a break and the load path before choosing a repair that may simply fail in the same place.
Read articleMap the order of joints, painting access and trapped parts before committing to a complex model assembly.
Read articleJudge each new detail by what it explains in the scene, and stop when additions compete with the subject or complicate handling.
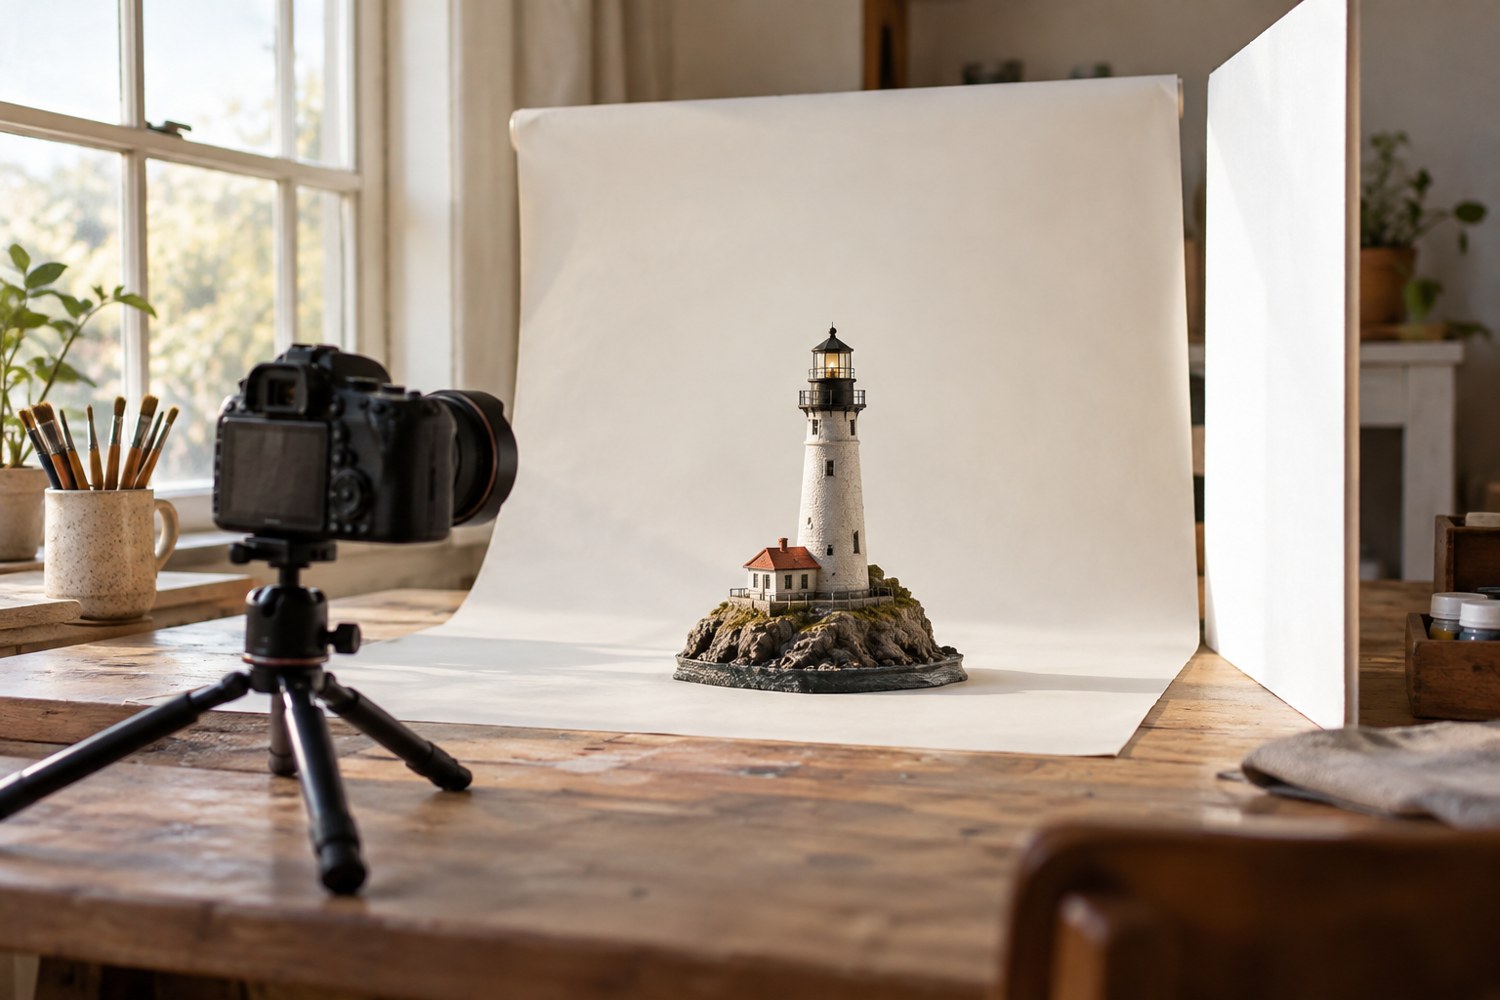
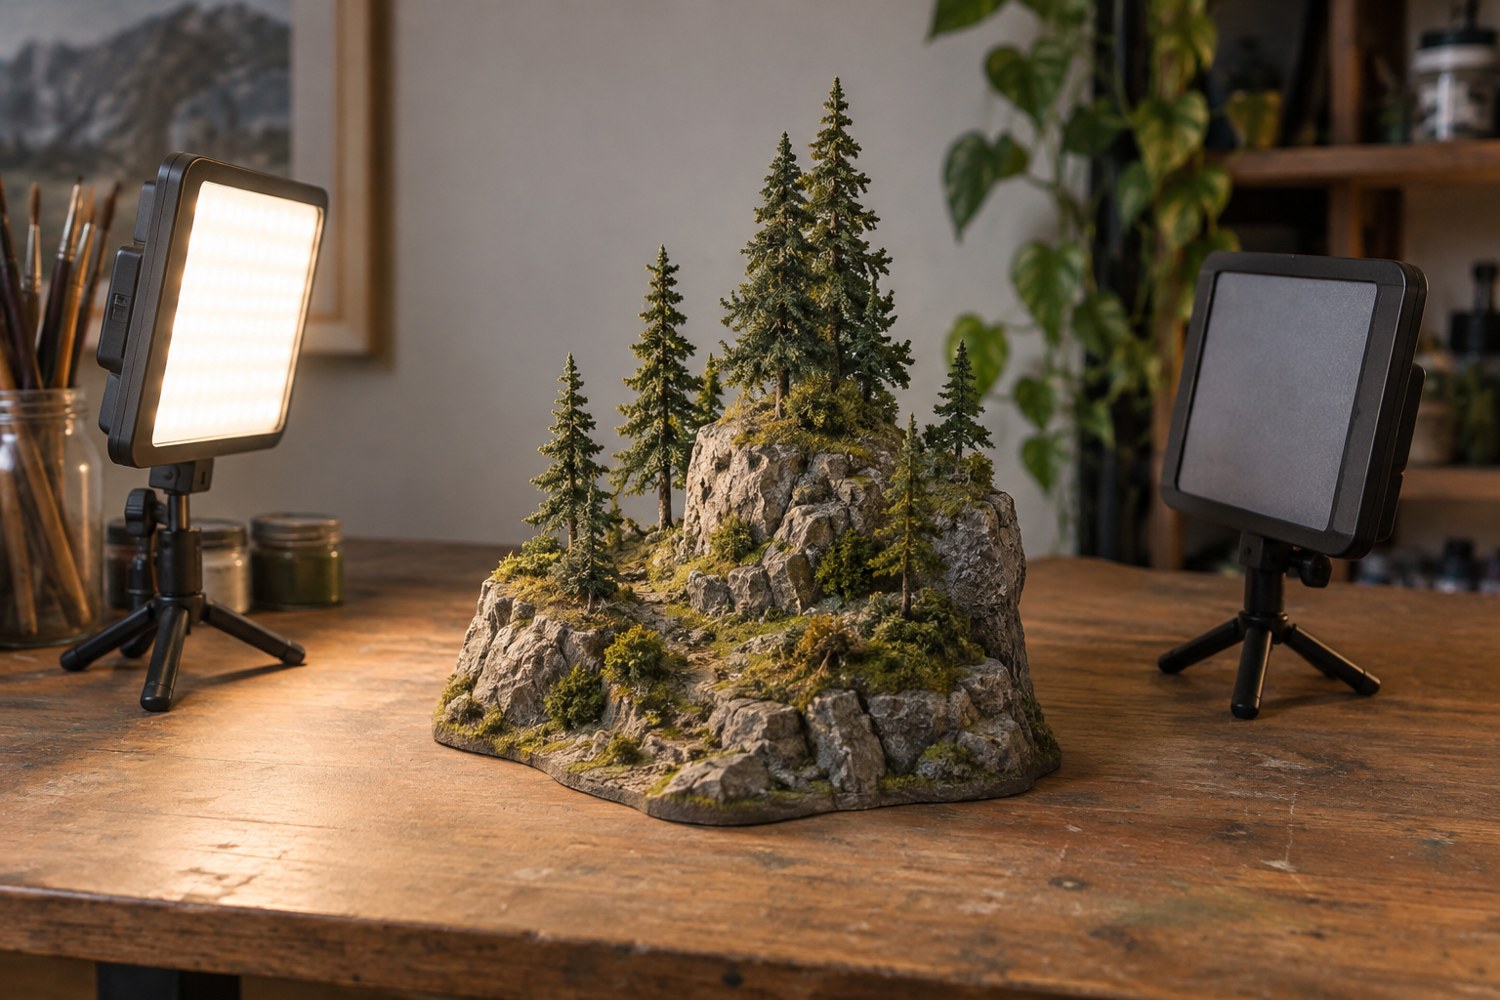
Read articleUse a stable model position, indirect window light and a simple reflector to make small forms readable in photographs.
Read articleChoose a background that separates the model's silhouette and supports its colours without becoming a second subject.
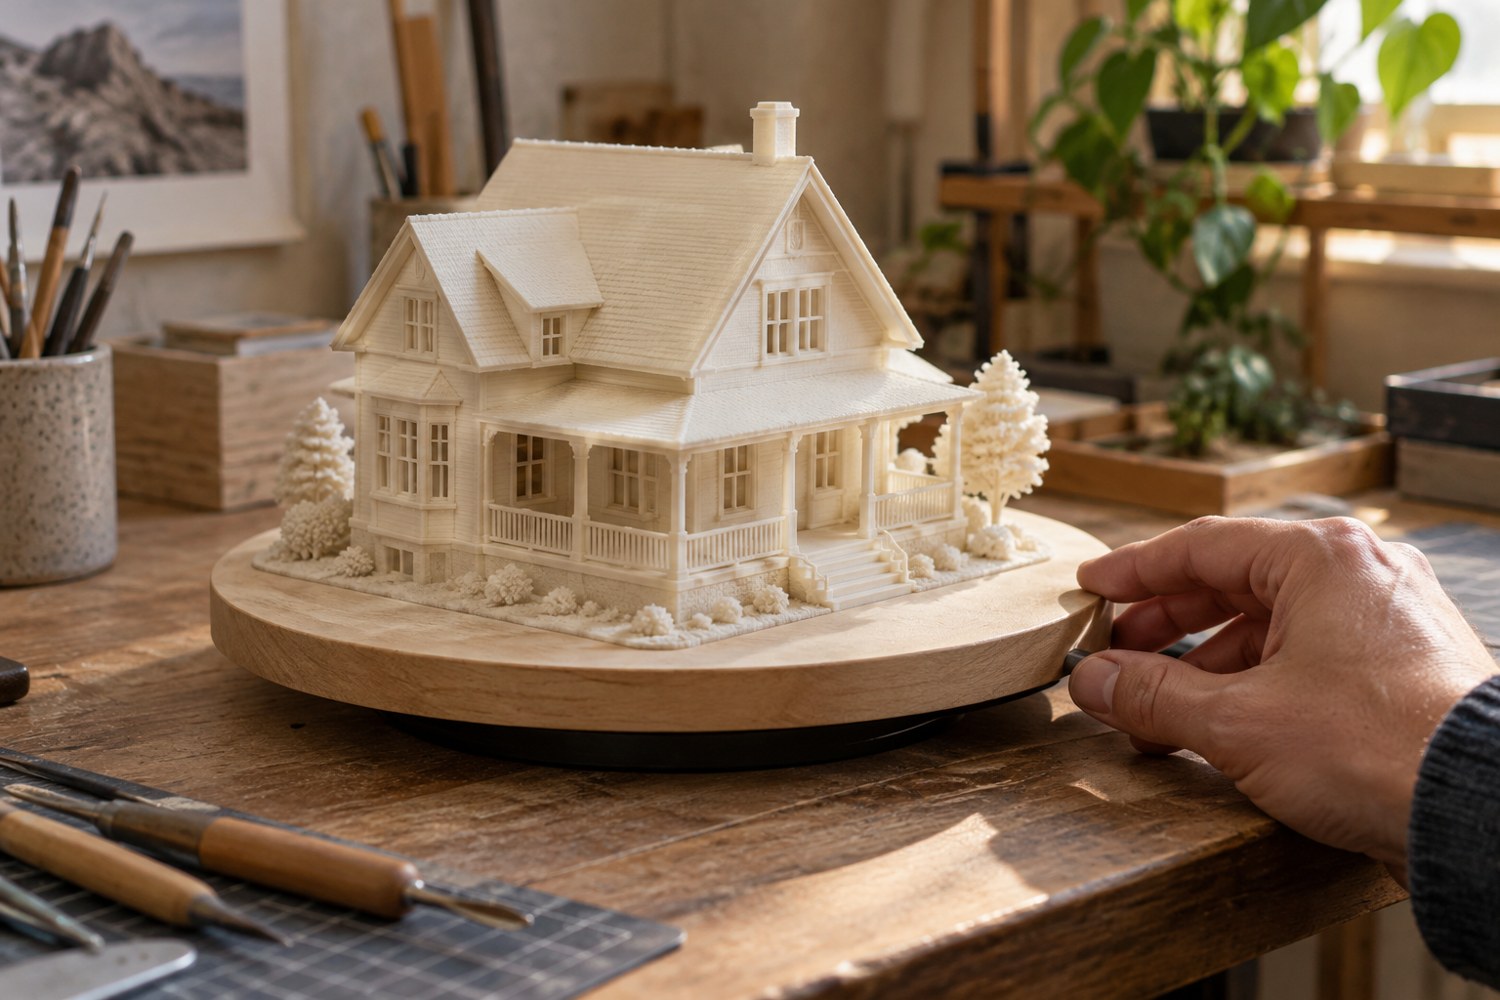
Read articleUse a stable turntable to inspect changing reflections and silhouettes, with the model supported by its base.
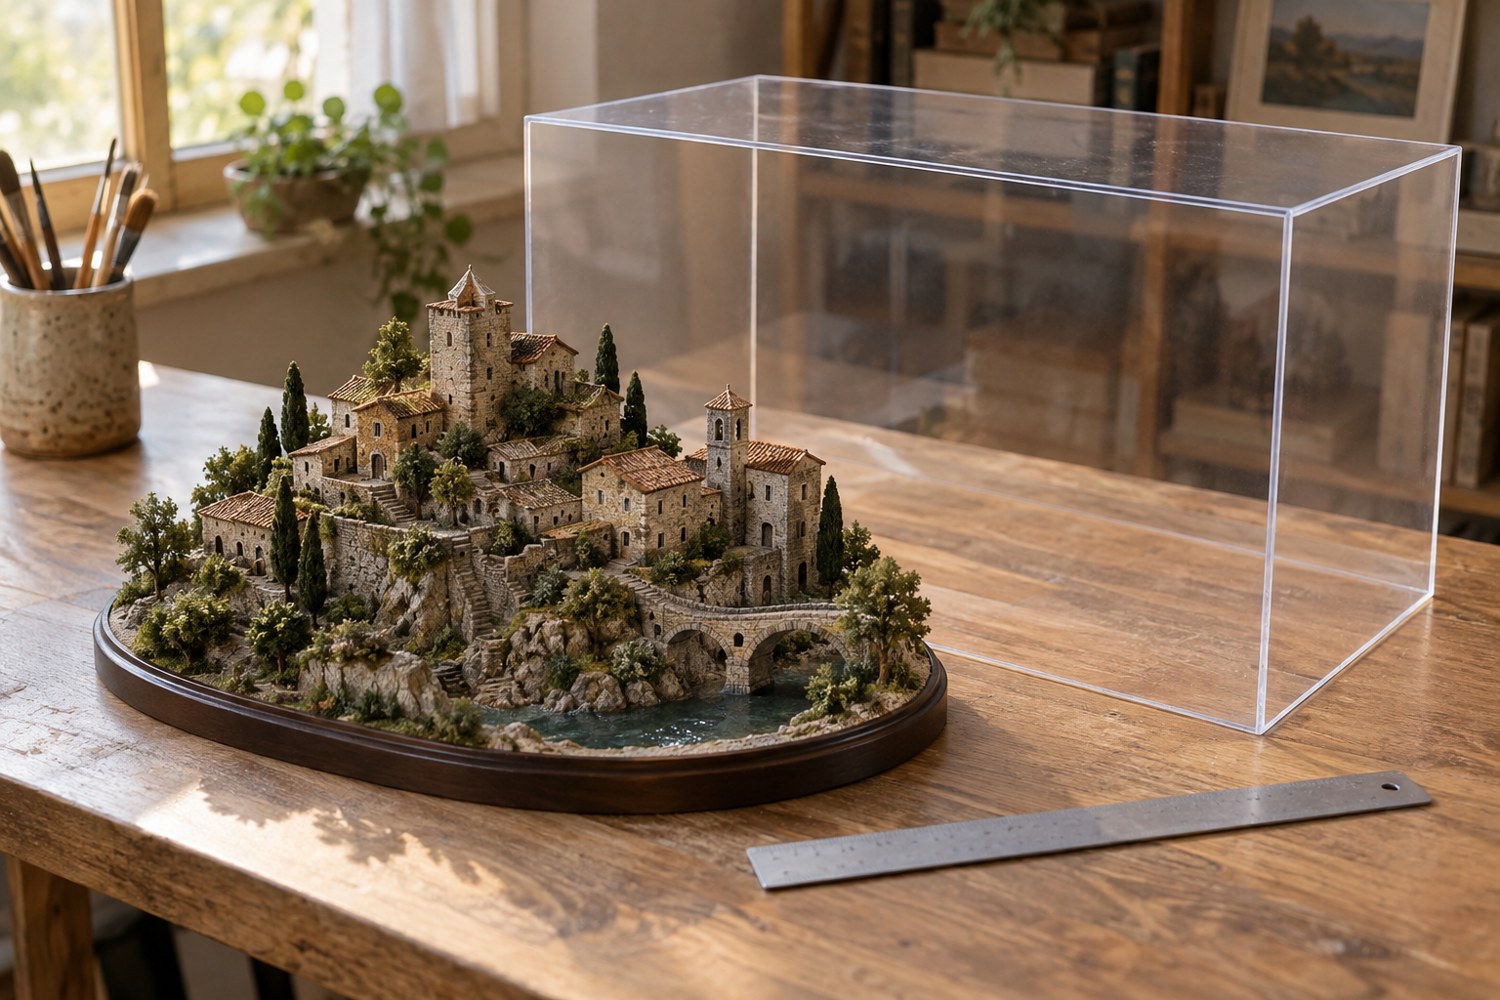
Read articleMeasure the model's full envelope and rehearse cover removal before ordering or building a dust cover.
Read articleImprove phone detail photographs with stable support, correct focus distance and light that reveals the surface.
Read articleUse a separate reference view or a simple dimensional caption to communicate model size without overwhelming the main photograph.
Read articlePack a miniature around its strongest surfaces and keep removable details from touching one another during a local journey.
Read articleRecord terrain by stable identifiers, useful dimensions and storage locations so the collection remains easy to assemble and maintain.
Read articleArrange shelf groups around sightlines, access and the actual load limits before using risers to change model heights.
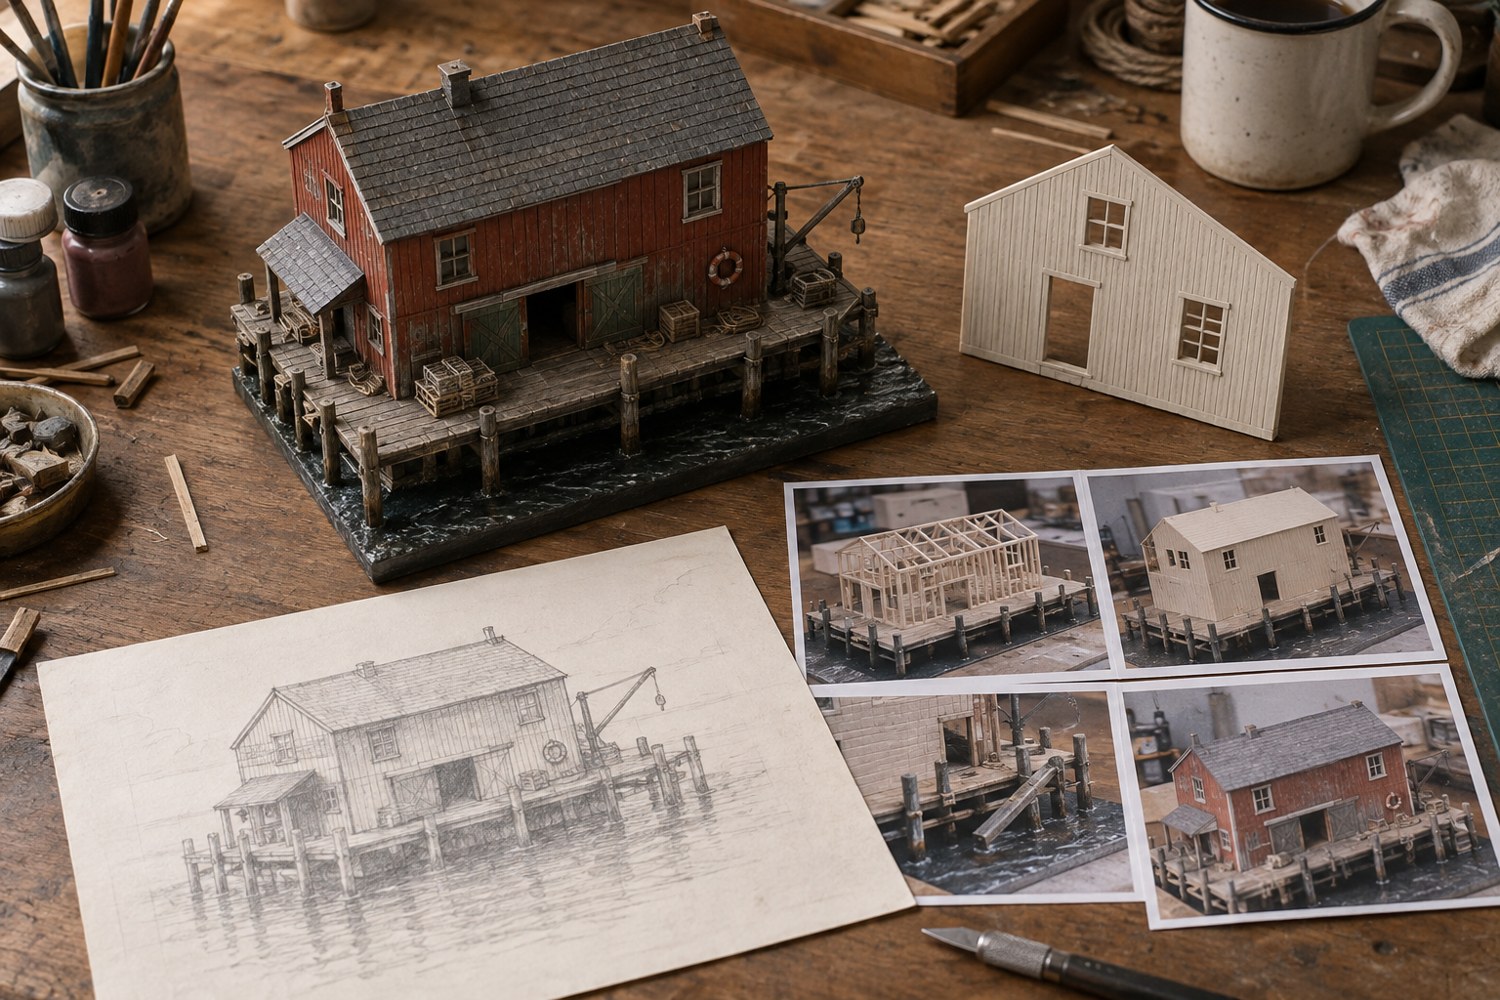
Read articleSelect process images that explain decisions, revisions and construction rather than presenting an unstructured record of every work session.
Read articleCompare light direction while keeping the camera and model fixed so you can see which position reveals the painted form.
Read articleGive the recipient a clear parts list, handling method and reassembly reference when a model leaves your workspace.
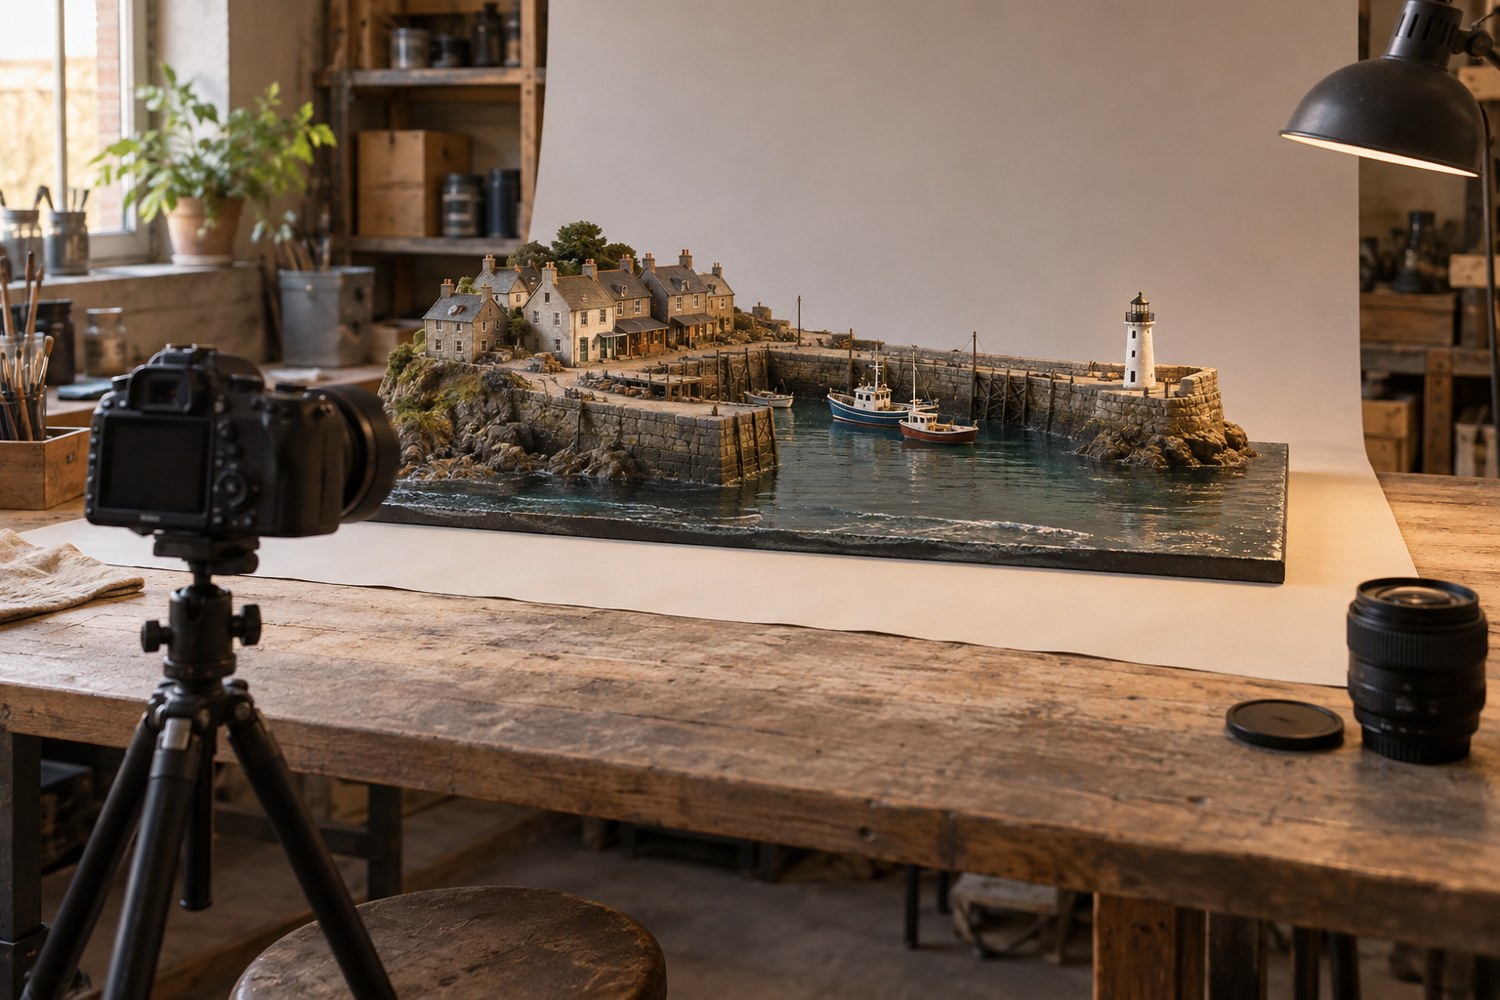
Read articleCapture the whole object first, then work towards details while keeping the model's orientation and lighting understandable.
Read articleWrite captions that identify the model, explain the visible stage and distinguish your contribution from the underlying design.
Read articleNo articles match. Try a shorter phrase or another subject.