Design a material label for mixed project boxes
Put identity, process stage and cautions on the box so mixed materials do not become anonymous parts.
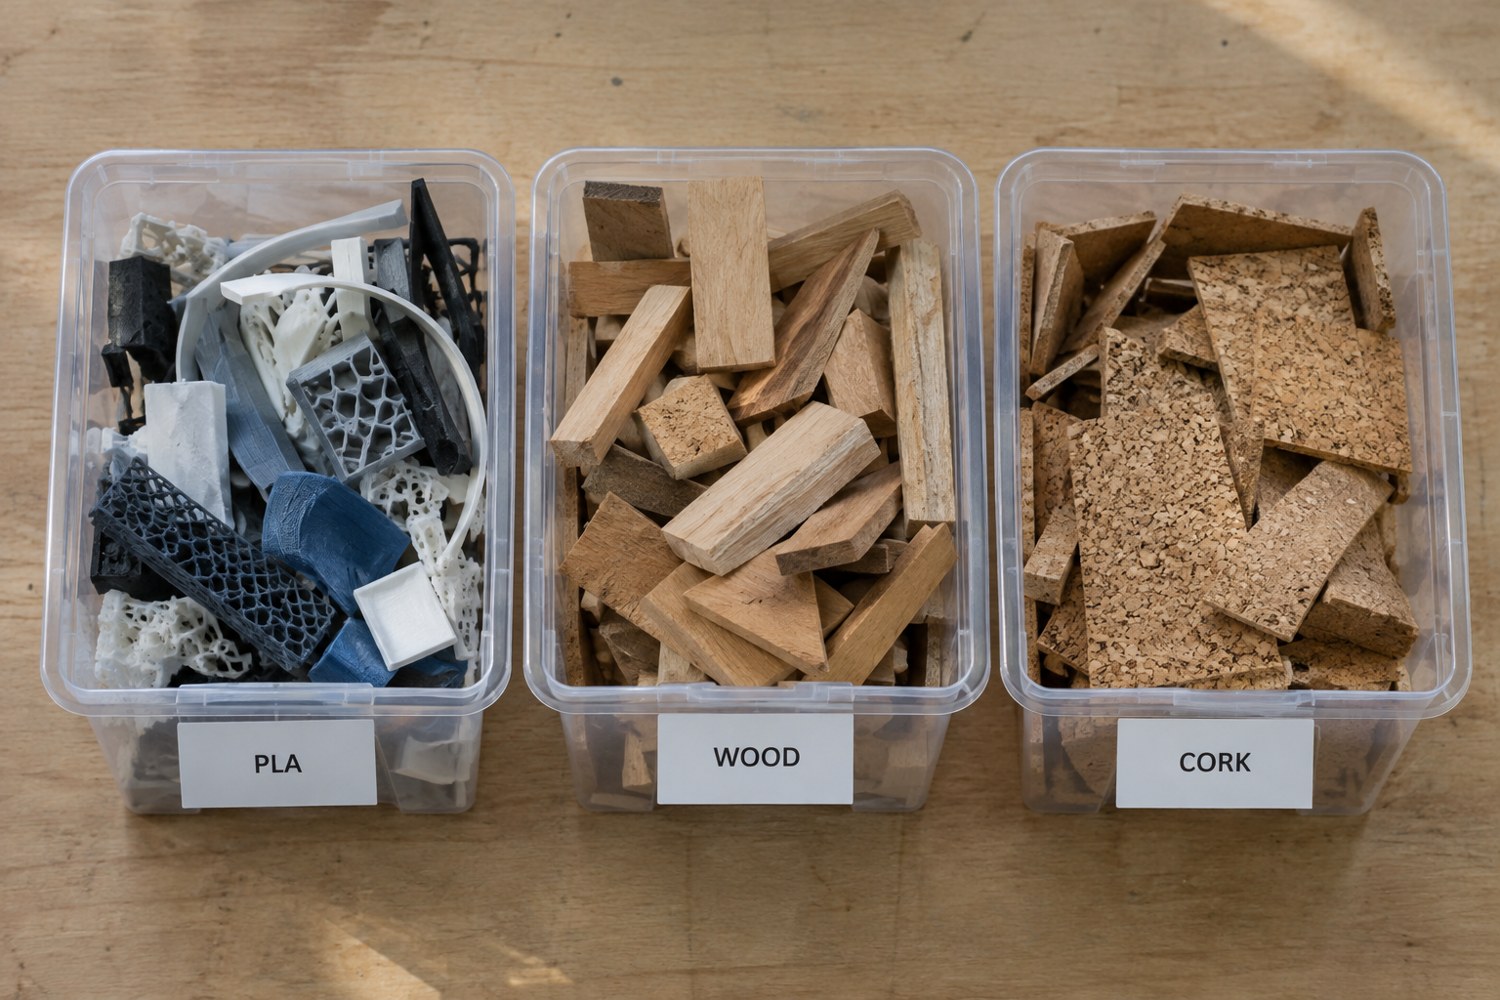
A project box can contain printed plastic, cork, wooden pieces, metal pins and painted samples. A useful label does more than name the project. It tells you which materials are inside, which revision they belong to and what work remains. This matters when choosing an adhesive or finish weeks after the original making session.
Use a short main label with the project name and revision, then a removable contents card for details that change. Name the materials as specifically as the records allow: an exact filament product is better than “plastic,” and an identified paint system is better than “painted.” Keep original product references in the project folder rather than trying to fit a full technical sheet onto the lid.
Separate confirmed information from assumptions. If a donated component's material is unknown, write unknown and test any proposed joining or finishing method appropriately. Do not infer a polymer from colour or from the way it feels. A confident but incorrect label can be more misleading than a visibly incomplete one.
Record processing stages in plain language. Examples include “support removed,” “dry-fit checked,” “primer sample only” and “final coat curing until the product's specified handling condition.” Avoid a generic ready label when only one operation has been completed. For resin, the record should identify the material and completed washing and curing process; uncertain or contaminated items require their proper separate handling arrangement.
Use inner labels when several subassemblies share a box. Keep left and right parts, old revisions and test pieces visibly distinct. A crossed-out obsolete revision can prevent an attractive but incompatible sample from being used in the final assembly. Put a count beside tiny connectors so that missing pieces can be noticed before glue is mixed.
Finish the card with the next planned action and the location of the matching digital files. Keep the label readable from the shelf, and replace it when the box changes purpose rather than covering old information with layers of tape. The best label helps a future session begin with an accurate account of the contents, even if you have forgotten the decisions made when the parts were first stored.
Another detail to explore
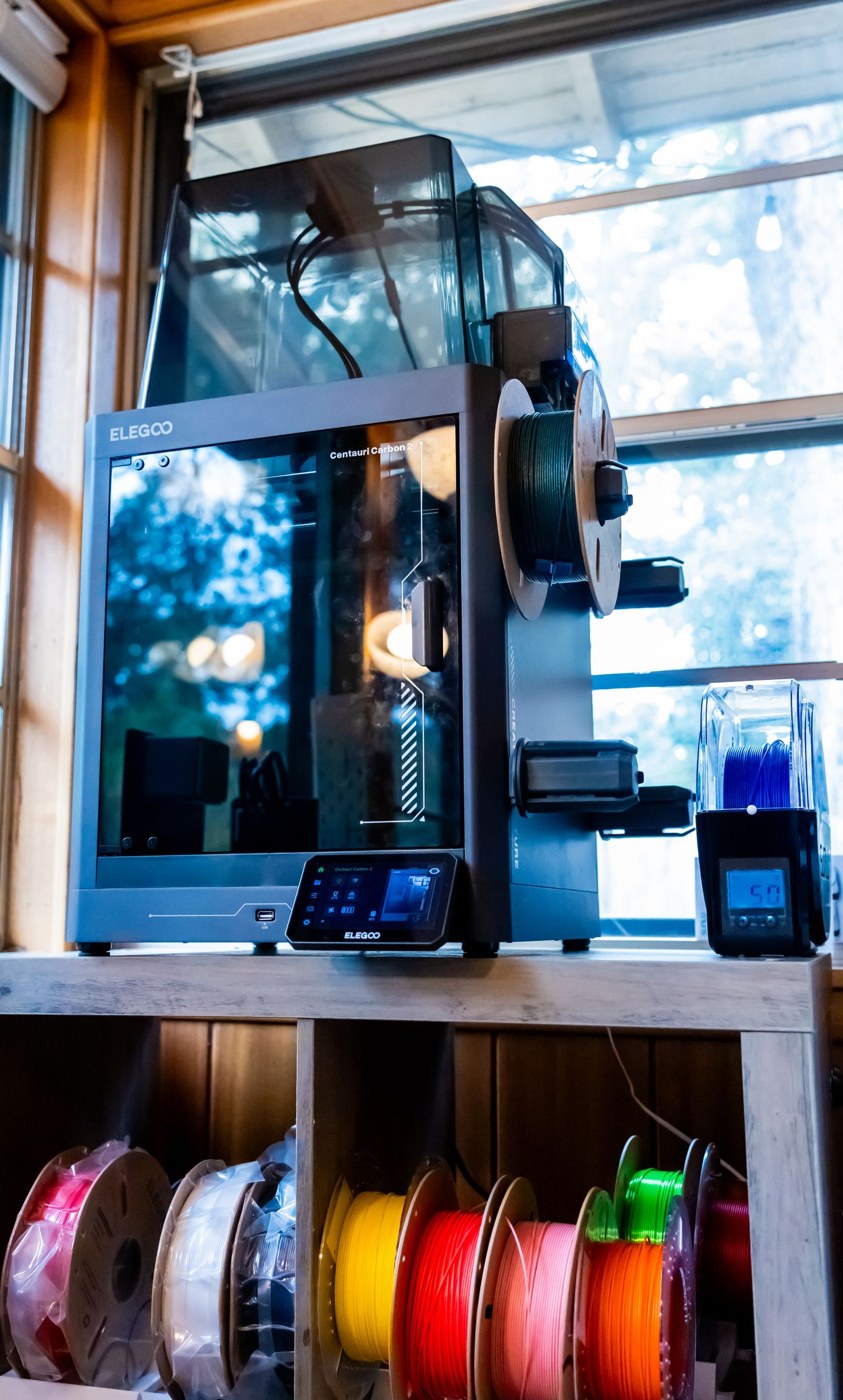
Store filament with a label you can actually use
Keep material identity, opening date and profile information with the spool through storage and use.
Read article
Choose between PLA and PETG for an indoor model
Choose material around handling, shape and finishing rather than treating one polymer as a universal upgrade.
Read article