Plan a model photography session from wide view to detail
Capture the whole object first, then work towards details while keeping the model's orientation and lighting understandable.
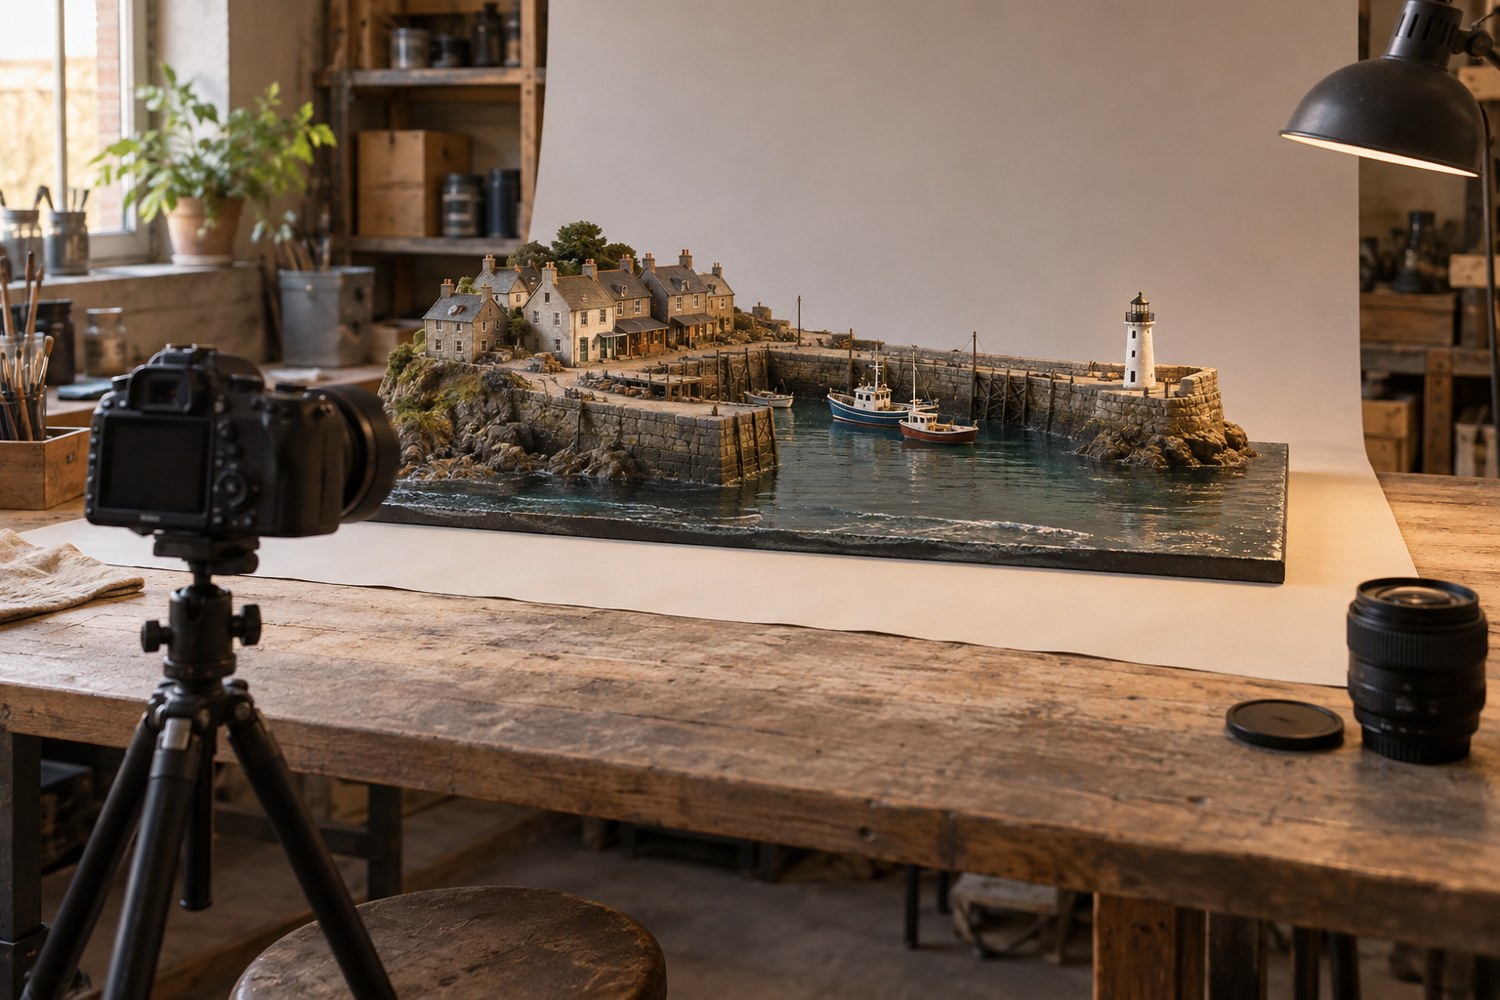
A model photography session becomes more efficient when the image sequence has a purpose. Write a short list before setting up: complete view, three-quarter view, important side, removable parts and selected details. The list should reflect what someone needs to understand about this model, not a fixed number of photographs.
Prepare the model on a clear surface and remove loose dust using a method appropriate to its materials. Check that detachable pieces are correctly seated. A misplaced roof or missing accessory can be hard to notice once you are concentrating on camera settings.
Establish the reference view
Begin with a frame showing the whole base and maximum height. Leave space around the object so the image can be cropped without cutting off important projections. Use a stable camera position and inspect the saved image for focus and exposure before taking the rest of the sequence.
Take a second view that explains depth. A three-quarter angle often reveals the relationship between front and side, but choose the angle that suits the actual shape. If the rear contains important construction or unfinished areas that should be documented, include it deliberately rather than assuming the front view tells the whole story.
Keep the lighting reasonably consistent across the overview series. A large change in direction or colour can make related images appear to show different finishes. If you need a separate inspection light for a defect, label that image according to its purpose.
Move closer only with a clear subject
Choose details that explain a technique, mechanism or focal feature. Keep enough surrounding context for the viewer to locate the detail on the whole model. Nikon's close-up guidance notes the importance of the lens's closest focusing distance; moving inside that limit will not produce a sharp image simply because the subject fills the frame.
Check each detail image at full size. Close-up depth can be limited, so make sure the important surface is actually sharp. Step back slightly if necessary and crop modestly later. Avoid using extreme digital enlargement as a substitute for a properly focused original.
Photograph removable components both installed and separated if their function matters. Lay them out in a clear order and include their matching positions in the caption. Do not balance a loose part on fragile scenery merely to fit everything into one frame.
Finish with a scale-reference image or a recorded set of dimensions. Save originals separately from edited exports, and use filenames that identify the view and revision. Review the session as a sequence before dismantling the setup. If a viewer can understand the object's size, shape, important detail and assembly without guessing, the session has covered its purpose. More near-identical photographs usually add less than one missing view of the base or mechanism.
Build a contact sheet before packing away the camera
View the selected photographs together in a grid or a simple folder preview. Look for missing information rather than choosing only the most attractive frames. A sequence may contain six similar front views and no image showing how the roof lifts or how deep the base is. Take the missing view while the setup is still available.
Check that the same revision appears throughout the final group. If a railing was repaired halfway through the session, either retake the earlier overview or label the images so the difference is understandable. Consistent captions cannot fix a gallery that quietly mixes incompatible states of the model.
Keep one unedited reference photograph in the project archive, even if the public images receive cropping and modest exposure correction. Export presentation copies with useful names and enough resolution for their intended use. Do not overwrite the originals while making a smaller web version. A later request for a closer view or a different crop is much easier to satisfy when the original files and the shot list remain together.
Another detail to explore
Photograph a miniature with a simple window-light setup
Use a stable model position, indirect window light and a simple reflector to make small forms readable in photographs.
Read article
Choose a background for a terrain model
Choose a background that separates the model's silhouette and supports its colours without becoming a second subject.
Read article