Compare light positions on a painted miniature
Compare light direction while keeping the camera and model fixed so you can see which position reveals the painted form.
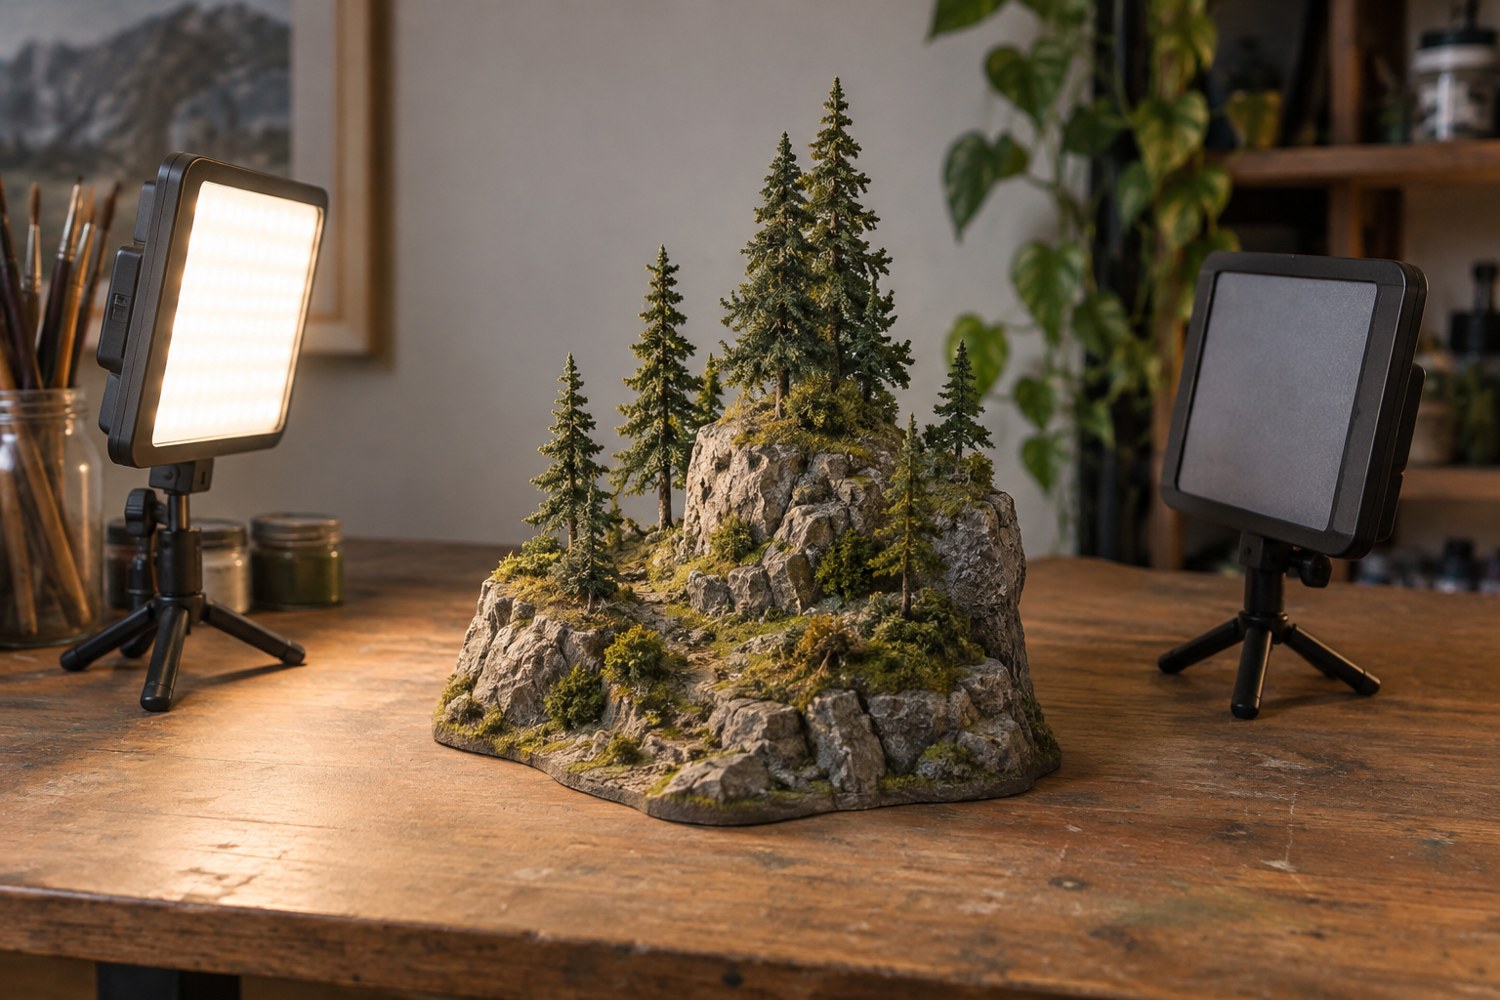
Changing several things at once makes lighting comparisons difficult. Fix the camera position, model angle and background first. Choose one painted feature to judge, such as a face, stone edge or glossy window. Then move a single light through a few positions and record a frame at each.
Start with the light in front and to one side. Move it farther around the model, then try a higher position. Keep the source at a consistent distance where practical. Notice how shadows change the apparent shape. A side light may reveal texture clearly while hiding a recess that matters to the composition.
Use a stable light stand or support and follow the equipment's operating guidance. Keep cables away from the model and the route around the table. Do not improvise a hot lamp close to paper backgrounds or scenic materials. If using a window, rotate the model and record that change, since the light itself cannot be moved.
Look at the transition between light and shadow. A larger apparent source tends to produce a different shadow character from a small concentrated one, but the useful question is what it reveals on this model. Check whether the highlight explains a curve or merely creates a bright patch.
Watch reflective surfaces separately. A window or varnished area may reflect the source directly and lose visible detail. A small change in angle can move the reflection without changing the paint. Do not repaint a surface solely because one light position makes it appear blank.
Add a plain reflector only after choosing the main direction. Place it on the shadow side and compare another frame. It should recover the detail you need without removing all modelling shadows. Keep the reflector outside the composition and secure against falling.
Compare the saved images at the intended display size, not only magnified on screen. Choose the position that supports the main subject while preserving enough information elsewhere. Record a simple setup photograph and the camera settings you controlled. When photographing the next model, use that arrangement as a starting point rather than a rule: a different silhouette, finish or depth may need a different light position to remain clear.
Another detail to explore
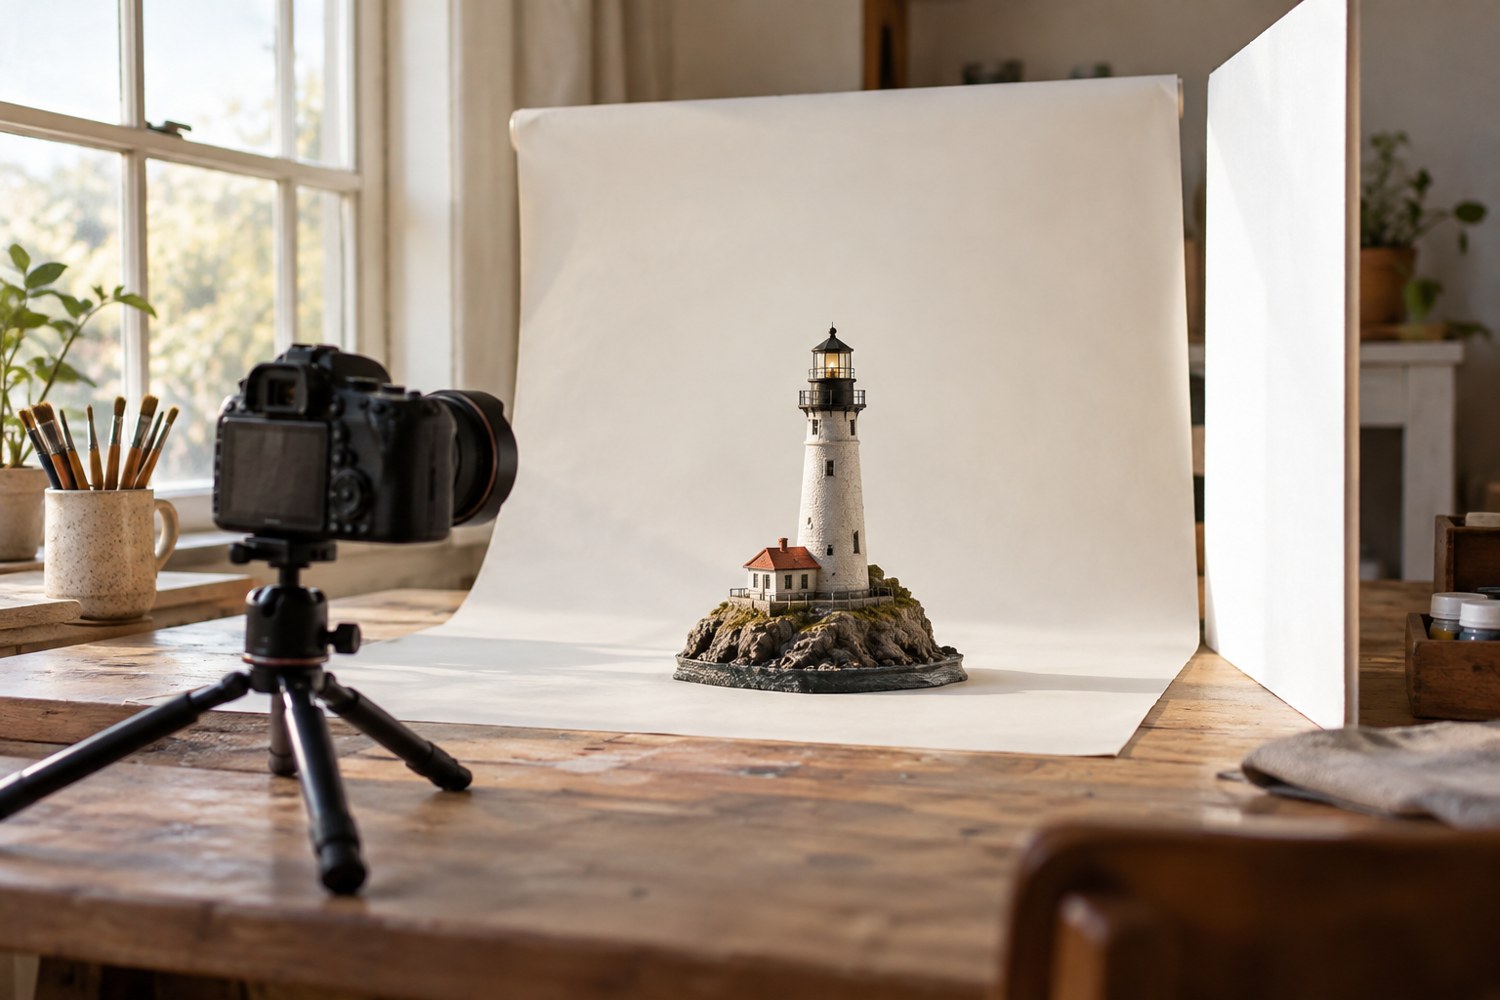
Photograph a miniature with a simple window-light setup
Use a stable model position, indirect window light and a simple reflector to make small forms readable in photographs.
Read article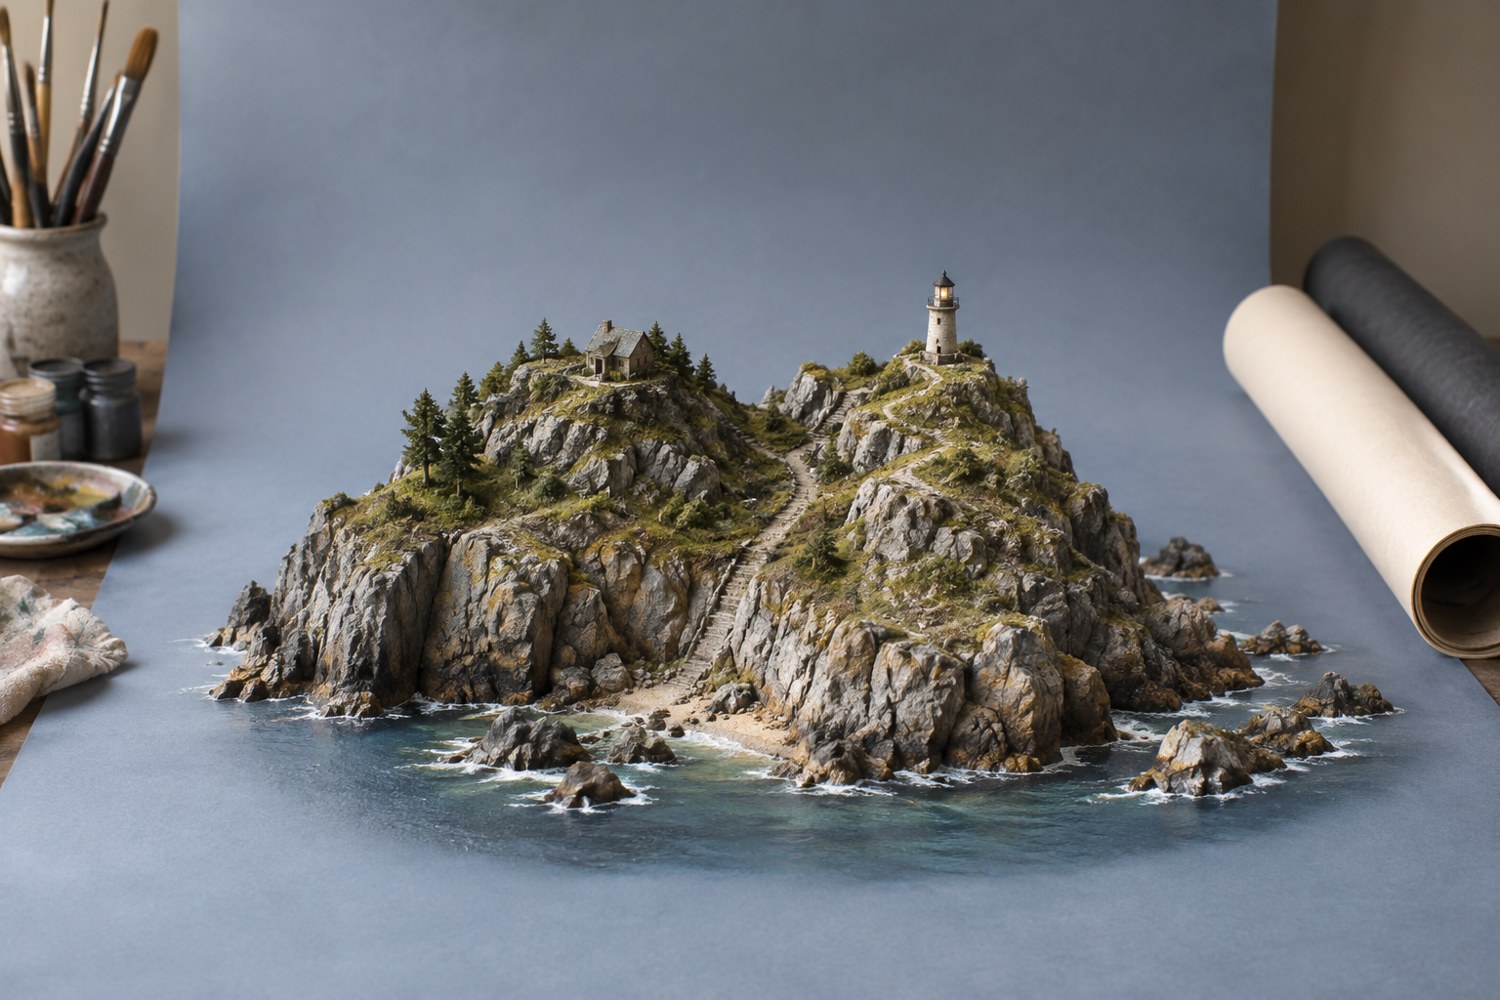
Choose a background for a terrain model
Choose a background that separates the model's silhouette and supports its colours without becoming a second subject.
Read article