Repair a model only after identifying the actual problem
A repair command should answer a diagnosed mesh problem. Preserve the original and compare the result before accepting automatic changes.
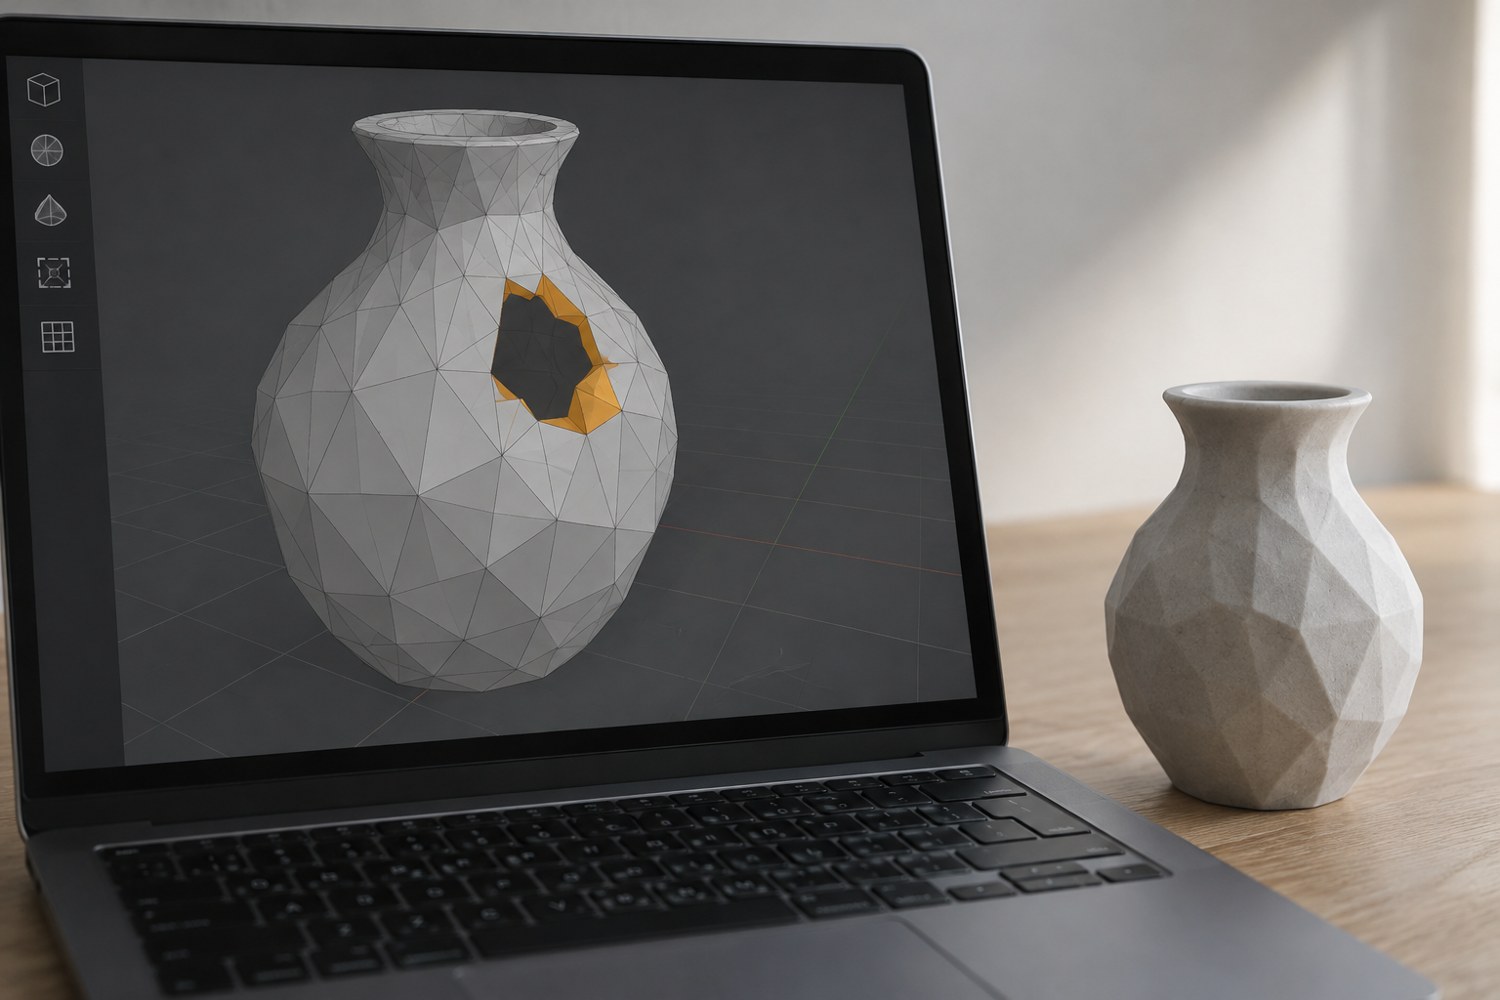
When software reports a problem with a model, first find out what it is reporting. A missing surface, an unintended internal face and a legitimate opening are different situations. Treating all of them as holes to close can turn an intended hollow shape into something else.
Save an untouched copy of the imported file. Record the warning and the application that produced it. If the model has an author page, check whether there are updated files or notes about separate components. A revision supplied by the designer may be a better starting point than repairing a damaged or obsolete export.
Locate the affected region
Use the application's inspection tools to identify the area rather than applying a broad operation immediately. Rotate the model, examine it in a section view if available and compare it with the intended object. The Blender 3D Print Toolbox provides mesh analysis tools, but an analysis result still needs interpretation in the context of the design.
Ask whether the suspect feature should be a surface, an opening or a separate part. A doorway in a terrain building should not become a filled wall. A deliberately separate roof should not be fused to the body merely to reduce the object count. If you cannot tell what the region is supposed to do, return to a reference image or the editable source before choosing a repair.
Make the smallest useful change on a copy. Reinspect nearby details as well as the repaired spot. Automatic processes can alter the silhouette or remove thin elements that were important to the project. A cleaner error report is not enough if the roof edge or locating socket has disappeared.
Compare the print interpretation
Load both the original and revised versions into the same preparation workflow with matching settings. Compare the relevant layers or cross-sections. Look for the intended wall, opening and separate pieces. Do not judge only the solid shaded view, which can conceal internal or surface problems.
If the editable modelling file is available, correcting the construction there may leave a more maintainable result than patching the exported mesh. Keep the repaired export linked to its source revision. Name it so that it cannot be mistaken for an untouched download.
A repair is complete when the intended geometry is restored and the downstream preview makes sense, not simply when a button finishes running. If the result remains ambiguous, pause the print and ask the designer for clarification. That is often less expensive than discovering an unintended filled cavity after a long build.
Another detail to explore
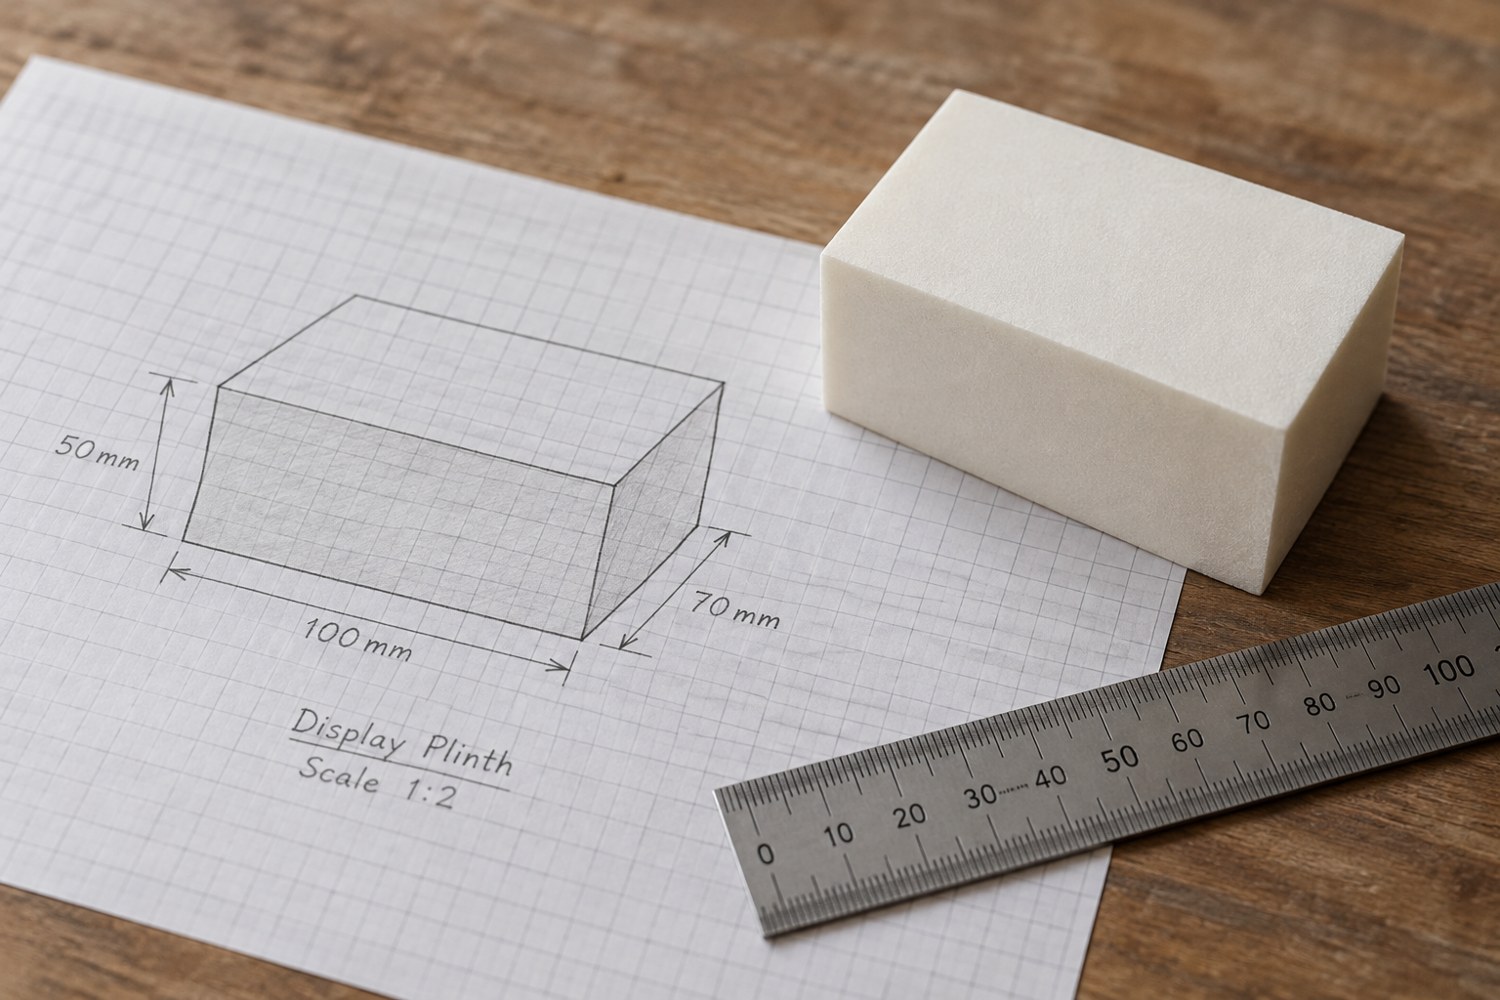
Start a model with dimensions instead of details
Build a short dimensional brief before adding bevels, textures or decorative features. It gives every later modelling decision a reference.
Read article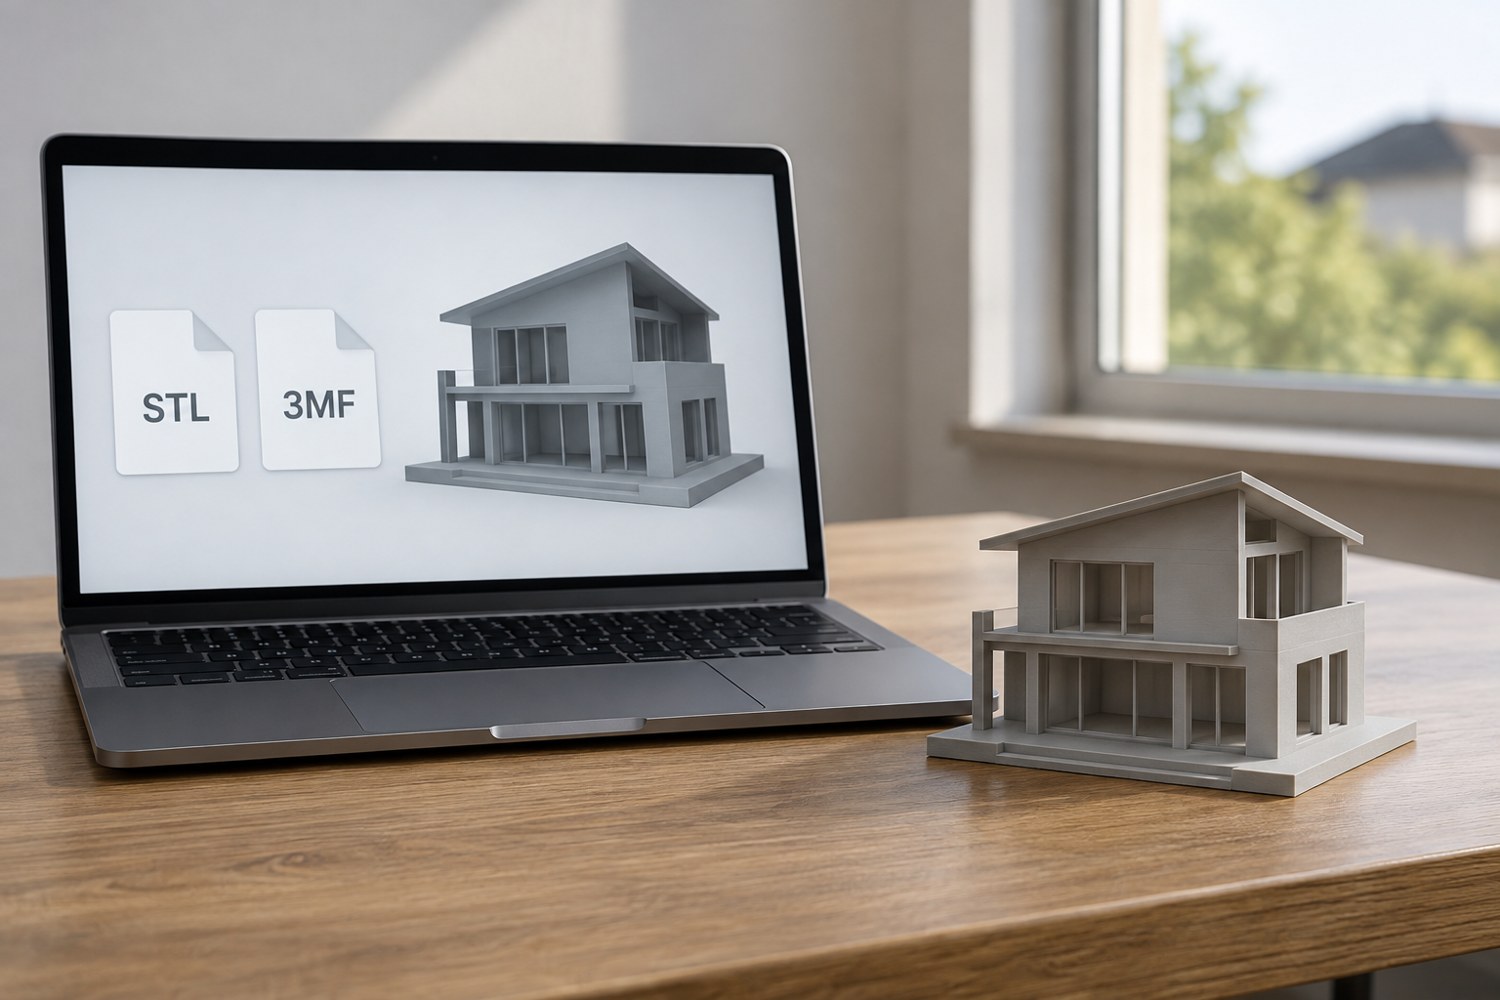
Understand STL and 3MF when sharing a print project
An STL mesh and a saved 3MF project can carry different information. Decide what a recipient needs before choosing the file to send.
Read article