Start a model with dimensions instead of details
Build a short dimensional brief before adding bevels, textures or decorative features. It gives every later modelling decision a reference.
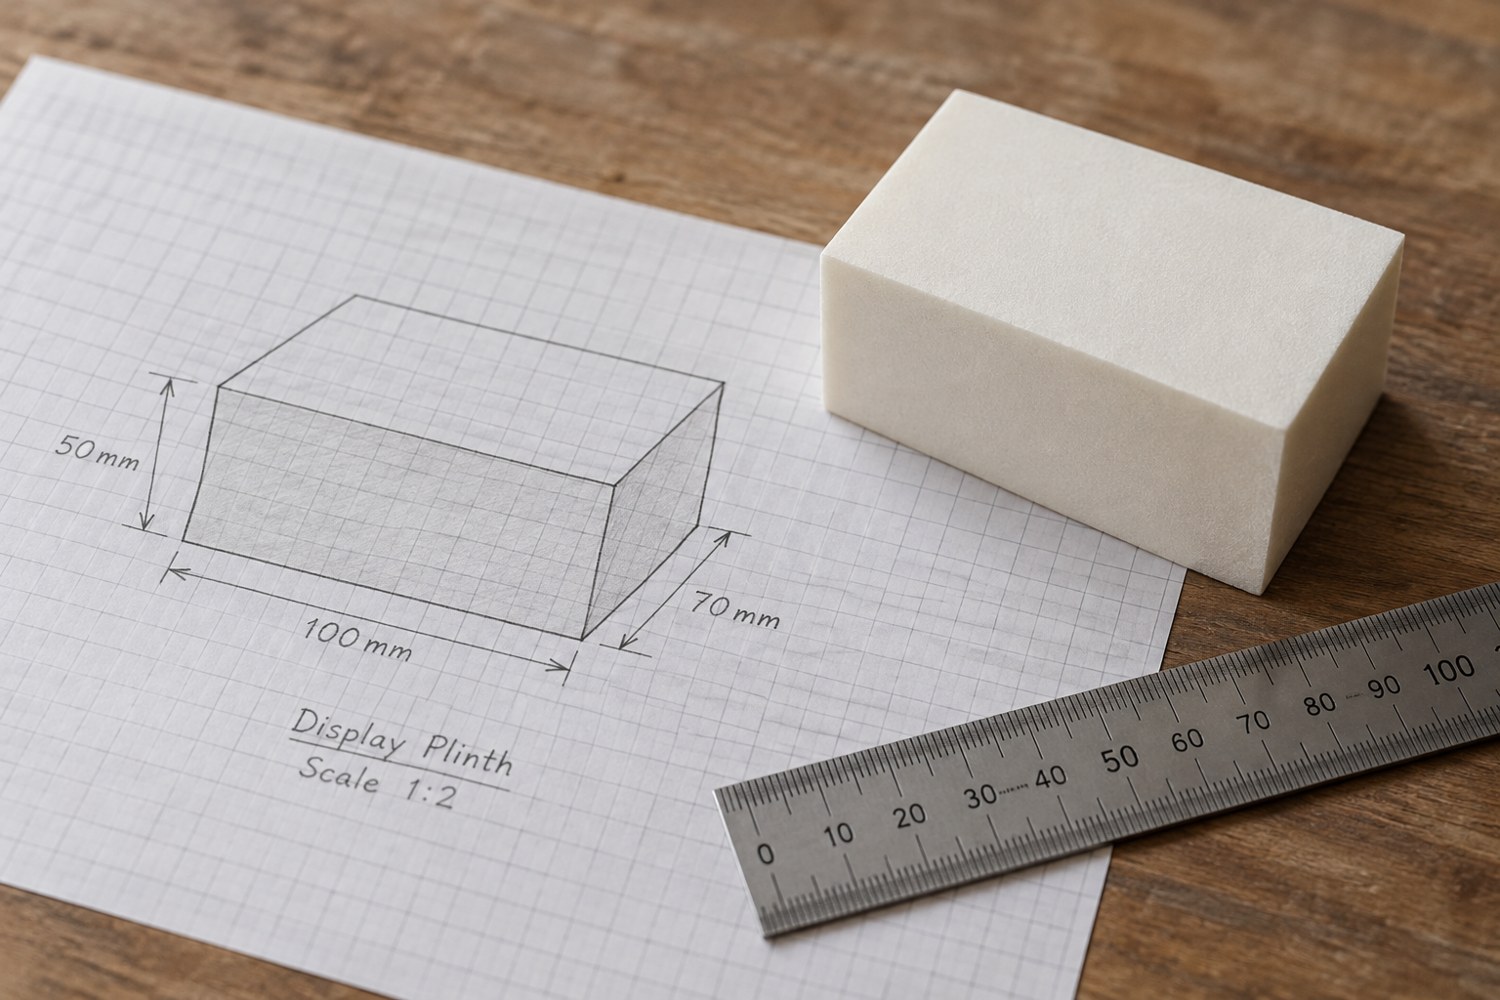
A model can look finished while its most important dimension is still a guess. Before drawing a decorative tray, enclosure or scenic base, write down the space it must occupy and the things it must touch. Three small sketches are often enough: top, front and side. They do not need artistic shading. They need dimensions that can be checked.
Begin with the limiting feature. For a storage insert, that may be the inside of the drawer. For a display plinth, it may be the footprint of the figure and the height under a cover. Measure the actual object where possible. A nominal product size does not necessarily describe a rounded corner, a protruding handle or the usable opening.
Separate requirements from choices
Use two columns on the drawing. Put fixed measurements in one and adjustable design choices in the other. An insert must fit a particular drawer, but the number of compartments may be flexible. A building roof must meet the wall footprint, but its overhang can be a design decision. This distinction prevents an attractive detail from quietly changing a requirement.
Record the unit beside the dimensions. Avoid mixing a centimetre ruler reading with a millimetre modelling field without converting deliberately. If a measurement is uncertain, mark it as uncertain rather than adding decimal places that suggest precision. Recheck the limiting dimension before spending time on surface details.
Make the simplest useful volume
Create the outer shape and inspect it from the three sketch directions. Add only the opening, contact surface or locating feature needed to test the purpose. A plain block with the correct relationship to its neighbour is more useful at this stage than a textured model that cannot fit.
For a hypothetical tray, check the outer footprint, usable depth and access for fingers before rounding its corners. Print or mock up the uncertain region rather than the entire tray. A corner sample can answer a fit question while leaving the overall design easy to revise. Keep the test dimensions in the same units and orientation as the full model.
Once the basic shape works, add details in an order that preserves those references. Name important dimensions instead of relying on memory. Save a version before making changes that would be difficult to undo. The original brief should remain short enough to read beside the screen: what must fit, what must clear, and what can still change. It becomes the reason for the geometry rather than an administrative note added after modelling.
Another detail to explore
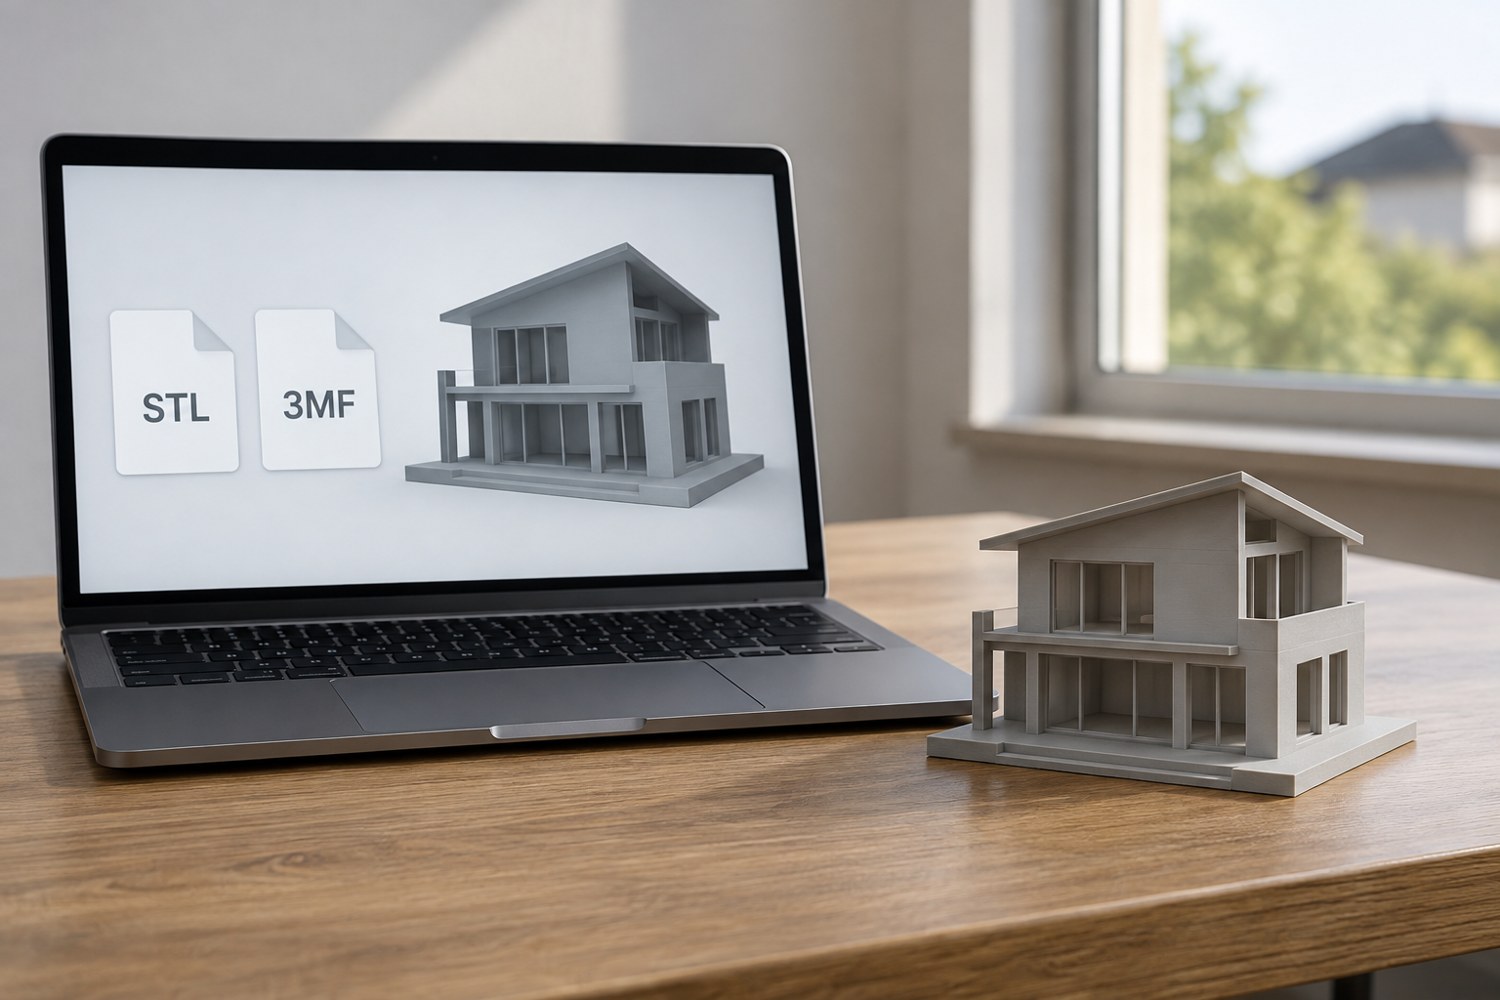
Understand STL and 3MF when sharing a print project
An STL mesh and a saved 3MF project can carry different information. Decide what a recipient needs before choosing the file to send.
Read article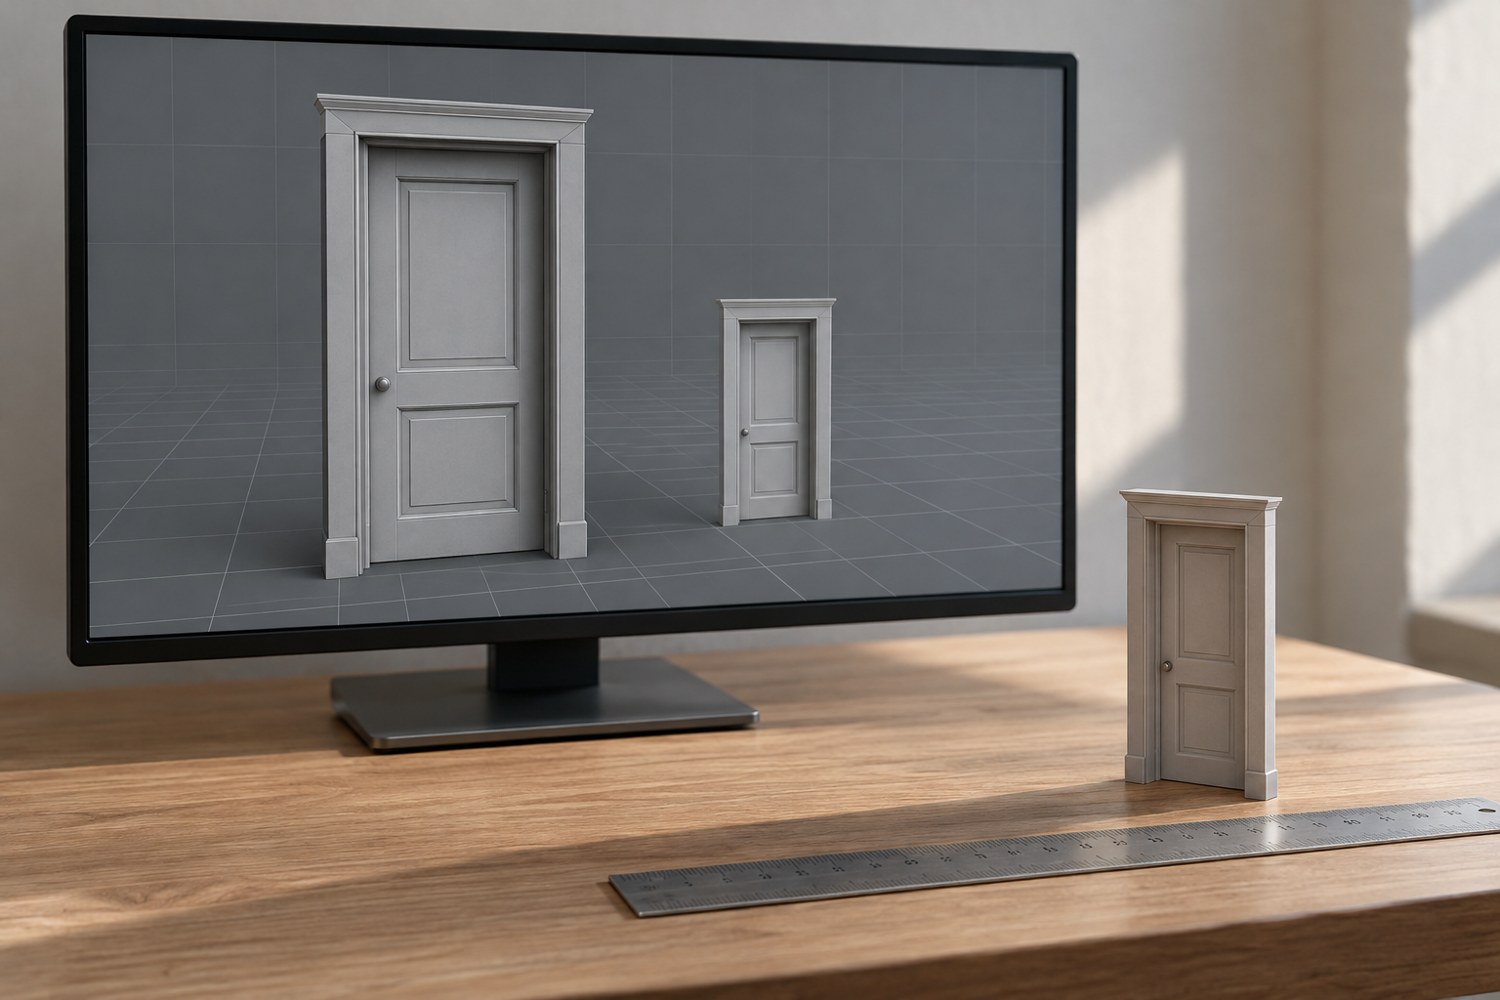
Check the scale of an imported model
Use a known dimension to check an imported model before judging its proportions or preparing it for printing.
Read article