Prepare a hollow object with a clear manufacturing plan
Decide how a hollow part will be printed, opened, inspected and cleaned before adding an internal cavity.
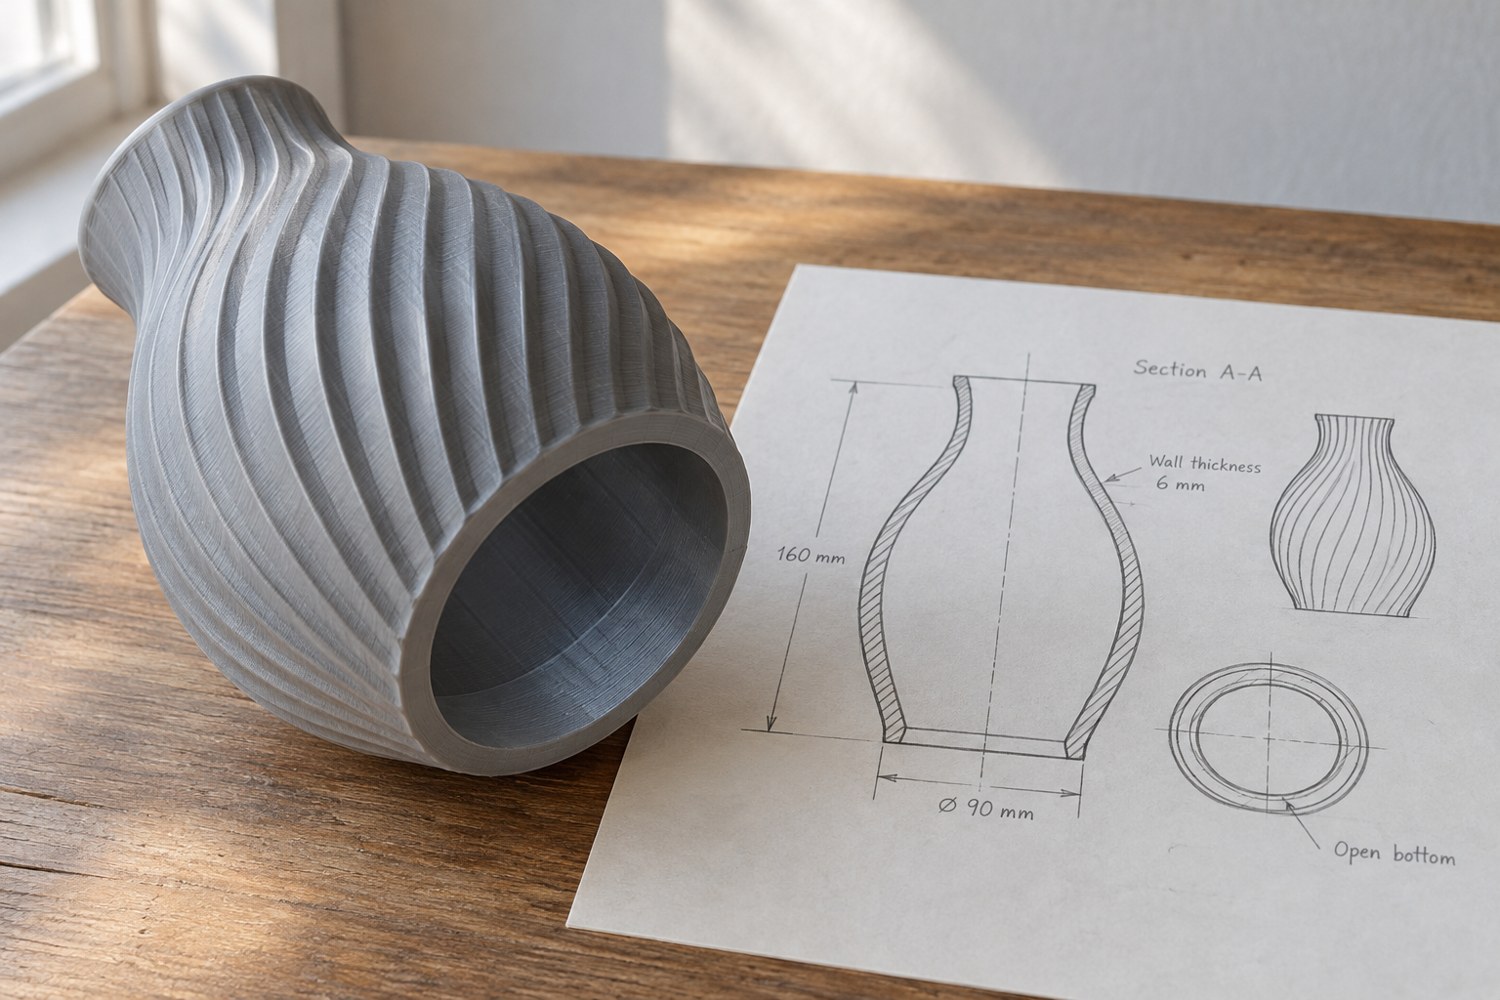
Hollowing a model is not simply a way to remove material from a solid shape. It creates an interior with its own surfaces and access requirements. Before making the cavity, identify the printing process and the reason for hollowing: reduced mass, a space for another component or an assembly that will be opened later.
Draw a section through the proposed object. Mark the wall, internal space and every intended opening. Consider whether the cavity can be inspected after printing and whether the manufacturing process could leave material trapped inside. A closed shape that looks tidy in a rendering can be difficult to handle in the real workflow.
Follow the process rather than a generic hollowing recipe
Filament and vat-resin workflows should not be treated as interchangeable. In a resin workflow, drainage, access for cleaning and the manufacturer's curing instructions need to be considered as part of the design. Do not assume that an attractive exterior proves the interior has been properly processed. Follow the instructions for the actual resin and equipment, including handling and waste requirements.
For a decorative object, consider whether splitting it into accessible parts would make the manufacturing plan clearer. A removable underside or a deliberate assembly seam may allow inspection that a sealed cavity would prevent. This is a design choice to evaluate, not a universal recommendation to cut every model in half.
Keep useful wall geometry
Decide which surfaces must remain dimensionally important. An internal cavity should not accidentally consume a locating socket, a mounting feature or a thin decorative edge. Inspect the section around those regions after the hollowing operation. Do not select a wall thickness from an unrelated project and assume it will suit the material, size and intended handling.
Make a representative test of a difficult region where appropriate. A small test should reproduce the relevant wall, opening and orientation, not merely be a smaller solid copy of the whole object. Review its preparation preview and evaluate it using the same process planned for the final part.
Document the interior for the next person
Keep a section image with the editable file showing the intended cavity and access points. If the object will be handed to another maker, explain which pieces must remain separate until processing and inspection are complete. Do not hide this information behind a filename that only says hollow.
Before final assembly, verify the actual part against the plan. Check the openings, visible interior and mating surfaces as far as the chosen process permits. If an area cannot be processed or assessed as required, revise the design rather than sealing it and hoping that the exterior tells the whole story. Hollow geometry should come with a complete making plan, not just a lower material estimate.
Another detail to explore
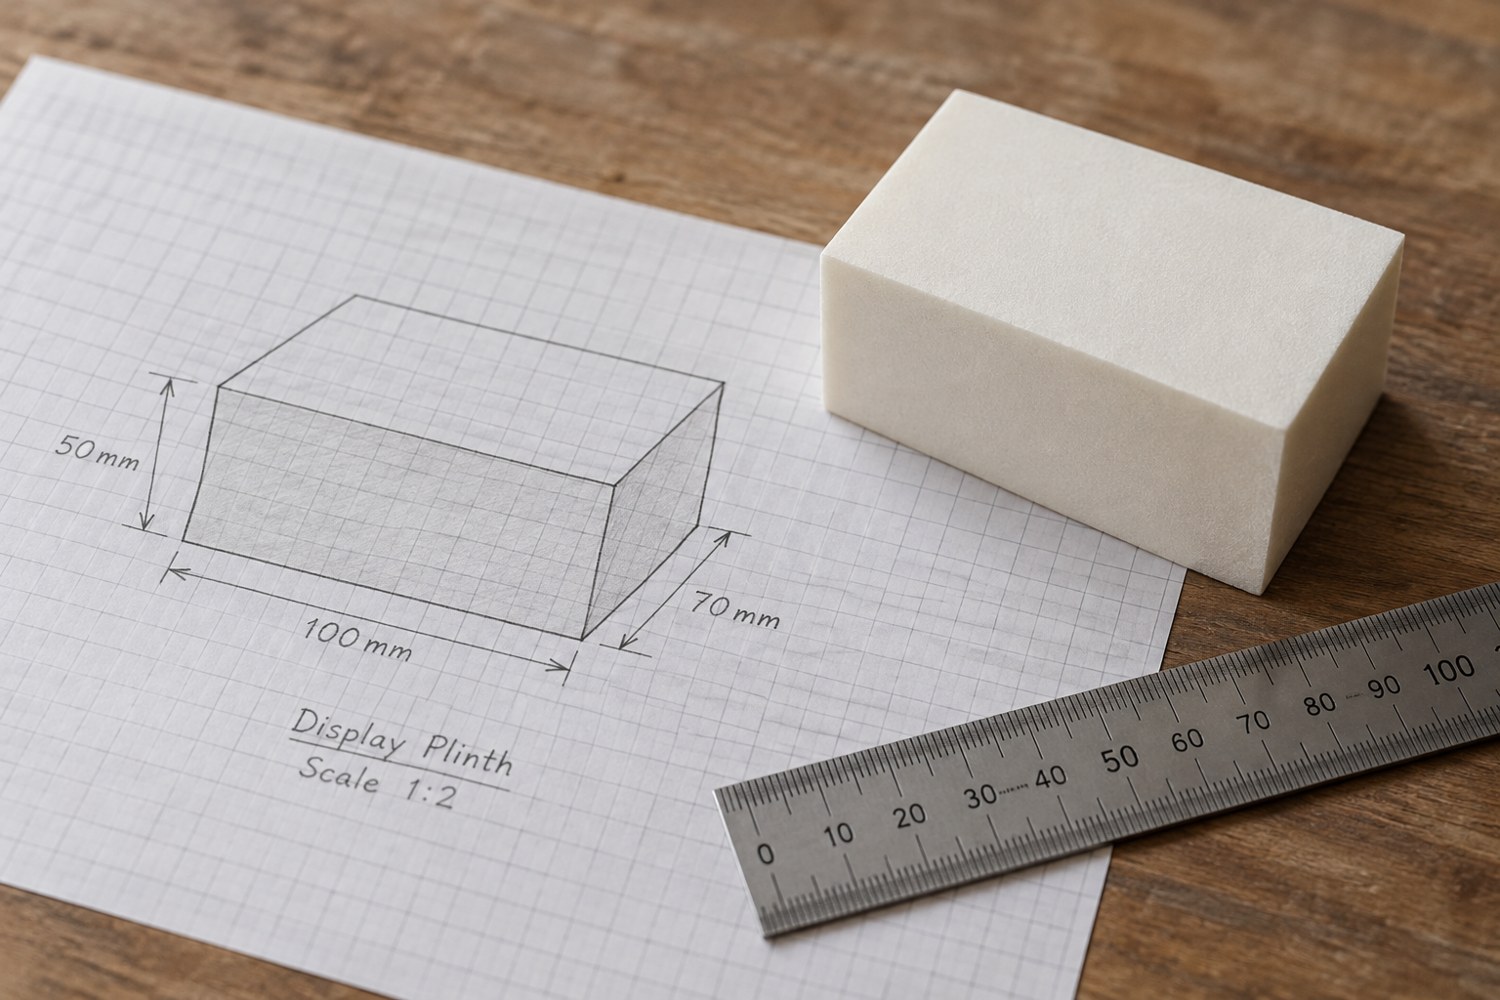
Start a model with dimensions instead of details
Build a short dimensional brief before adding bevels, textures or decorative features. It gives every later modelling decision a reference.
Read article
Understand STL and 3MF when sharing a print project
An STL mesh and a saved 3MF project can carry different information. Decide what a recipient needs before choosing the file to send.
Read article