Plan sanding without losing small details
Preserve deliberate edges while removing only the surface marks that interfere with the finish.
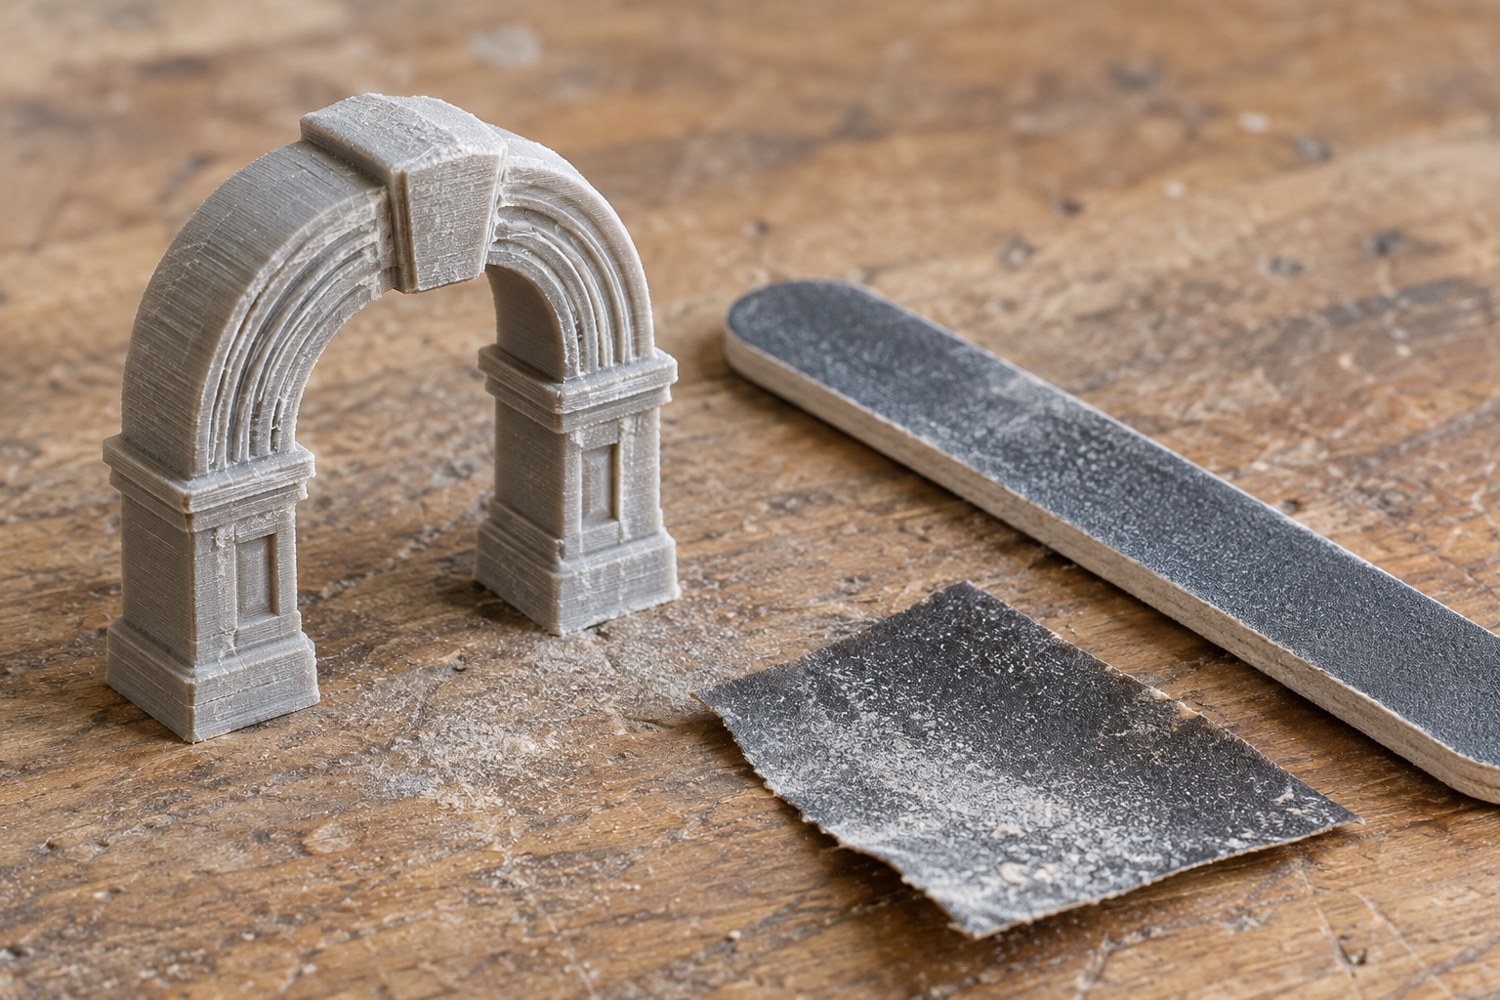
Sanding removes shape as well as roughness. Before beginning, identify the surfaces that need attention and the details that must remain. A seam on a broad plinth may benefit from levelling, while a raised stone texture may be damaged by the same motion. Mark the problem under a raking light so that you are not sanding an entire model without a clear target.
Use the material and finishing product guidance to plan dust control and protective measures. Resin parts require particular care: verify that washing and curing have been completed as specified before finishing, and follow the relevant SDS. Do not treat a part that feels dry as evidence that every required processing step is complete.
Choose an abrasive and backing shape suited to the surface. A small flat block can help maintain a plane; a flexible strip follows a curve but may also round a sharp edge. Begin with a spare piece if you have not used that abrasive on the material. Use controlled strokes and inspect frequently rather than trying to reach a polished result in one uninterrupted pass.
Protect neighbouring detail by changing the approach, not by relying on hope. Work along a seam where possible, keep the contact area narrow and support fragile features. If removing the mark would erase an important ridge, consider a different orientation or support arrangement for a reprint. Some defects are more efficiently solved before printing than through aggressive finishing afterwards.
Check the surface under the same light between stages. Dust can conceal scratches, so remove it using a method appropriate to the material and workspace rather than blowing it into the room. Do not apply primer over loose residue and expect the coating to make the surface sound. Follow the coating manufacturer's preparation and drying instructions.
Stop when the surface meets the intended finish. A terrain base that will receive texture does not need the same smoothness as an untextured display plinth. Keep a small finished sample if the project contains many matching pieces. It provides a visual stopping point and helps prevent later parts from being sanded into softer, less defined shapes simply because more time was available.
Another detail to explore
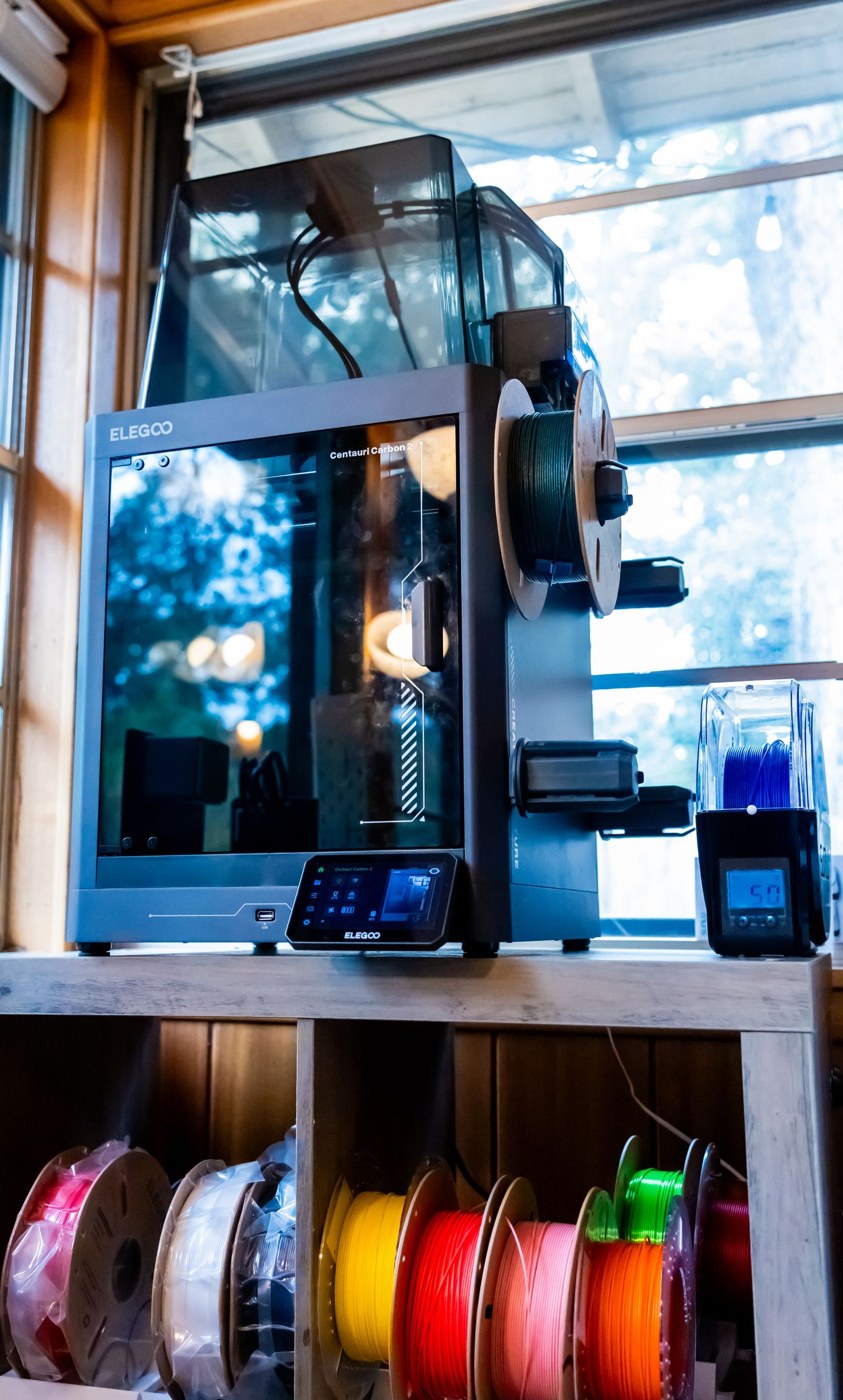
Store filament with a label you can actually use
Keep material identity, opening date and profile information with the spool through storage and use.
Read article
Choose between PLA and PETG for an indoor model
Choose material around handling, shape and finishing rather than treating one polymer as a universal upgrade.
Read article