Separate wash and cure tasks in a resin workflow
Treat washing, drying and curing as distinct documented stages rather than one generic cleanup step.
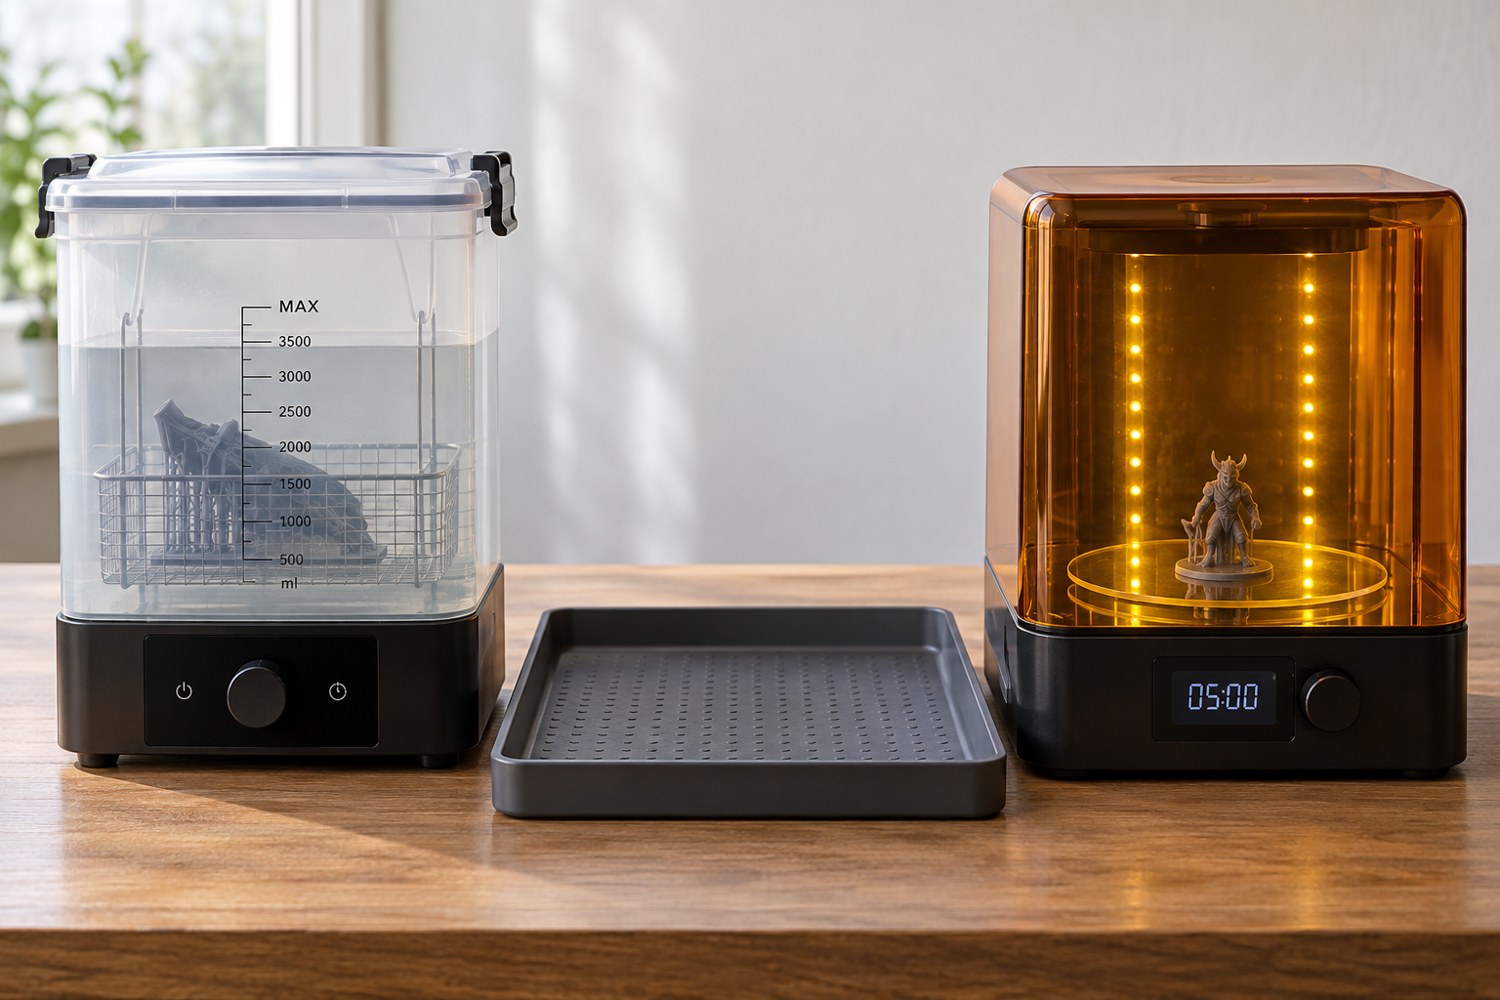
A resin print leaving the machine is not automatically ready to handle as a finished model. Washing removes residual liquid resin; subsequent drying and curing follow the requirements of the particular material and equipment. The correct sequence and settings are product-specific. Keep the resin's current instructions beside the workflow rather than relying on a universal time remembered from another bottle.
Plan separate places for an unwashed part, a washed part awaiting the next stage and a fully processed part. Use clearly labelled trays or supports compatible with the materials involved. The physical separation helps prevent a finished model from being placed back onto a contaminated surface. It also makes an interrupted session easier to resume without guessing which operation has been completed.
Check geometry before the wash
Inspect the model design for cavities, channels and openings that influence cleaning and drainage. Formlabs' washing guidance notes that hollow and concave geometries can retain liquid and need an appropriate process. A sealed pocket of uncured resin is not resolved by making the outside look clean. If the design cannot be washed and cured as required, revise it before printing.
Use only a washing medium compatible with the resin and equipment. Follow its safety data sheet for handling, ventilation, protective equipment and storage. Where a flammable solvent is used, keep the process within its ignition-control requirements. Do not assume that a product described as water-washable makes the contaminated wash water suitable for disposal down a drain.
Keep the wash container closed when the documented process permits, and move parts in a controlled way to avoid splashes. Support small pieces so that they cannot be lost into a machine's mechanism. Follow the equipment's instructions for load size and orientation rather than packing the container until every component is submerged by force.
Record the transition to curing
Allow the part to dry fully as the resin and wash process require before curing. Formlabs specifically warns against curing prints that remain wet after washing. Use the actual product guidance for the drying and curing conditions; a generic lamp time is not a reliable substitute for the specified equipment, temperature and exposure.
Keep protective covers and interlocks in their intended condition. Do not bypass them to fit an oversized model or to watch the process. If the part does not fit the equipment, change the design or use suitable equipment. Plan ventilation for post-processing as well as for printing, following the relevant SDS and workspace assessment.
Label the processed batch with the resin, date and completed stages. If a part has an uncertain history, set it aside and resolve that uncertainty before sanding, painting or handing it to someone else. Collect spent liquid, contaminated wipes and other residues through the disposal route required for the products and locality. A clean-looking workbench is not the endpoint unless the waste and equipment have also been dealt with correctly.
The distinction between stages is useful even with automated equipment. Automation can perform an operation, but the operator still needs to select compatible materials, confirm the load and know what happens next. A short stage record prevents an unfinished part from becoming a finished one merely because it was moved to the clean side of the bench.
A stage card can travel with the batch without touching the parts. Record the resin name, print identifier and the documented process selected for it. Mark an operation complete only after it has actually finished. If several batches are processed during one session, separate their cards and trays rather than relying on the order in which they were placed on the bench.
Check the physical route with a large representative shape before filling the equipment. Confirm that it can enter the wash container, drain in the required orientation and fit the curing chamber without defeating covers or supports. A model that fits the printer may still exceed the useful capacity of the post-processing equipment. Splitting the model at a planned joint can solve that mismatch more cleanly than improvising partial processing afterwards.
Keep maintenance of the washing equipment in the same schedule as part processing. Follow the manufacturer's criteria for checking and replacing the medium and cleaning the machine. Do not judge every liquid solely by appearance or extend a process indefinitely to compensate for an unresolved condition. Record the relevant maintenance so that an unexpected surface result can be traced to the actual batch and equipment state.
Another detail to explore
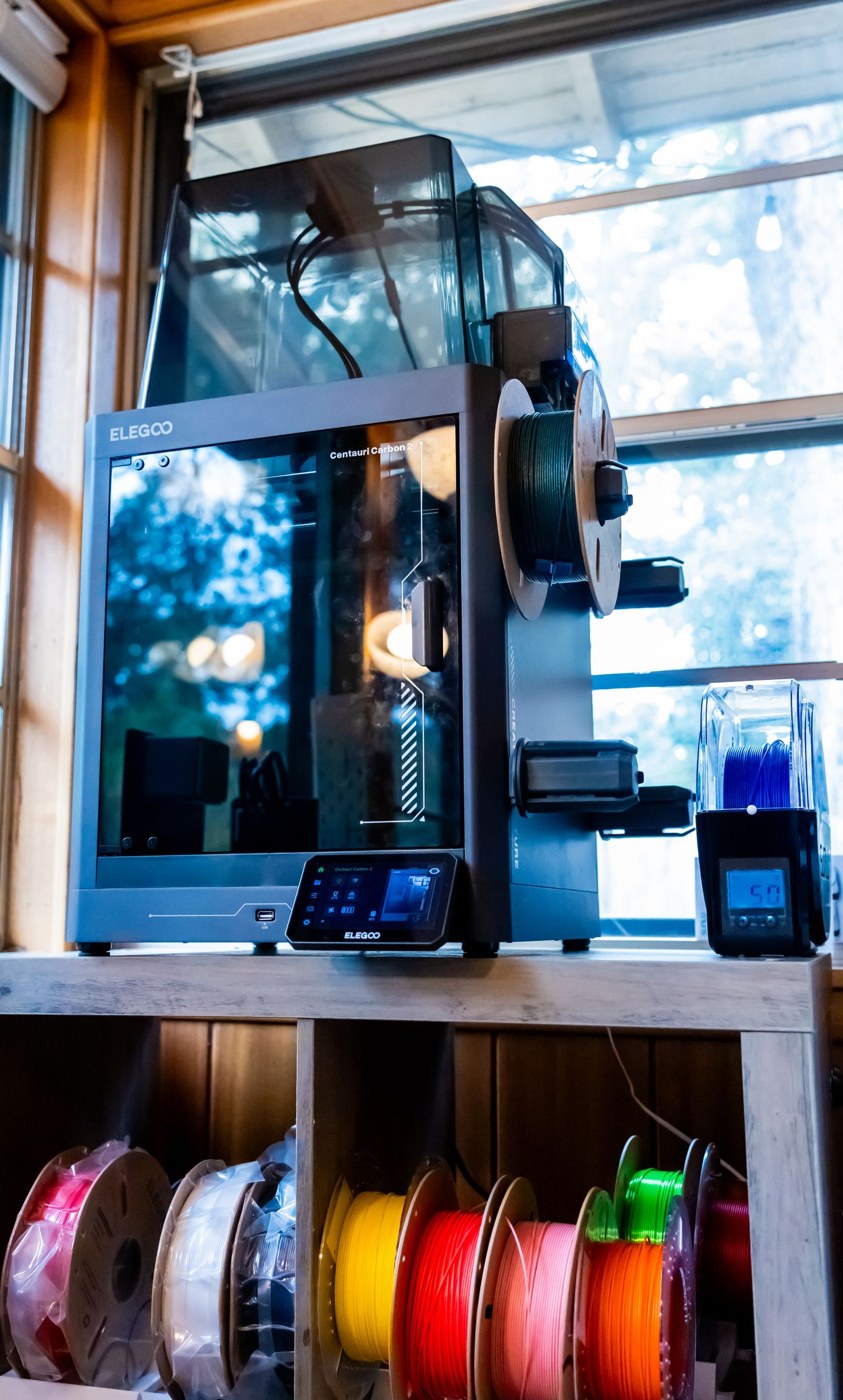
Store filament with a label you can actually use
Keep material identity, opening date and profile information with the spool through storage and use.
Read article
Choose between PLA and PETG for an indoor model
Choose material around handling, shape and finishing rather than treating one polymer as a universal upgrade.
Read article