Choose a scale for a miniature harbour
Use the largest boat and the available footprint to choose a harbour scale before buying buildings and fittings.
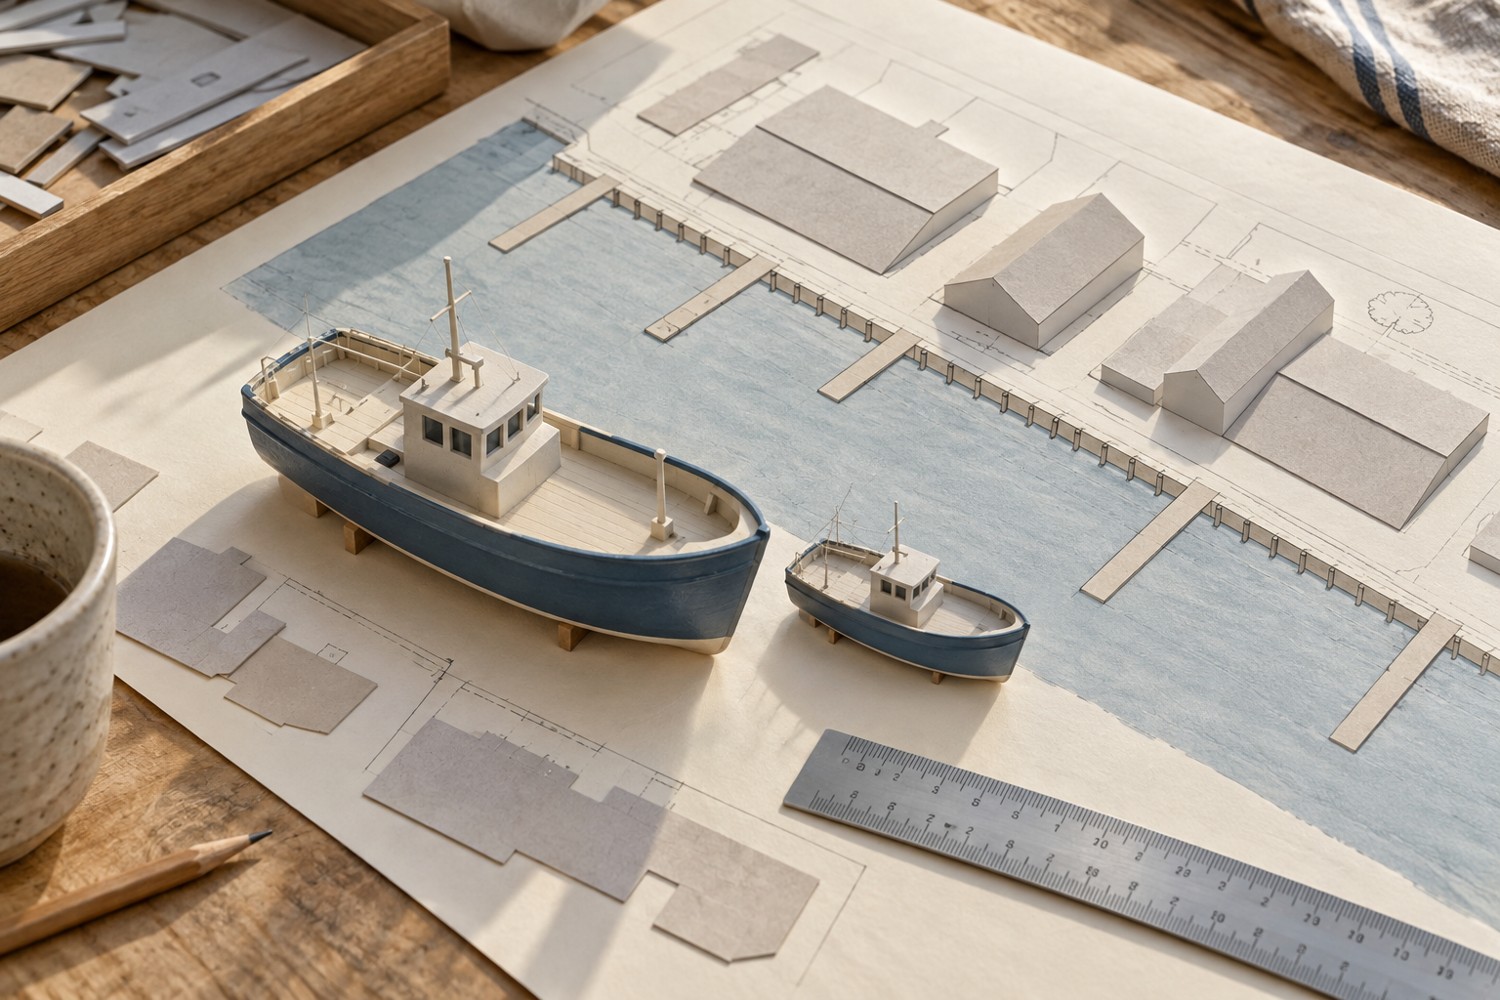
A harbour scale is a relationship between objects, not just the number printed on a kit box. Start with the vessel you most want to include. Its length, beam and mast height establish how much water, quay and vertical space the scene needs. Place a full-size paper silhouette of the model on the proposed base before ordering accompanying buildings.
Scale expresses the model-to-prototype ratio; the NMRA distinguishes this from railway gauge, which describes the distance between rails. For a harbour, the useful calculation is full-size length divided by the scale denominator. Convert both measurements into the same units first. A hypothetical 20-metre boat becomes 200 millimetres at 1:100 and 100 millimetres at 1:200. Its surrounding scene must shrink too if you change scale.
Fit the activity, not only the hull
Draw the waterline, quay edge and building footprints around the boat silhouette. Leave a visible gap between the hull and quay rather than letting two shapes merge. Add the space that a crane, loading area or walkway would occupy. A vessel that technically fits across the base can still leave no room to explain why it is there.
Use a figure or doorway as a second scale reference. Check it beside the boat and building, not in isolation. Suppliers sometimes use nominal descriptions such as miniature or small scale without a precise ratio. Where dimensions are missing, ask for them or choose a component whose size you can establish. Rescaling a digital model changes all its details, including rails that may become too thin to print.
Compress selectively
A complete working harbour rarely fits on a small display base at exact scale. You can show a cropped section: one berth, the end of a warehouse and a suggestion of the harbour mouth. This preserves the relationship between nearby objects without pretending the whole town fits into a few centimetres. Avoid shrinking just the boat to rescue an overcrowded plan.
For a display viewed from one side, a smaller distant building can suggest depth, but keep that deliberate illusion away from the foreground quay. It becomes obvious when differently scaled doors sit side by side. Photograph the paper arrangement from the planned eye level and remove anything that makes the scale ambiguous. Save the chosen ratio and a few reference dimensions with the project so later purchases belong to the same scene.
A size comparison that reveals the trade-off
Suppose your base is 300 millimetres wide and the main boat occupies 200 millimetres at your first proposed scale. Draw it without any other details. The remaining width must accommodate the gap to the quay, part of the dock and enough water to separate the hull from the frame. If those features are squeezed into thin strips, a smaller scale or a cropped scene may be the more coherent choice.
Now draw the boat at 100 millimetres and keep the base unchanged. The smaller version allows more of the harbour to appear, but doors, ropes and fittings also become smaller. Decide whether you prefer to model a few larger details or a wider geographic arrangement. This is a genuine design trade-off, not a contest to fit the most buildings onto the base.
Write down the two candidate scales and the corresponding dimensions of three important objects. Include a modest house, the vessel and a person-sized reference. This prevents an attractive accessory at the wrong scale from quietly changing the project later. If you deliberately use selective compression, note which distances were shortened while the object sizes remained consistent.
Another detail to explore
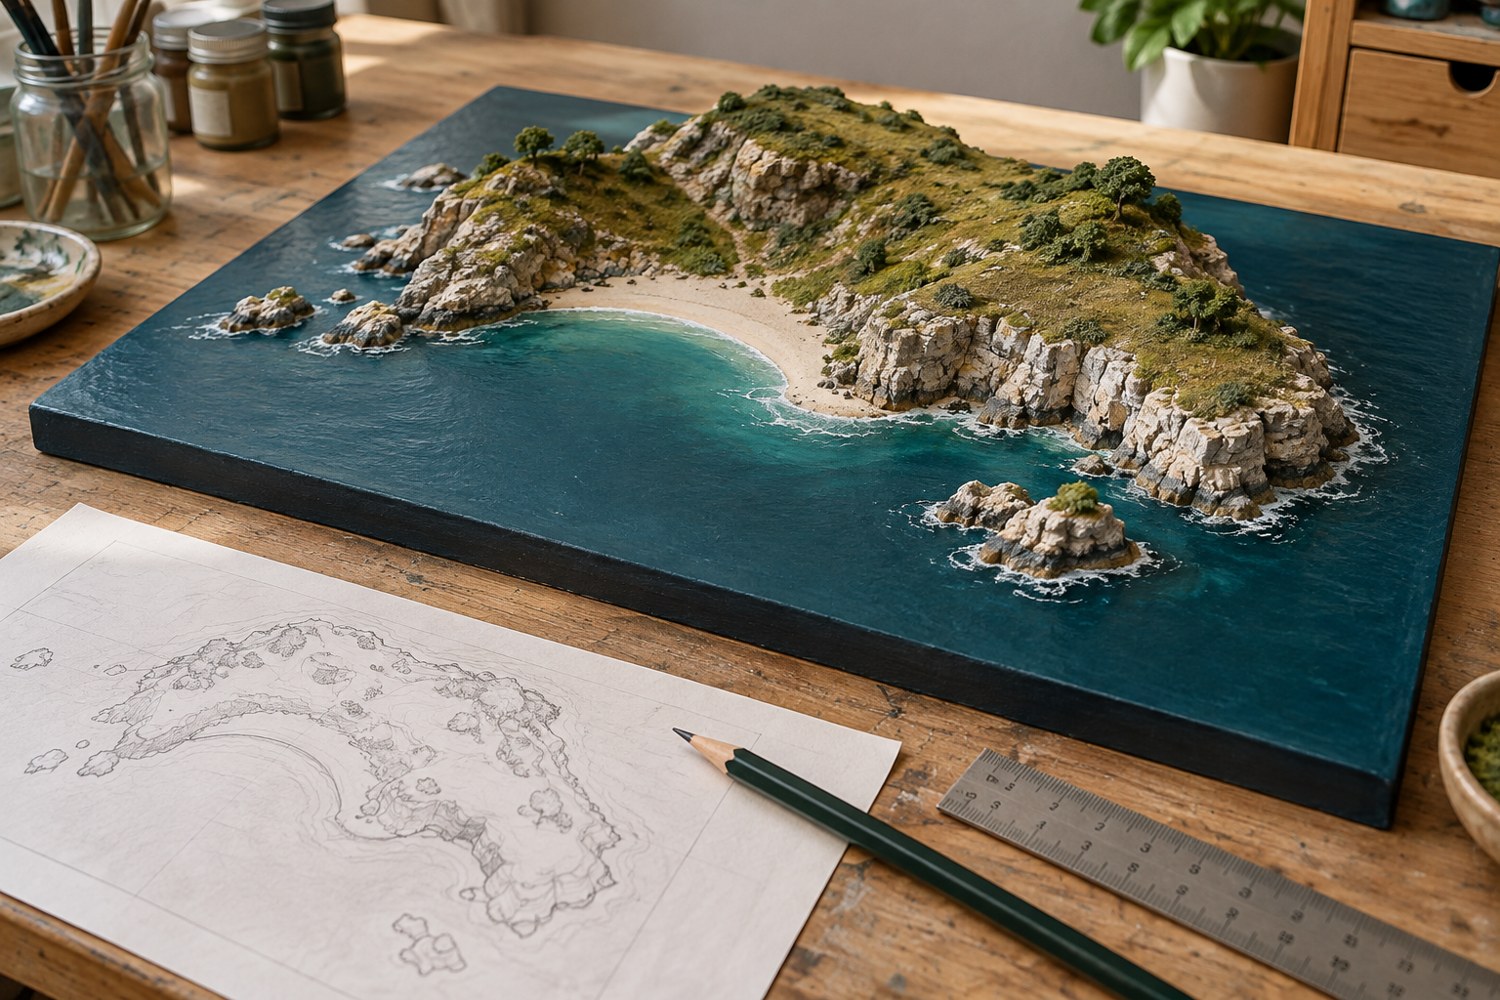
Plan an island diorama before building the coastline
Turn an island idea into a buildable composition by deciding the viewing angle, scale, shoreline and assembly order on paper first.
Read article
Build visual depth into a small landscape base
Separate foreground, middle distance and skyline with overlapping forms that remain clear from the intended viewing angle.
Read article