Prepare a model with several disconnected pieces
Identify separate shells before rearranging a file that may contain a complete assembly.
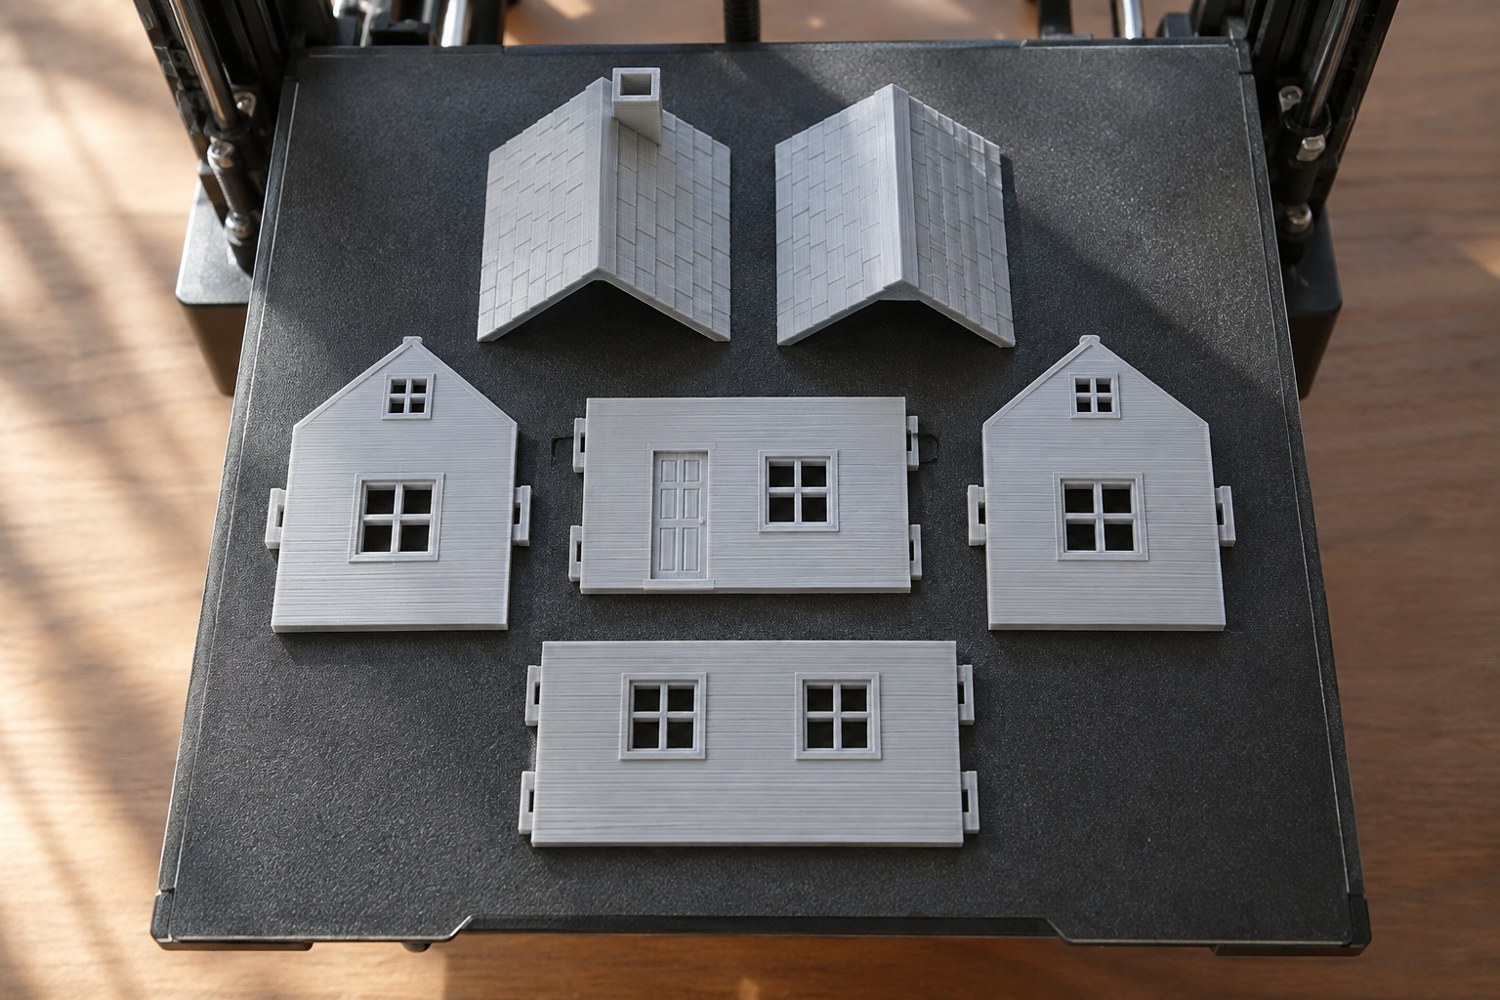
One imported file does not necessarily represent one continuous printable object. It may contain several disconnected shells: separate roof panels, a building body and small locating pieces. Before moving anything, save an untouched copy and inspect the object list together with the assembly instructions. The original relative positions may contain information you will need later.
PrusaSlicer distinguishes splitting to objects from splitting to parts. Splitting to objects creates independently placed items and brings them to the bed; splitting to parts retains their relative positions within one object. That distinction matters when a file contains a multicolour assembly or aligned components rather than a ready-to-print plate of unrelated pieces.
Count the expected components. Give them meaningful names such as roof-left, roof-right and chimney rather than relying entirely on an automatically numbered list. Compare the count with the designer's notes. An unexpected tiny shell might be a real component, an unwanted remnant or a damaged export. Do not delete it solely because it looks inconvenient.
Separate items only after deciding how they will be manufactured. Independent pieces can receive different orientations, supports or plates. Parts that must remain aligned for a particular printing method should retain that relationship. After any operation, inspect the first layer to confirm which pieces touch the plate and which remain suspended above it.
Check scale before arranging the pieces. If one component was resized independently by mistake, the assembled model may no longer fit even though every individual print succeeds. Record the shared scale and avoid dragging size handles casually while rearranging a crowded view. Use the numerical fields when a deliberate adjustment is required.
Save the organised project under a new revision and retain a picture of the intended assembly. Label the printed parts as they leave the plate, especially if left and right pieces look similar. A small bag for each subassembly can keep connectors with the panels they belong to. The purpose of splitting is to make production and assembly clearer; a plate full of anonymous fragments is not an improvement over the original combined file.
Another detail to explore
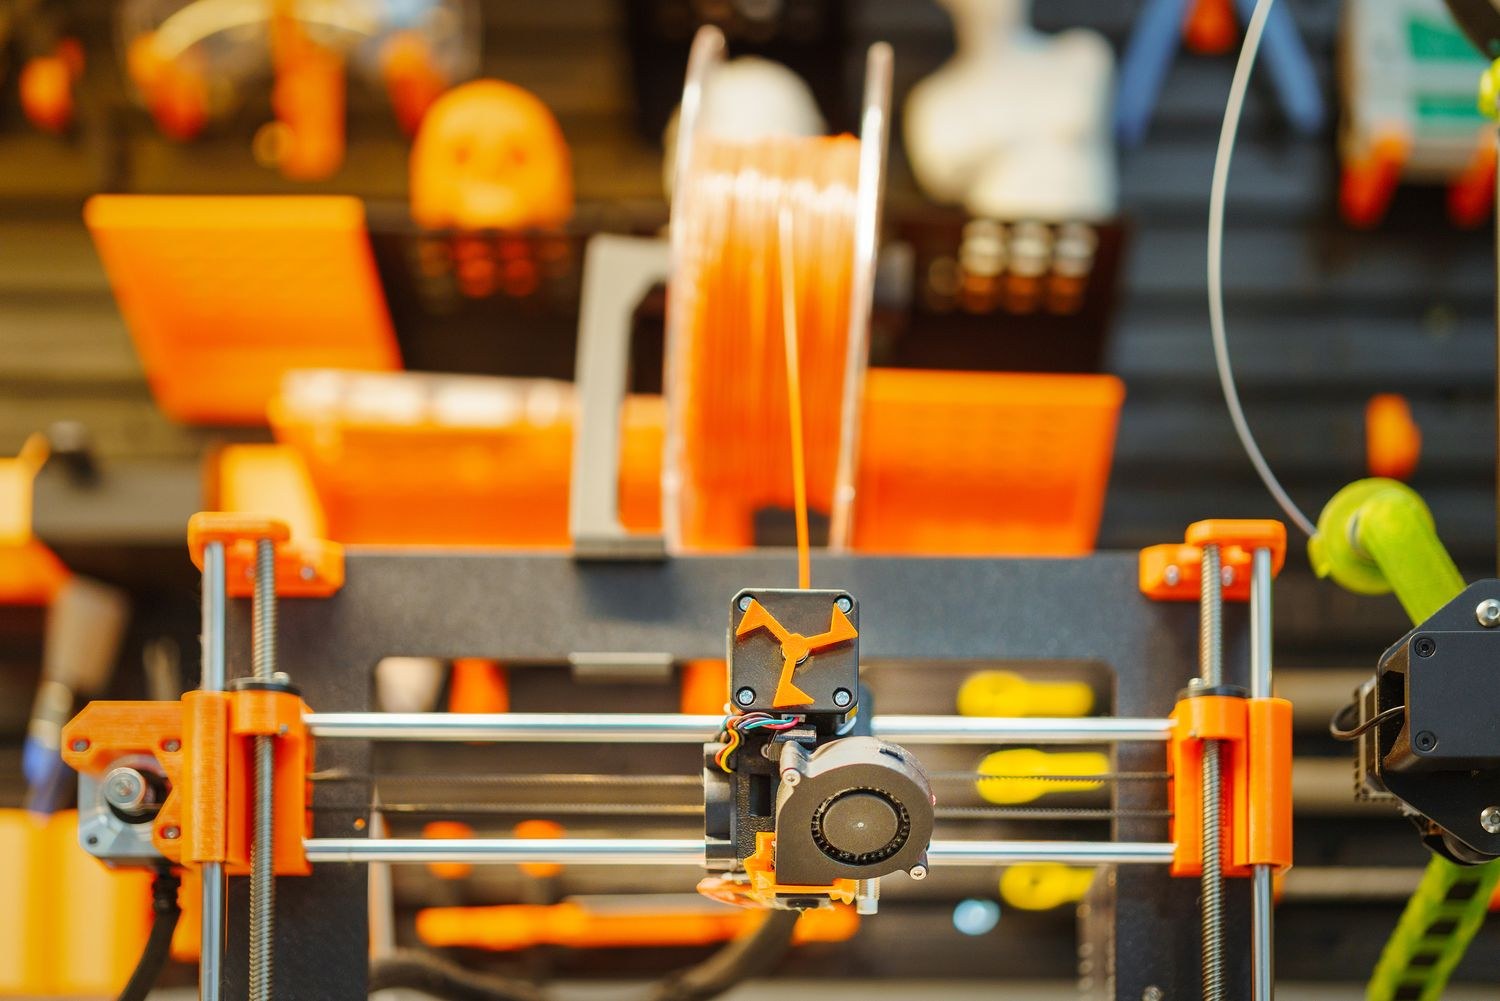
Choose a first 3D printer around the objects you want to make
Start with three objects, their dimensions and the space available for making them. Those decisions narrow the printer search before speed claims do.
Read article
Read a sliced preview before starting a print
Read the toolpaths, first layer and delicate features before a file reaches the printer.
Read article