Plan a first test print with a clear question
Choose a small experiment that answers one question about your printer or model.
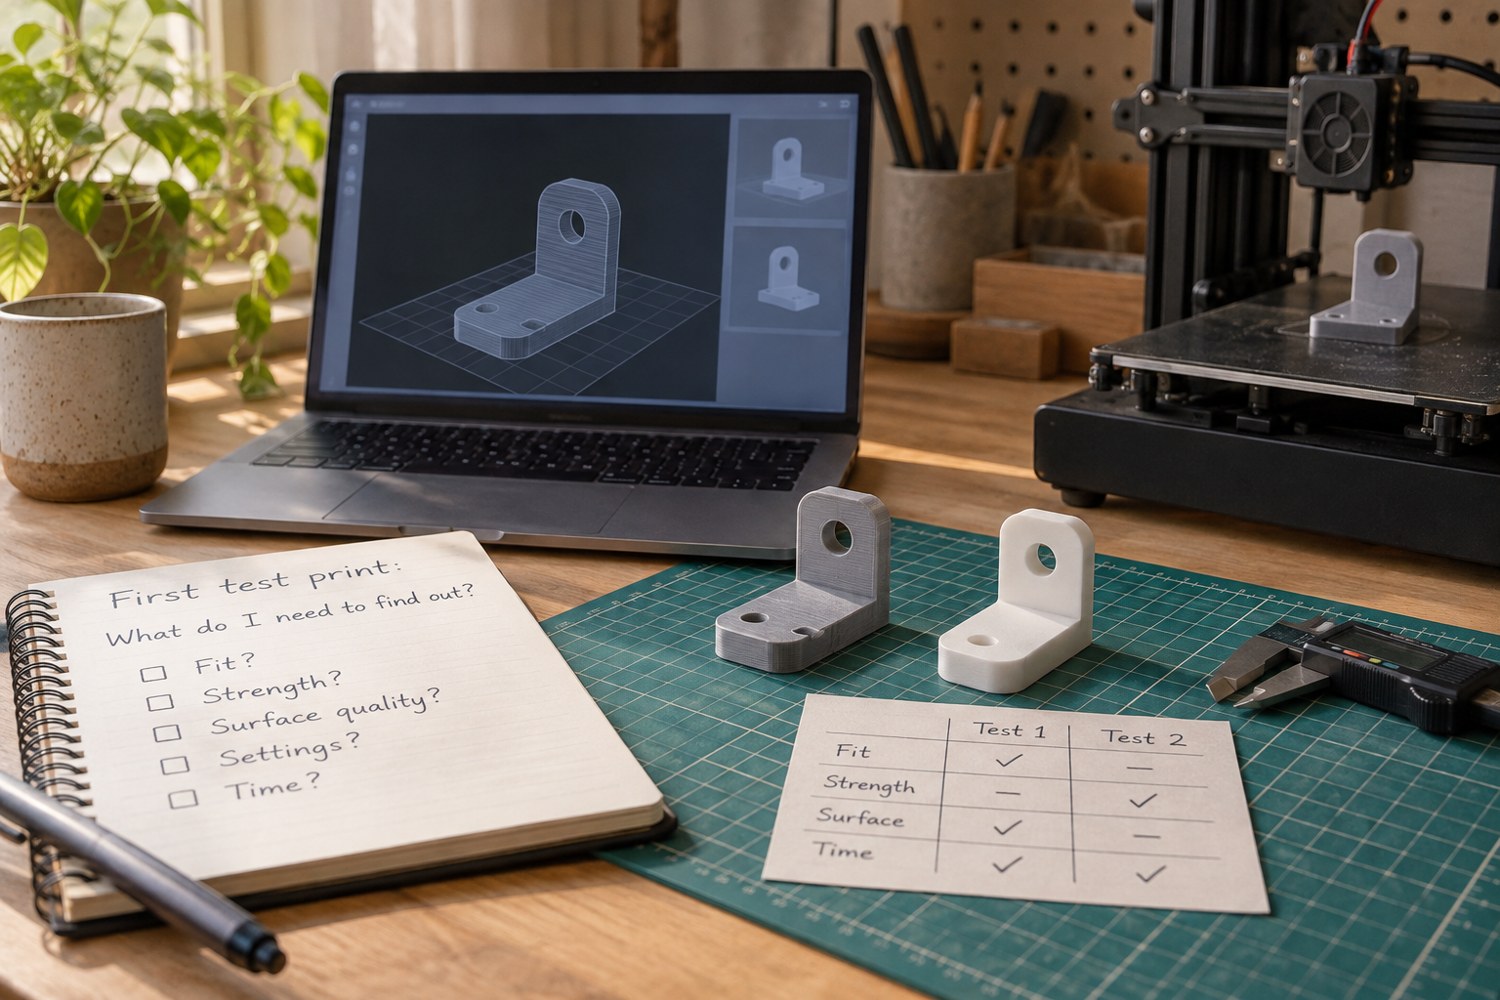
A first test print is most useful when you can finish the sentence, “This will tell me whether…” A general demonstration model may be enjoyable, but it can leave you uncertain about which result matters. For a storage tray, the immediate question might be whether a divider fits its slot. For an island base, it might be whether the coastline remains readable at the chosen scale.
Write the question before opening the slicer. Make the answer observable: the lid closes without forcing, a small label can be read under normal room light, or the base rests without rocking. Avoid vague targets such as “make quality better.” A concrete target helps you decide whether a change has solved the actual problem.
Choose the smallest piece that preserves the relevant geometry. A short section of a long slot can test clearance, but it cannot show whether the entire long panel will stay flat. A single window can test the appearance of a frame, but it does not reproduce the support burden of a complete building. Note what the test excludes so that a successful sample does not become an unsupported guarantee for the full model.
Use the manufacturer's established profile as your starting point. Record the material, nozzle, orientation and profile name. Change one relevant factor between trials, and label the physical pieces immediately. If you alter the material, layer height and orientation together, a better result will not tell you which change helped. There are times when a complete new setup is appropriate, but that is a different experiment.
Prepare a simple comparison space before printing: a clear patch of desk, the part it must fit and a short note sheet. Let the piece cool as directed before removing and judging it. Examine the feature in the condition in which it will be used. If a painted pin must enter a socket, an unpainted fit test is only the beginning; reserve an extra sample for the finishing steps.
Keep the successful sample with its settings and one sentence describing its limitation. “Window frame visible at this scale; roof not tested” is more useful than “good print.” The next test can address the roof rather than repeating an already answered question. A small sequence of focused experiments usually creates a clearer path to the finished object than a shelf of unexplained calibration shapes.
Another detail to explore
Choose a first 3D printer around the objects you want to make
Start with three objects, their dimensions and the space available for making them. Those decisions narrow the printer search before speed claims do.
Read article
Read a sliced preview before starting a print
Read the toolpaths, first layer and delicate features before a file reaches the printer.
Read article