Choose between printing a whole object and separate pieces
Compare printing and assembly together before deciding how many pieces a model should have.
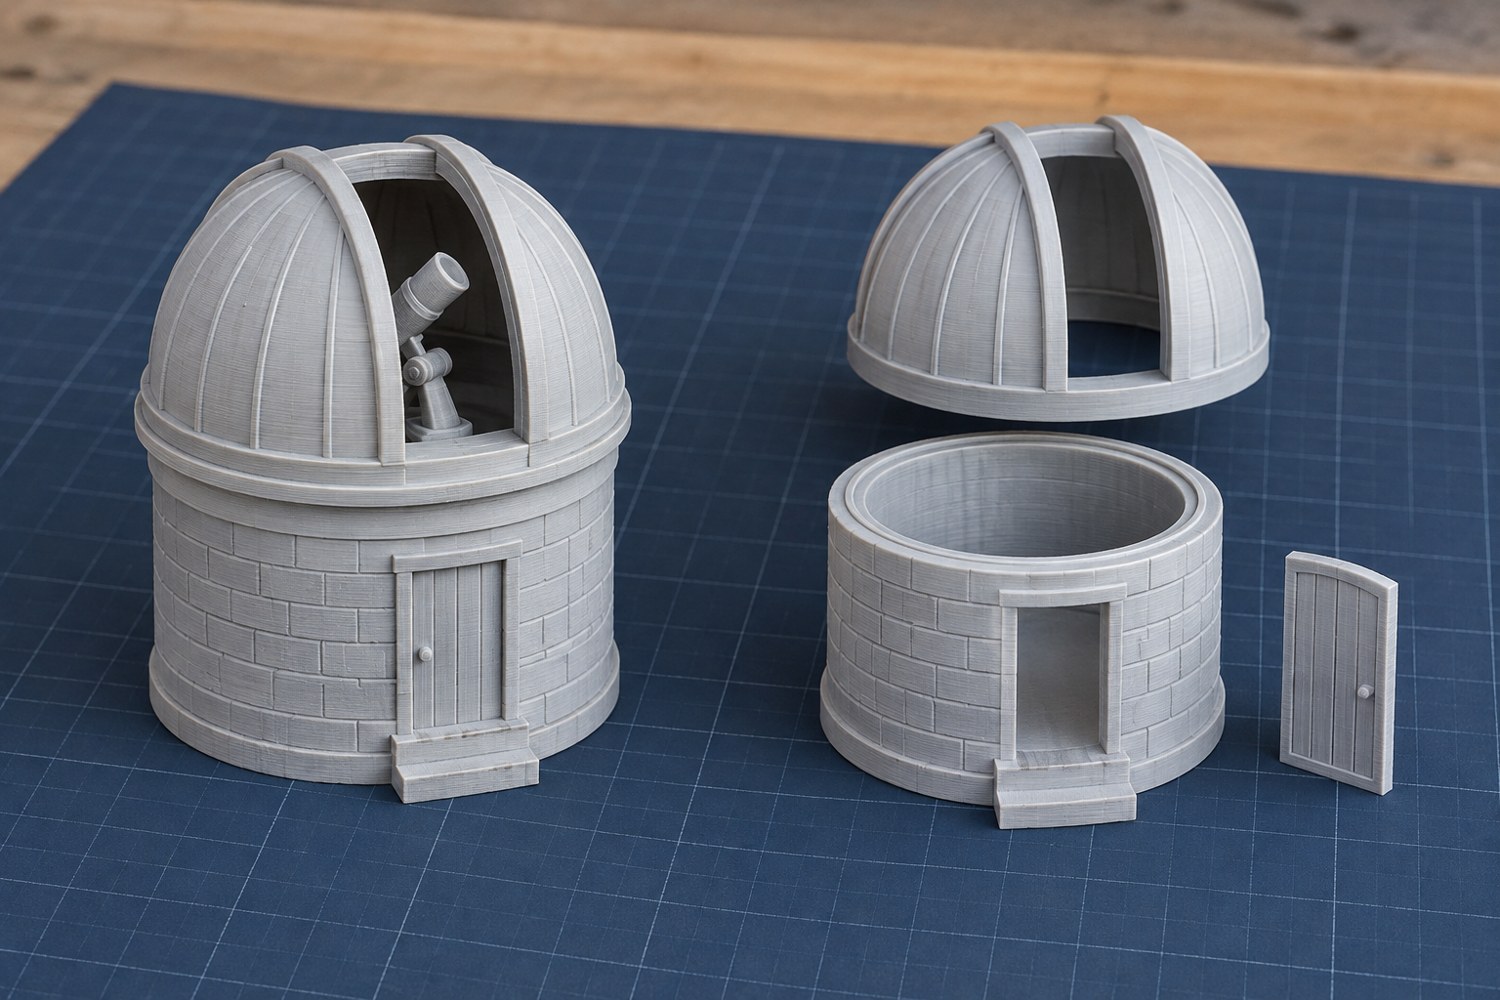
Printing an object in one piece avoids assembly seams, but it can also make supports harder to remove and finishing harder to reach. Dividing the same object can improve access while introducing alignment and joint problems. The useful comparison includes the complete route from model to finished display, not merely the time shown by the slicer.
Start by marking the visible faces, hidden faces and dimensions that must align. On a small lighthouse, the tower, balcony and roof might become separate components. On a simple rounded plinth, a seam through the middle may create more work than it saves. Let the shape and intended appearance determine where divisions belong.
Draw the assembly sequence
Imagine holding each part while the next one is added. Can the pieces be located without guessing? Can the joint be supported while an adhesive cures? Will an earlier step block access to a later screw or support? A separation that looks convenient in the modelling software can be awkward when one hand must hold a fragile railing and the other must align a heavy roof.
Use natural boundaries where possible: a roof line, a course of stone, a removable lid or a change in colour. A seam on a smooth open face will need a finishing plan. Include locating features only when they can be printed and checked; an excessively tight pin can prevent a joint from closing even when the visible edges are correct.
Make a small joint sample before committing to a large multipart model. Keep its orientation and material representative of the final pieces. Test the intended clearance and assembly access, then record the successful version. A joint that is convenient before primer may bind after finishing, so decide which mating surfaces will remain bare or include coatings in the test.
Compare the two workflows
For the single-piece version, inspect support access, important undersides and the footprint on the plate. For the divided version, add the time for labelling, cleanup, joining and seam work. Consider reprints too: replacing one broken roof is different from replacing an entire building. This does not make separation universally better, but it changes the consequence of a damaged detail.
Check that all parts retain the same scale. Keep the assembly model as a reference while preparing individual print orientations. Name components according to their role and revision, and pack small connectors with the matching body. Do not depend on memory when several nearly identical sections are produced across different evenings.
Choose the simplest arrangement that gives you acceptable printing and finishing access. Sometimes that is one object; sometimes it is two or three deliberate subassemblies. Avoid dividing a model into dozens of pieces merely to eliminate every support. The final assembly should have an intelligible sequence and a clear way to confirm that it is correct before anything becomes permanent.
One way to compare the alternatives is to make a paper assembly map. Draw each proposed component as a box and connect it to the part it joins. Write the joining method on each connection and mark any joint that becomes inaccessible later. A chain of parts that must all be held simultaneously is a warning that the division may need revision. A few independent subassemblies that can be completed on the bench are often easier to handle.
Keep the division consistent with transport and storage. A removable roof can provide access and reduce packed height, while a permanent seam through a thin exposed wall may remain vulnerable. The best division can therefore be different for a travelling gaming board and a model that will remain under a display cover.
Another detail to explore
Choose a first 3D printer around the objects you want to make
Start with three objects, their dimensions and the space available for making them. Those decisions narrow the printer search before speed claims do.
Read article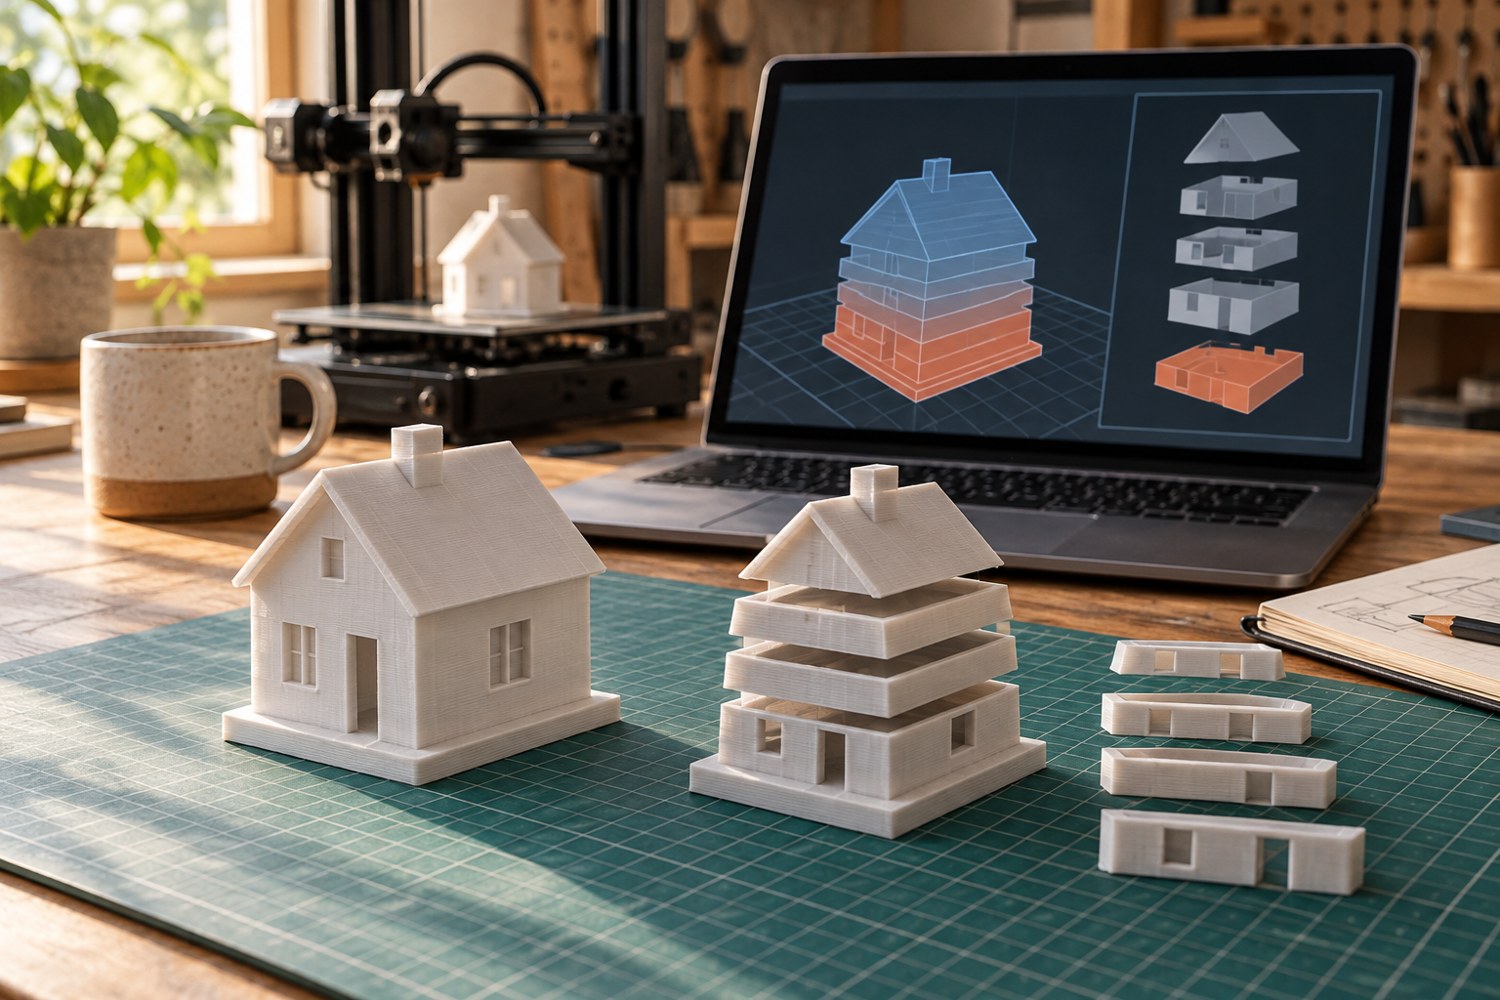
Read a sliced preview before starting a print
Read the toolpaths, first layer and delicate features before a file reaches the printer.
Read article