Hide a join between two terrain pieces
Decide whether a terrain join is permanent or removable before using filler, colour or scenic details to disguise it.
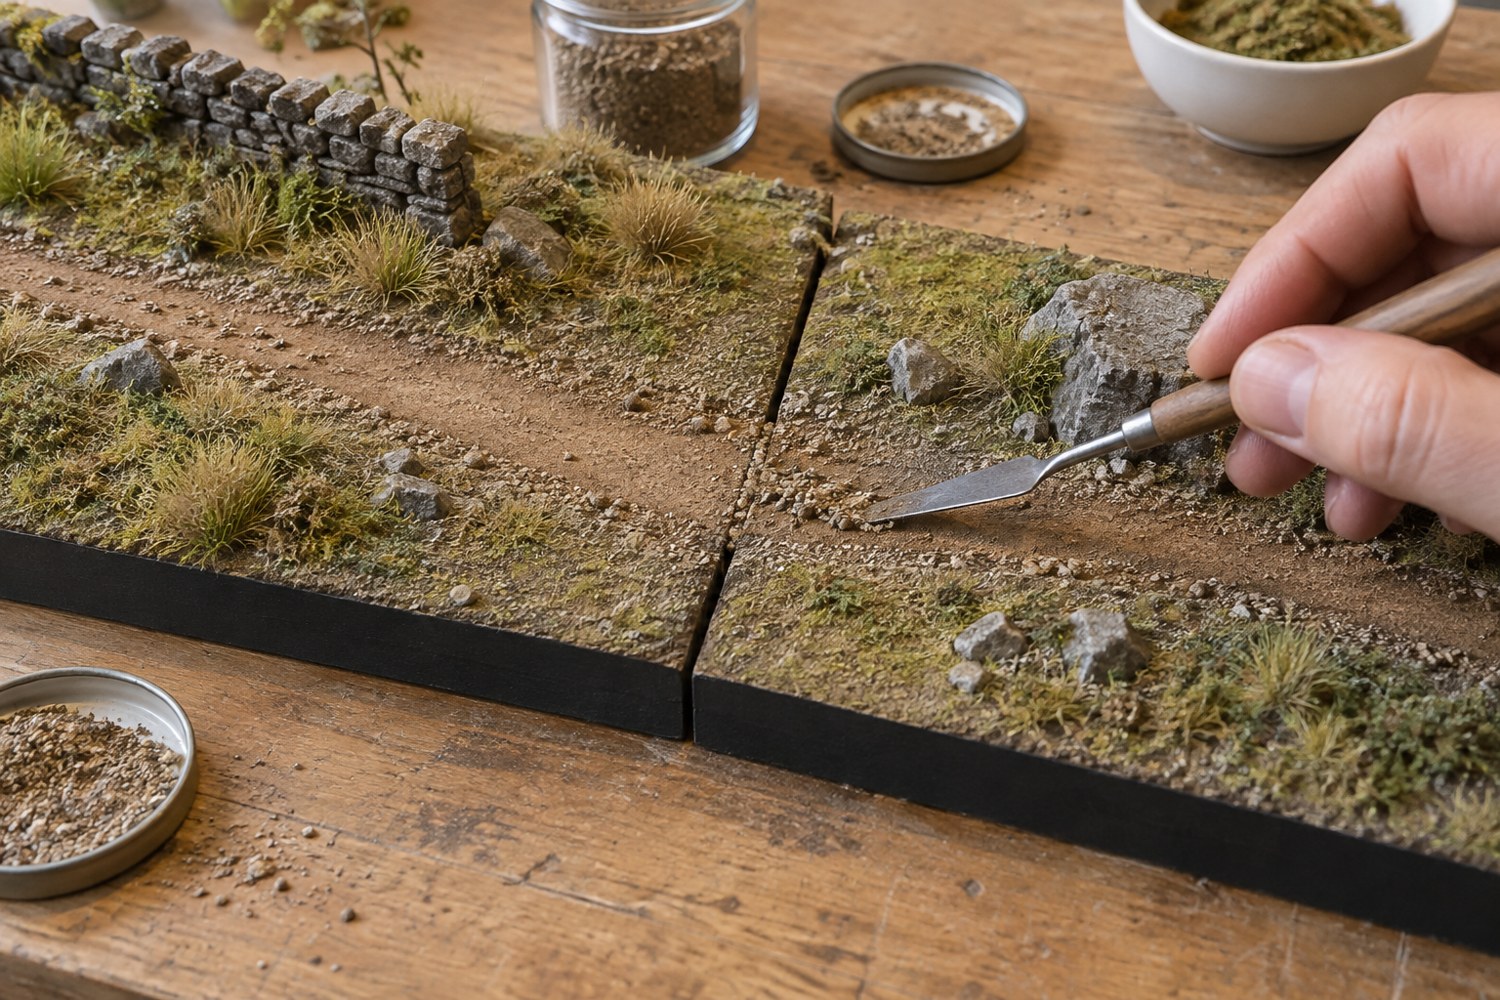
A join between terrain pieces can be a construction seam or an intentional separation point. Identify which it is before covering it. Filler may suit a permanent assembly, but it can lock removable tiles together or crack when they are separated. The concealment method must preserve the way the terrain is meant to work.
Place the pieces on their intended support surface and check alignment first. A height difference or rocking base will remain visible beneath most scenic disguises. Correct the support or fit before adding material to the seam. Do not use a thick line of ground texture to hide a structural problem you have not understood.
Permanent seams
For a fixed assembly, choose a filler compatible with both surfaces and the planned paint system. Test on scraps and follow its application and curing instructions. Apply enough to bridge the local gap without burying nearby detail. Restore the surrounding texture while keeping the original large forms readable.
Blend the colour over a wider area than the filled line. A narrow stripe painted exactly along the seam can remain visible even after the physical gap has disappeared. Use the existing terrain pattern to determine where colour transitions belong, rather than treating the seam as a new feature.
Removable boundaries
For modular terrain, let the two edges remain separate. A loose wall, narrow path insert or removable vegetation strip can interrupt the line without bonding across it. Design that cover piece with a solid handling area and a labelled storage position. It should lift out before the tiles move.
Avoid flock, roots or ropes that accidentally cross the boundary. Assemble and separate the pieces during the finishing process to catch those bridges early. Keep bearing and locating surfaces clean so the tiles can return to the same height each time.
View the join under the lighting used for play or display. Strong side light may reveal a physical step that a front-lit photograph hides. If the boundary cannot disappear completely, place it where the landscape already suggests a change: a wall line, road edge or break in vegetation. A readable, intentional boundary is better than an unstable disguise that damages both pieces whenever the set is rearranged.
Match the texture direction across the boundary
A seam can remain visible because the texture changes direction, even when the two pieces share a colour. Look at rock layers, paving joints and grass patterns on both sides. Where a feature should continue, carry its broad direction through the boundary. Do not add a straight row of stones exactly along the join unless a built edge belongs there.
For paving, test a loose paper pattern across the assembled pieces before painting or engraving. Keep the joint itself functional if the terrain separates, but let the surrounding pattern explain the continuation. A slight colour variation between individual stones is less distracting than an entire pavement shifting sideways.
For natural ground, use a few larger patches that approach the boundary at different angles. Keep each patch attached only to its own tile. Assemble the terrain frequently while working so the combined pattern develops as one view, then separate it to confirm that no adhesive or texture has bridged the gap. This alternation prevents an attractive final surface from becoming an accidentally permanent assembly.
Another detail to explore
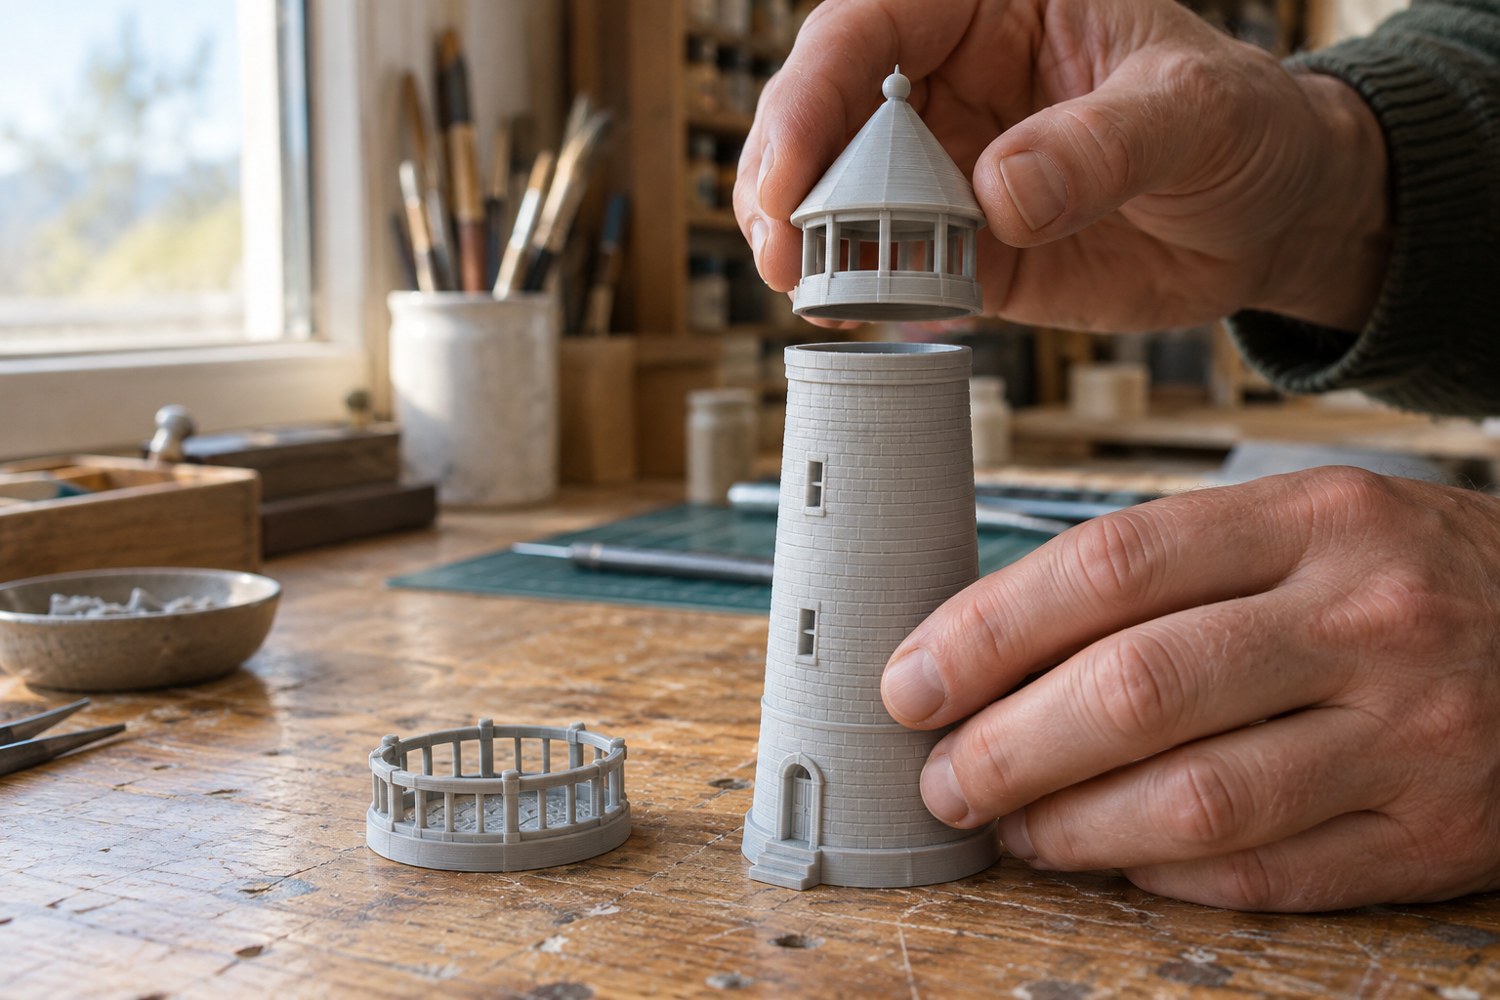
Dry-fit a printed model before reaching for glue
Check alignment, access and assembly order with temporary placement before an adhesive makes the decision permanent.
Read article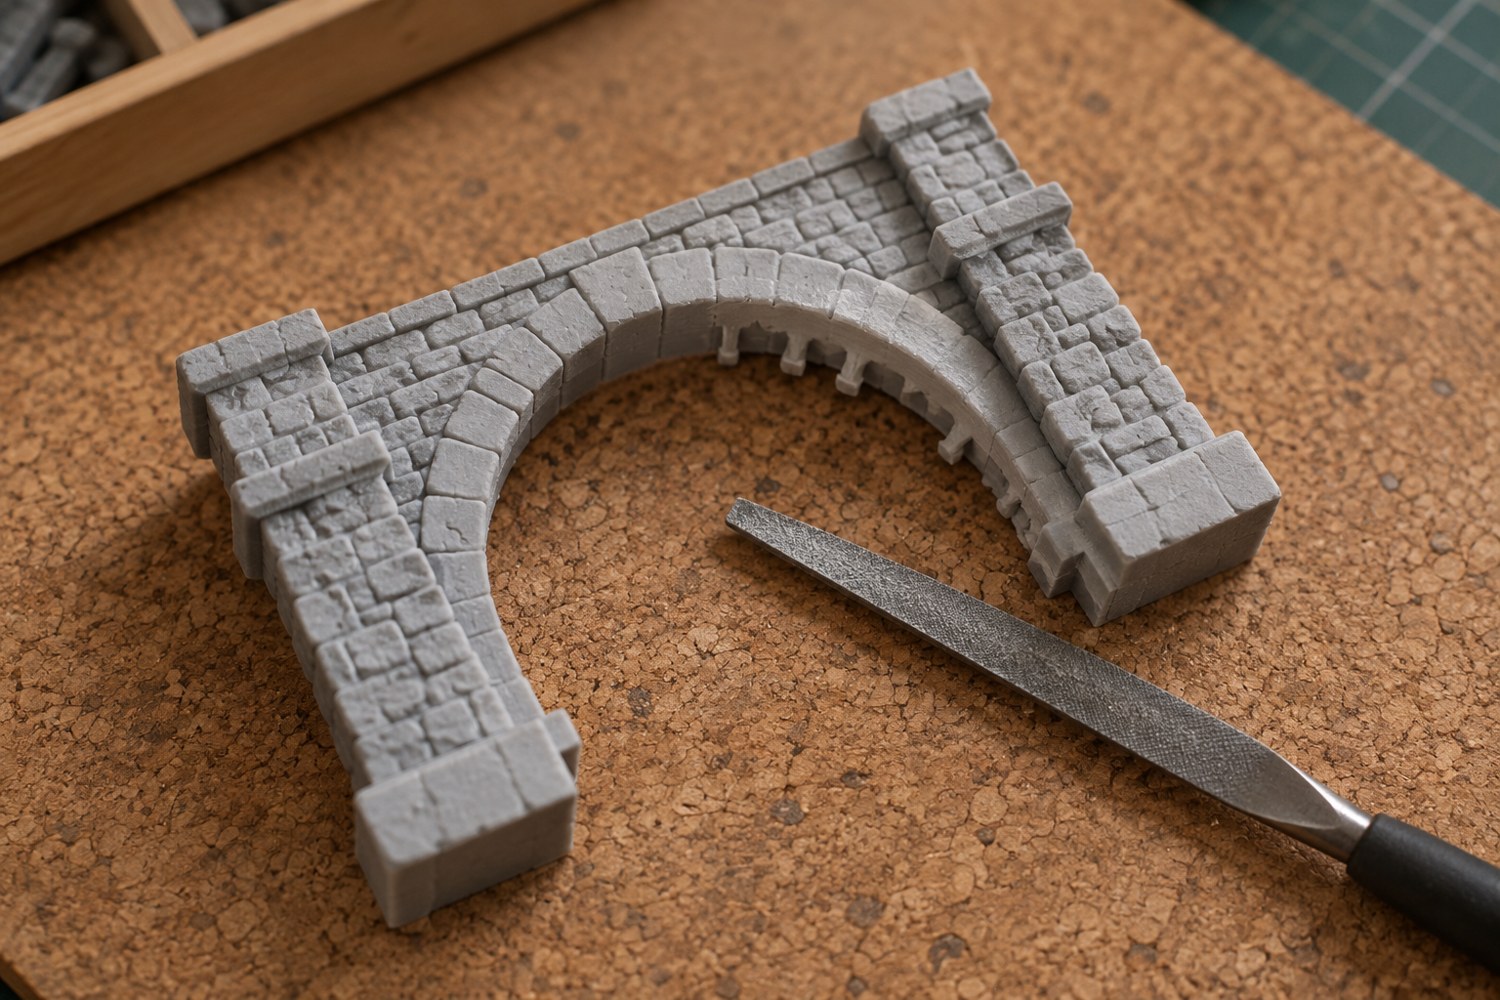
Remove support marks without flattening the model
Identify each support scar and protect the surrounding shape before removing material from a finished print.
Read article