Dry-fit a printed model before reaching for glue
Check alignment, access and assembly order with temporary placement before an adhesive makes the decision permanent.
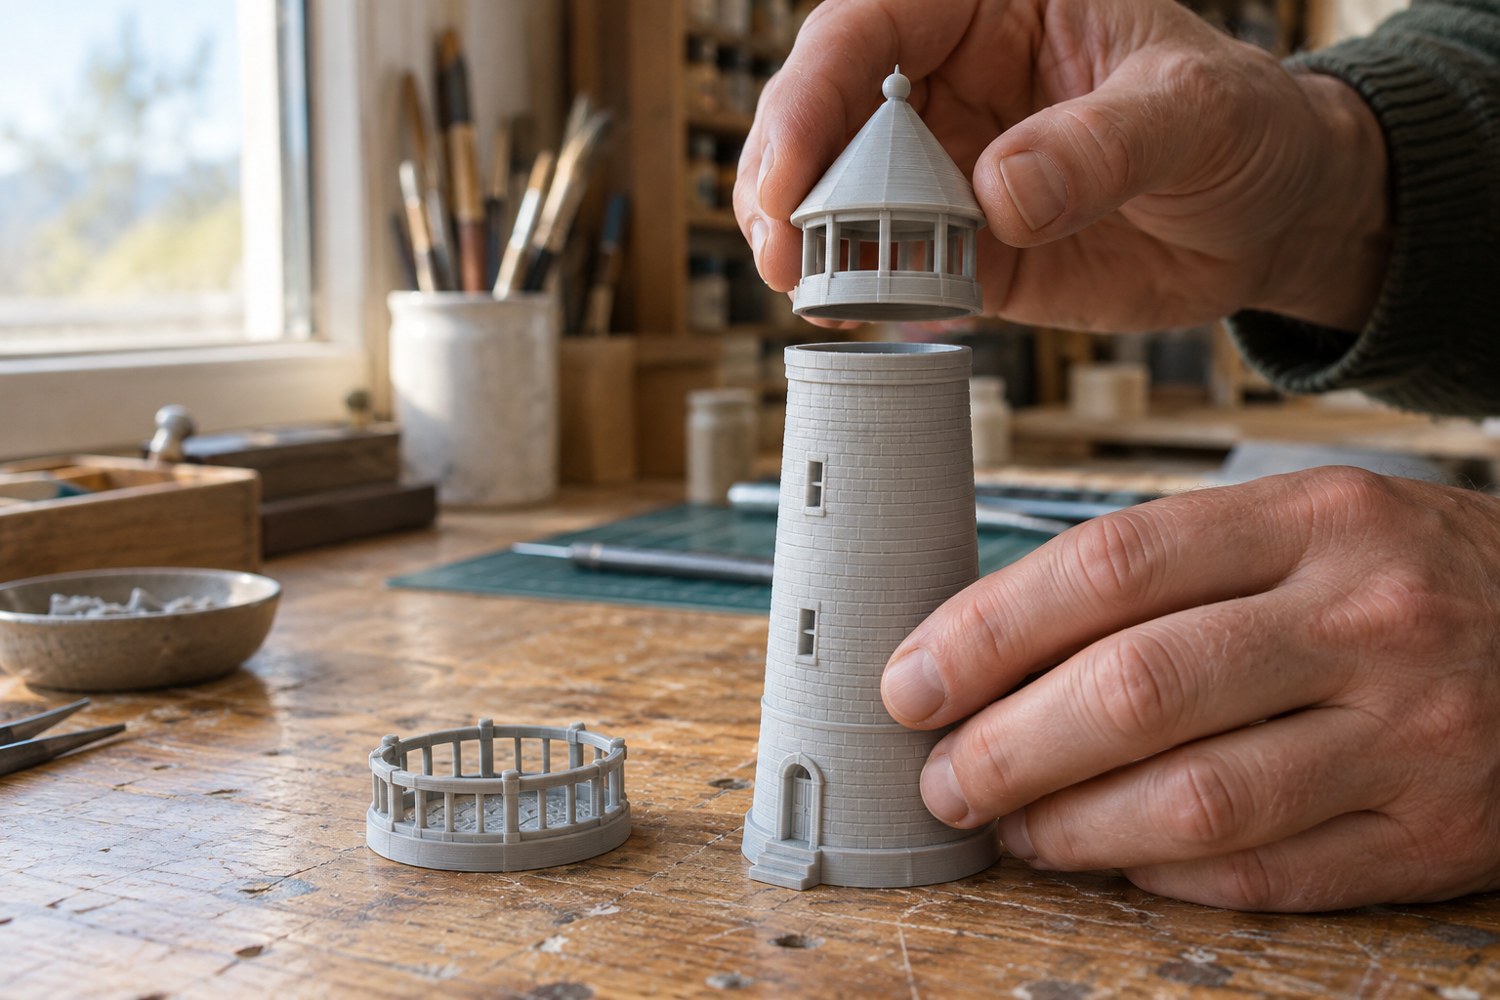
Dry-fitting is a rehearsal of the whole assembly, not merely checking whether two pegs enter two holes. Lay the parts out in the order you expect to use them. Identify the visible faces, hidden joints and any sections that must remain removable. Keep a photograph of the original arrangement if similar pieces could be confused.
Begin with the largest structural pieces. Place them together without force and look at the model from several directions. A join can close along one edge while leaving a gap on the opposite side. Check whether the problem comes from a small obstruction, a warped part or the wrong orientation before removing material.
Separate a fit problem from an alignment problem
A locating pin may fit its hole but still allow the parts to rotate incorrectly. Put the assembly on a flat surface and compare important landmarks: roof ridges, wall corners or the line of a deck. Use a simple straight reference where appropriate. Do not assume that forcing every locating feature fully home automatically produces the intended shape.
Mark contact points discreetly on hidden surfaces. If a support remnant prevents seating, remove only that obstruction using a suitable tool and then test again. Avoid sanding the entire joint until it becomes loose. A sequence of small, identifiable corrections is easier to control than a broad attempt to make everything fit at once.
Rehearse the final movement
Try inserting each piece while the surrounding parts are in place. A window may fit before the roof is attached but become inaccessible afterwards. A decorative panel might need to slide sideways into a groove that a later wall blocks. Write down these dependencies before any adhesive is applied.
Check where your hands, clamps or temporary supports will go. If holding the joint requires pressure on a fragile railing, change the sequence or make a support that contacts a robust area. A dry-fit that works only while balanced on a fingertip is not ready for glue.
Inspect paint access too. Some interiors need colour before they are enclosed, while bonding surfaces may need to remain unpainted according to the adhesive and finish system. Mark those surfaces and protect them deliberately. Do not let a convenient painting order create an unreliable joint.
Choose the adhesive only after identifying both materials and the joint conditions. Follow its instructions for preparation, application and curing. A successful friction fit does not establish chemical compatibility, and a fast-setting glue leaves less time to correct a rehearsed movement that is still awkward.
For a complex kit, divide the model into subassemblies that can sit securely on their own. Photograph each dry-fitted group from an angle that shows orientation. Keep small parts beside their group in labelled trays. Finally, take the assembly apart once and rebuild it without consulting your memory. If you discover a confusing pair of similar parts or a difficult insertion, solve it now. That second rehearsal turns the dry-fit into a usable assembly plan rather than a single lucky arrangement.
A temporary alignment cradle
For an awkward hull, curved wall or tower section, make a simple temporary cradle from suitable clean supports. Its purpose is to hold the part in a repeatable position while you inspect the joint. Keep the contacts broad and away from fragile detail. The cradle does not need to be glued to the model or reproduce every curve.
Place the dry-fitted assembly in the cradle and check whether gravity helps or fights the intended alignment. Turn the arrangement if necessary so a joint is not constantly trying to slide apart. Keep enough access to apply the chosen adhesive according to its instructions without dismantling the entire support.
Mark the cradle's front and take a photograph before taking the model apart. When the final assembly begins, you should be able to reproduce the same support position quickly. Test that the cradle itself can be removed after the joint cures; an enclosed support trapped inside a finished shell is an avoidable surprise.
For a multi-part island structure, use the base as another alignment reference. A tower assembled perfectly straight relative to its own pieces can still lean when placed on a sloping foundation. Check the building in its actual scenic location during the dry-fit, then separate the landscape and structure again for any painting stages that require access.
Another detail to explore
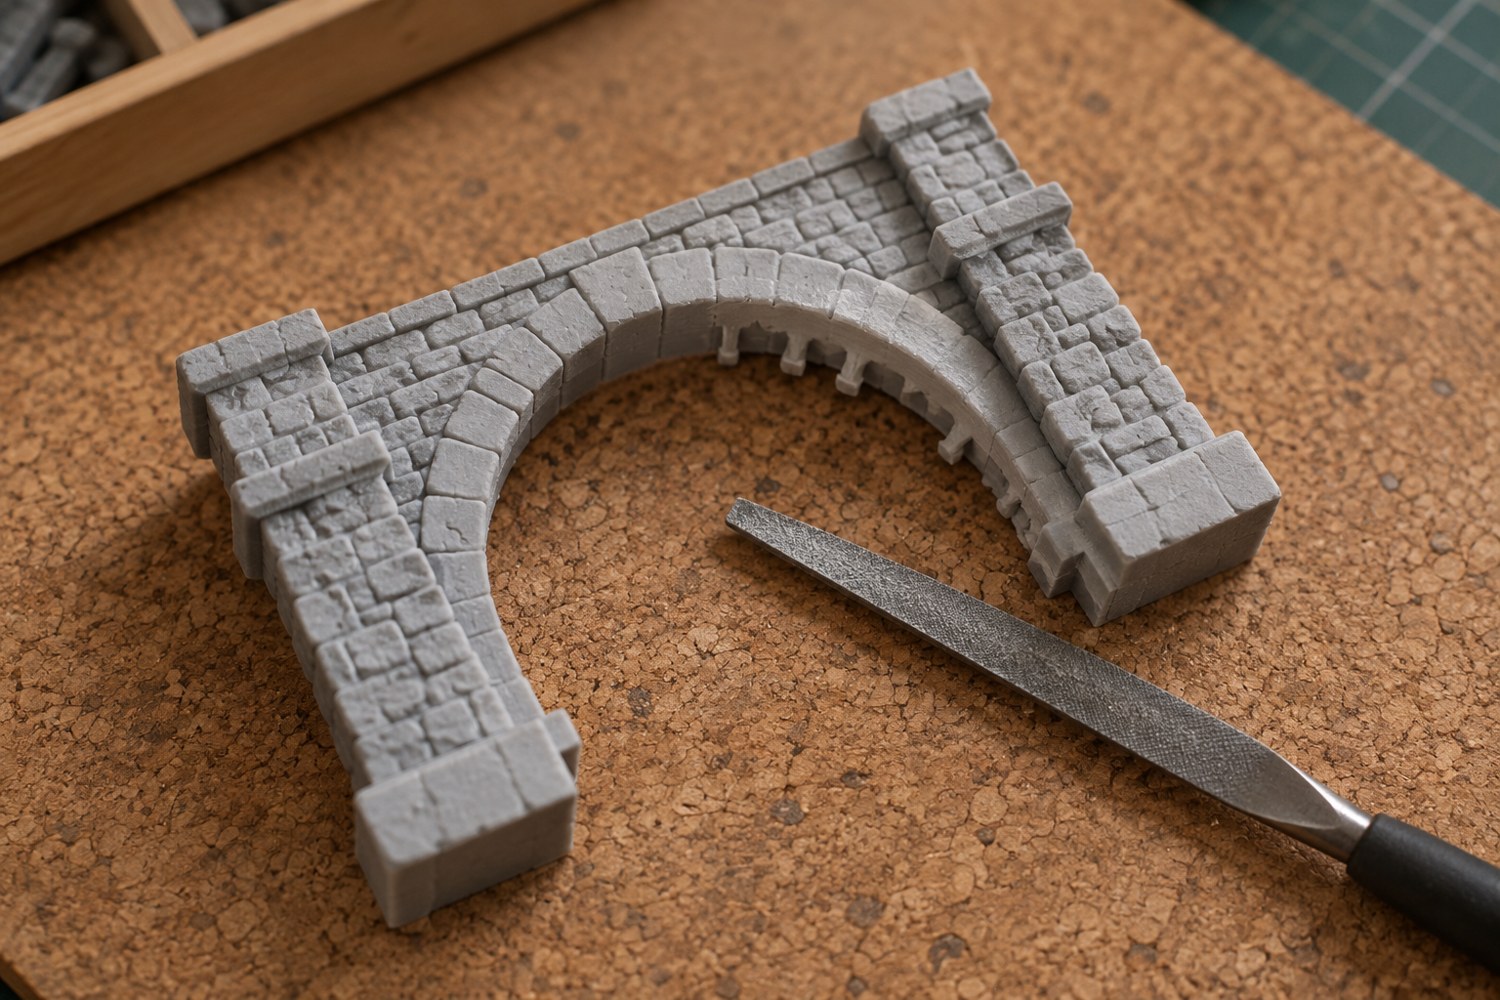
Remove support marks without flattening the model
Identify each support scar and protect the surrounding shape before removing material from a finished print.
Read article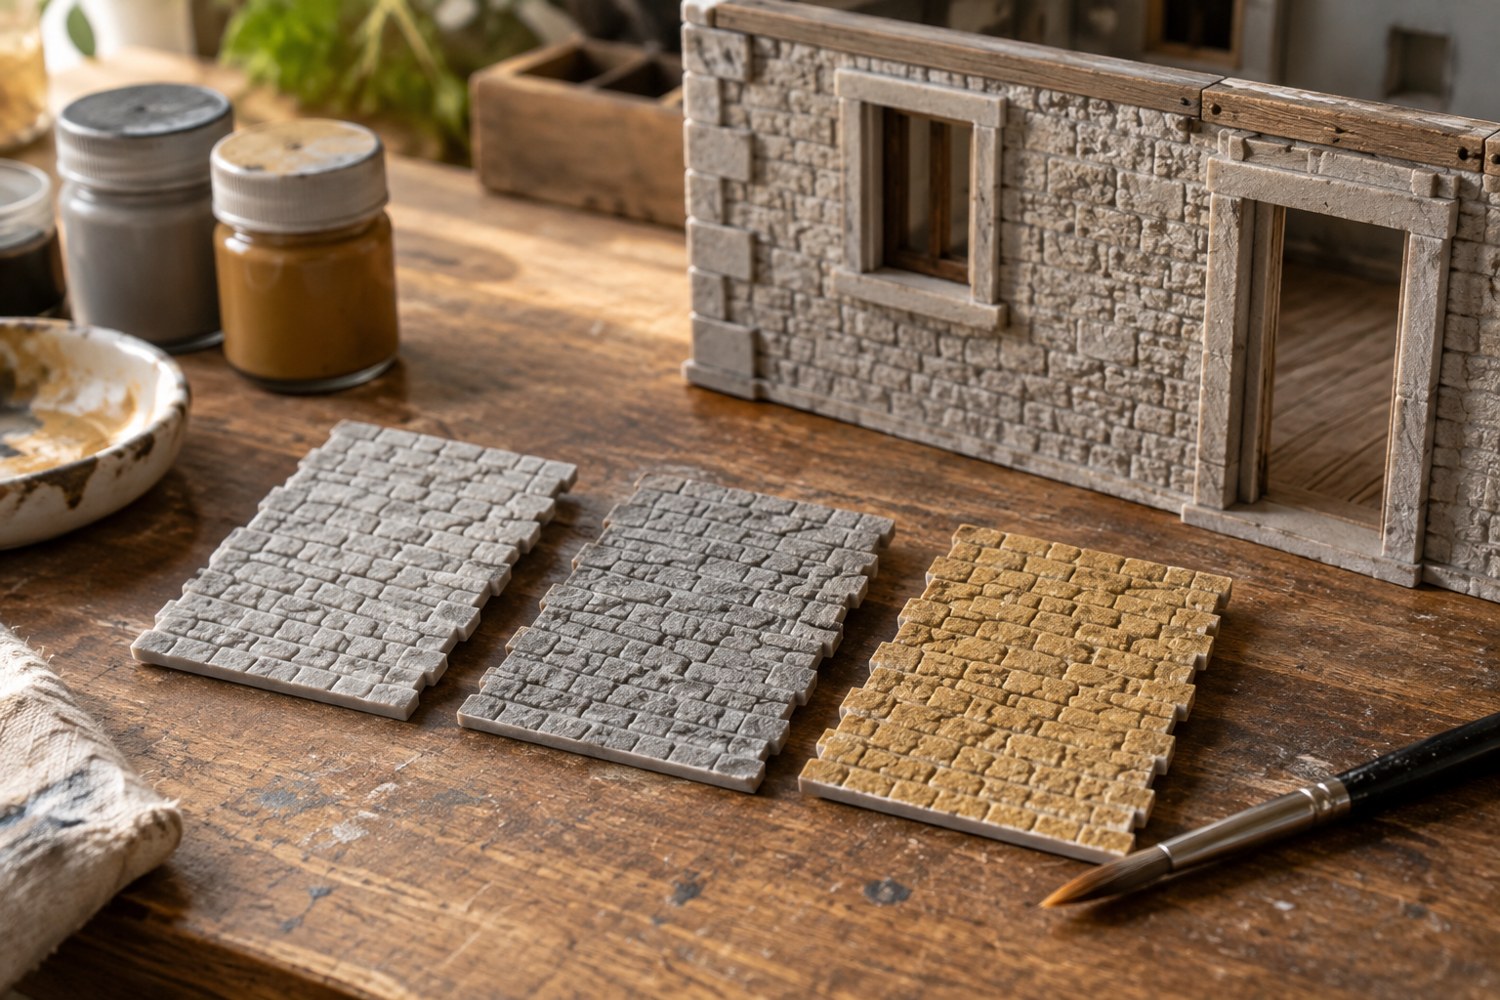
Plan a primer test on spare material
Test the complete primer and paint sequence on representative spare material before coating the model.
Read article