Plan a primer test on spare material
Test the complete primer and paint sequence on representative spare material before coating the model.
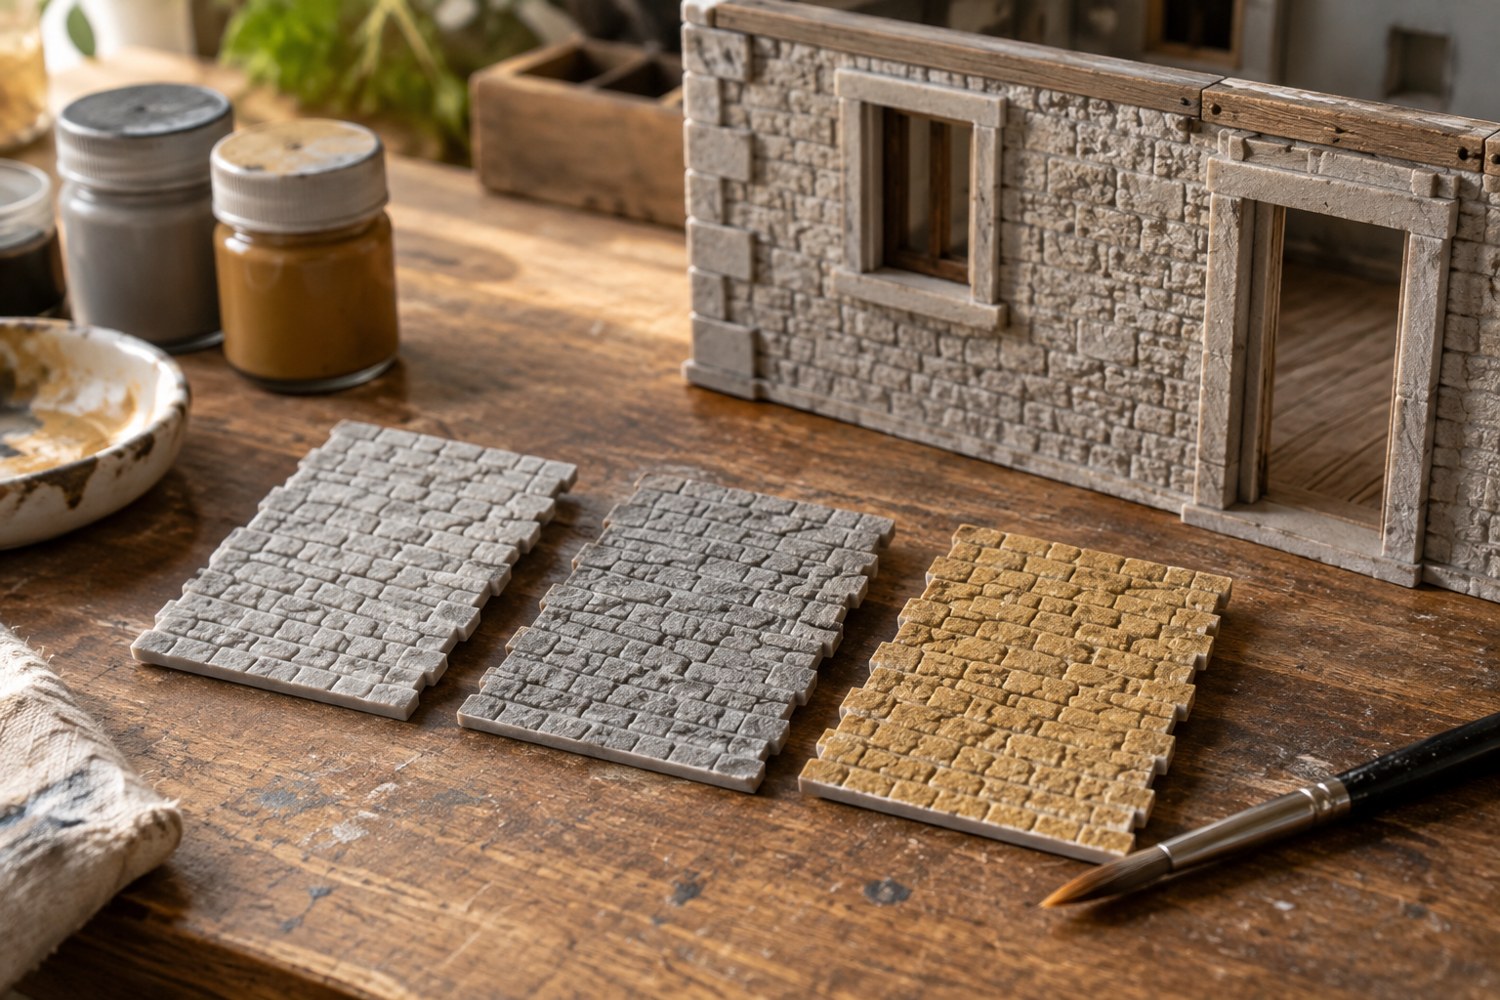
A primer test is most useful when it resembles the actual job. Use spare material from the same printing process or kit, with a similar surface texture and preparation. A smooth unrelated plastic spoon may show colour, but it cannot fully answer how the coating will behave on your model's layer lines, filler or cleaned surface.
Write down the primer product, material and intended topcoat. Check the manufacturer's instructions and current safety information for the application method. Vallejo's Surface Primer safety sheet includes handling and exposure-control guidance; water-based wording alone is not a reason to ignore product-specific precautions. Spraying and brushing create different exposure conditions, so choose an appropriate workspace for the actual method.
Make the test answer a question
Divide the sample into labelled areas if you are comparing preparation methods. Change one variable at a time. For example, compare two compatible cleaning approaches while keeping the primer application the same. A sample with different cleaning, primer thickness and drying time in every section makes a failure difficult to interpret.
Include a recess, an edge and a textured area where possible. These reveal whether the primer pools, obscures detail or leaves inaccessible surfaces uncovered. Apply the product according to its instructions rather than trying to achieve full opacity with one heavy pass. Record the application and waiting times so you can repeat a successful result.
Allow the specified drying or curing period before evaluating the coating. Dry to the touch is not necessarily ready for masking, handling or another chemical product. Where the manufacturer distinguishes these stages, use the stage relevant to your next operation.
Inspect the sample under a side light. Look for uneven texture, filled grooves or areas where the coating has pulled away. Then apply the planned colour and final finish to part of the sample. A primer that looks acceptable by itself can still reveal an incompatibility later in the sequence.
Include the way the model will be used
If the finished object will be masked, test the intended tape and removal method on the sample after the appropriate waiting period. If it will be handled frequently, evaluate ordinary handling on the sample rather than scraping the finished model. These are project checks, not laboratory adhesion tests or guarantees of long-term durability.
Keep one section uncoated as a visual reference. It helps distinguish the original printed texture from texture introduced by the coating. Photograph the sample with the labels visible and store it beside the product notes.
If the test fails, identify the failure before buying a different primer. Poor coverage, lost detail and lifting are different problems. Check preparation, compatibility, application thickness and timing against the manufacturer's guidance. Change the relevant variable and repeat on a fresh area. A useful test ends with a repeatable sequence you can apply to the model, including the waiting time, not just a sample that happened to look good once.
Keep a dated sample rather than a verdict from memory
Write the preparation and application date on the back of the test piece. If you inspect it again later, the age of the coating is then known. Avoid describing a coating as fully cured merely because a certain number of hours have passed; use the product's instructions and the relevant conditions.
Make a simple result note beside the sample: coverage acceptable, fine groove still visible, masking trial lifted a small edge, or topcoat changed the colour. Those observations are more actionable than a single pass or fail label. They also prevent a later project from repeating a sequence whose weakness you had already found.
Keep the sample away from the model while trying any more aggressive assessment. A test that involves rubbing or tape removal belongs on the expendable piece. It should not create dust, debris or loose adhesive near a freshly painted model. When the sequence is settled, store the successful sample with its labels intact and discard failed samples only after preserving the notes you need.
If you change to a different filler, print material or paint range, repeat the relevant part of the test. The old sample remains a useful record of one combination, not a universal approval for everything that looks similar.
Another detail to explore
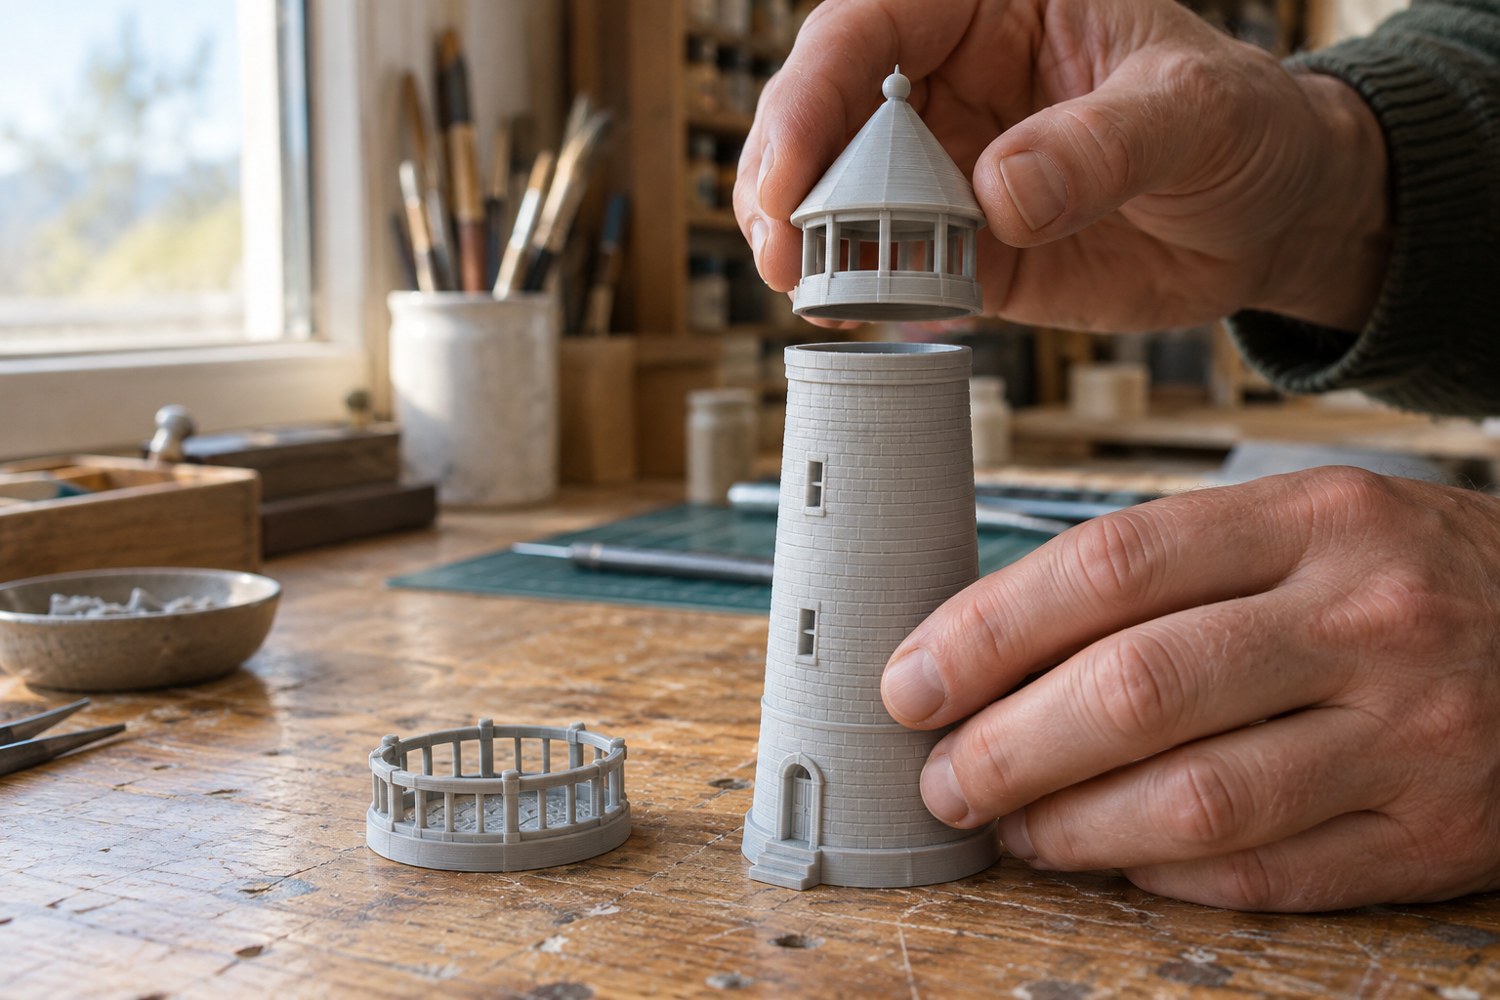
Dry-fit a printed model before reaching for glue
Check alignment, access and assembly order with temporary placement before an adhesive makes the decision permanent.
Read article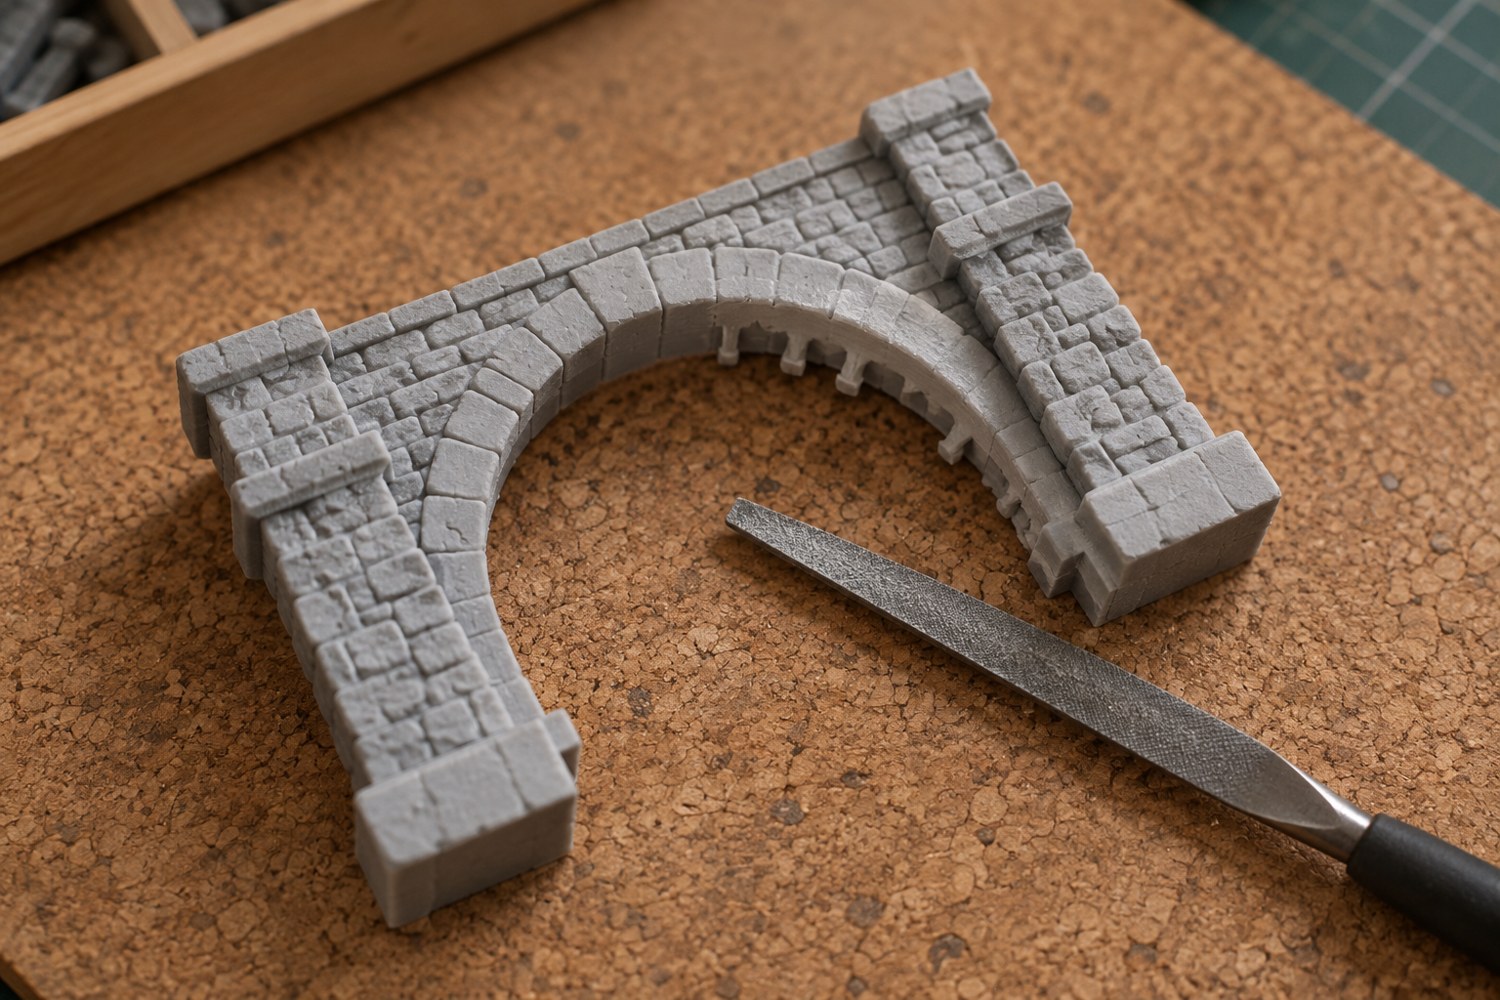
Remove support marks without flattening the model
Identify each support scar and protect the surrounding shape before removing material from a finished print.
Read article