Design a simple display plinth from basic shapes
Make a display plinth around the object it supports, the viewing angle and the available shelf space before adding decorative edges.
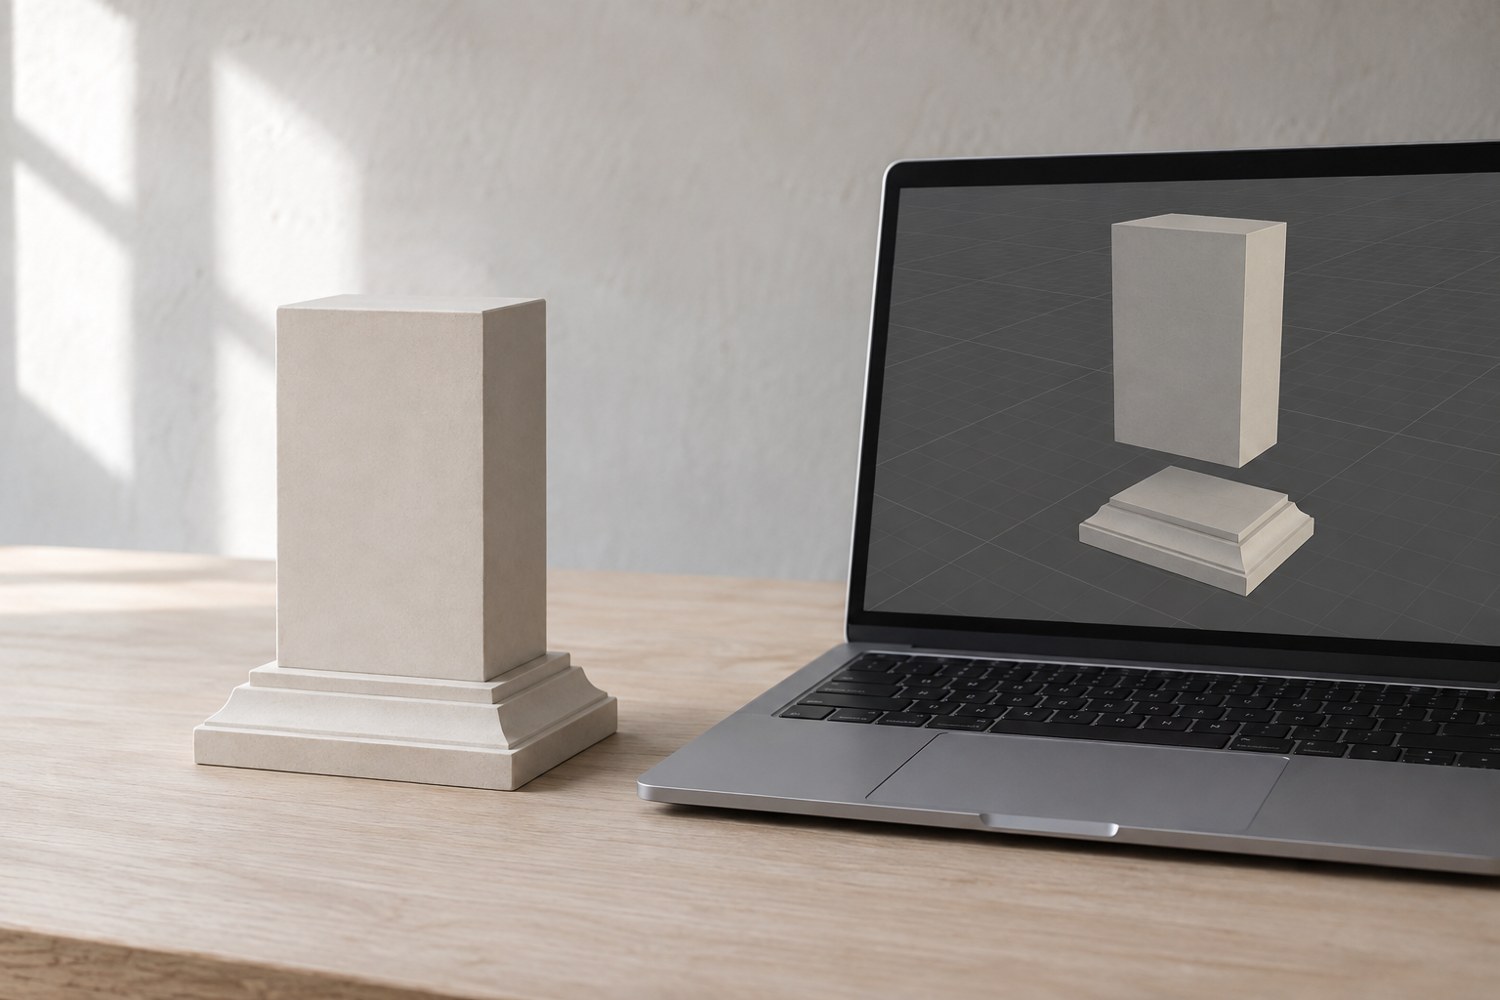
A plinth is a small modelling project with a clear purpose: give a miniature a deliberate place to stand. Start with the figure or object that will sit on it. Trace its footprint on paper, including any base already attached, and leave enough room to position it without crowding the edge.
Draw several outlines around the footprint. A circle can suit a scene viewed from all sides, while a rectangle can establish a front. An irregular shape may echo terrain but can make a display cover harder to fit. Choose the outline for the intended display rather than because a modelling tool makes it easy to produce.
Build the main volume first
Create a simple block, cylinder or extruded outline using explicit dimensions. Check its height beside the miniature. A taller plinth can separate the subject from a busy shelf, but it also changes the total height and the way the object will be handled. Mock up the combined silhouette with stacked card before committing to a long print.
Keep the top surface usable. A decorative bevel should not consume the space needed for the existing miniature base. If you want a recess, measure the object and plan clearance rather than copying its nominal size exactly. Make a shallow test section of the recess when the fit matters. Do not use a valuable painted miniature as a tool for forcing a tight opening.
Plan the underside and the label
Decide where the plinth will be gripped and whether any feet or pads are planned. Leave room for those additions in the total height. Avoid hidden pockets that serve no purpose but make the model harder to inspect or clean. A simple underside is often enough for a display object.
If a nameplate is wanted, reserve a flat area before adding texture. Try the proposed lettering on paper at the actual size and view it from the normal distance. A separate plate can be easier to replace than lettering built into the entire plinth. Keep the plate's mounting method compatible with the material and intended finish.
Export the plain version and examine its print orientation before adding fine trim. Confirm that the top remains level in the model and that any recess is still the right depth. Save both the simple construction and the detailed version. The basic plinth can then be resized or adapted for another subject without having to untangle decorative geometry first.
Another detail to explore
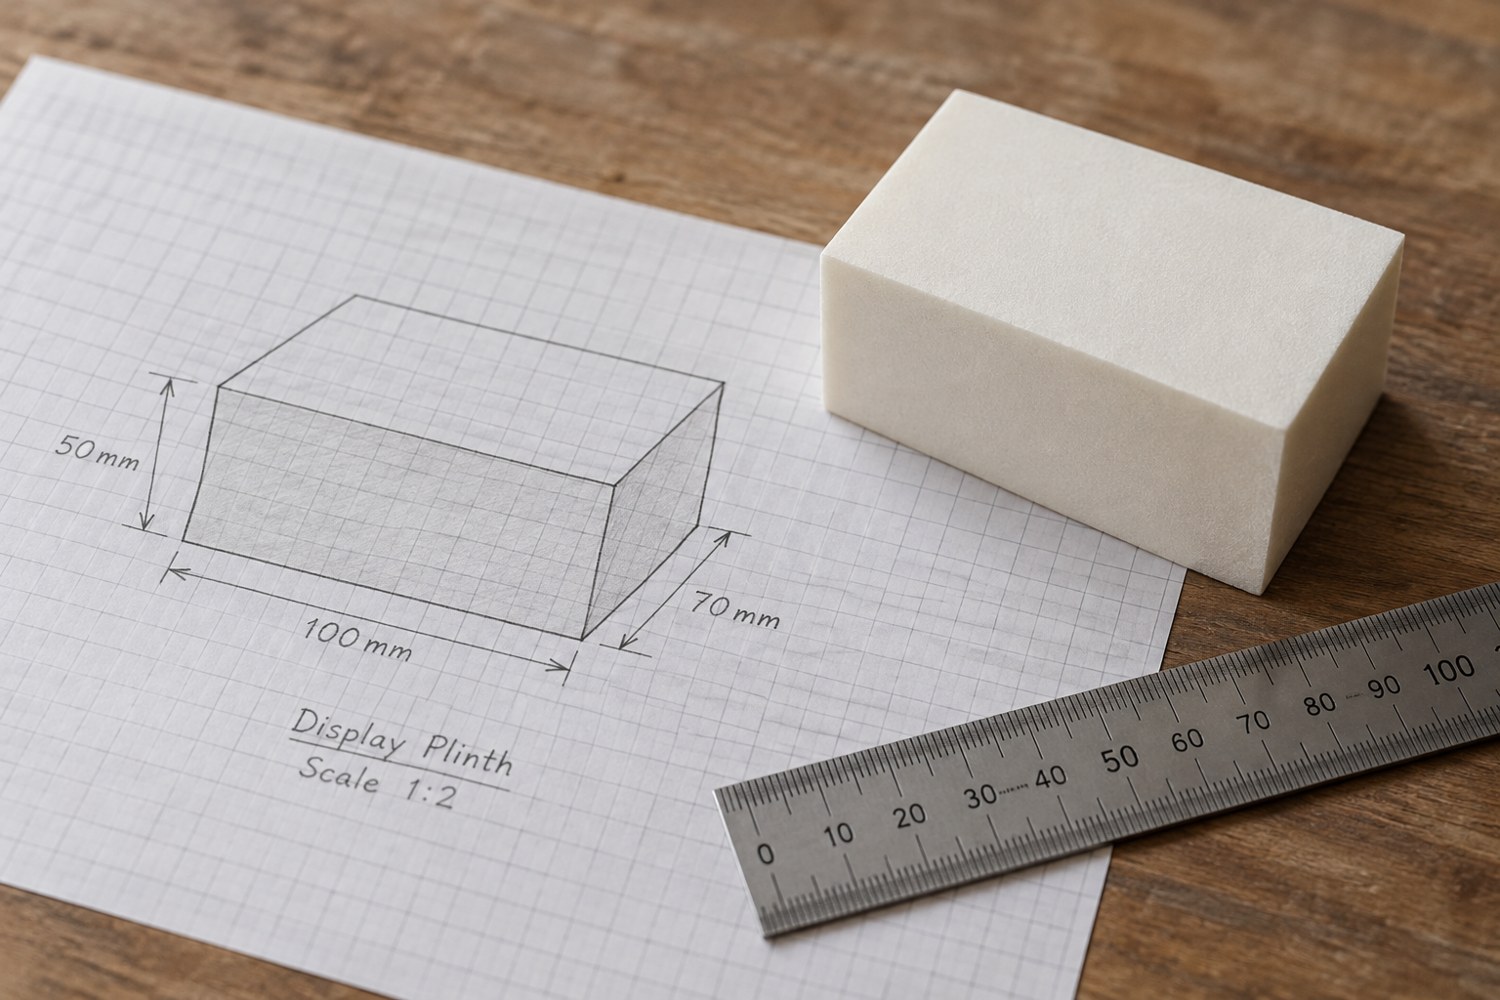
Start a model with dimensions instead of details
Build a short dimensional brief before adding bevels, textures or decorative features. It gives every later modelling decision a reference.
Read article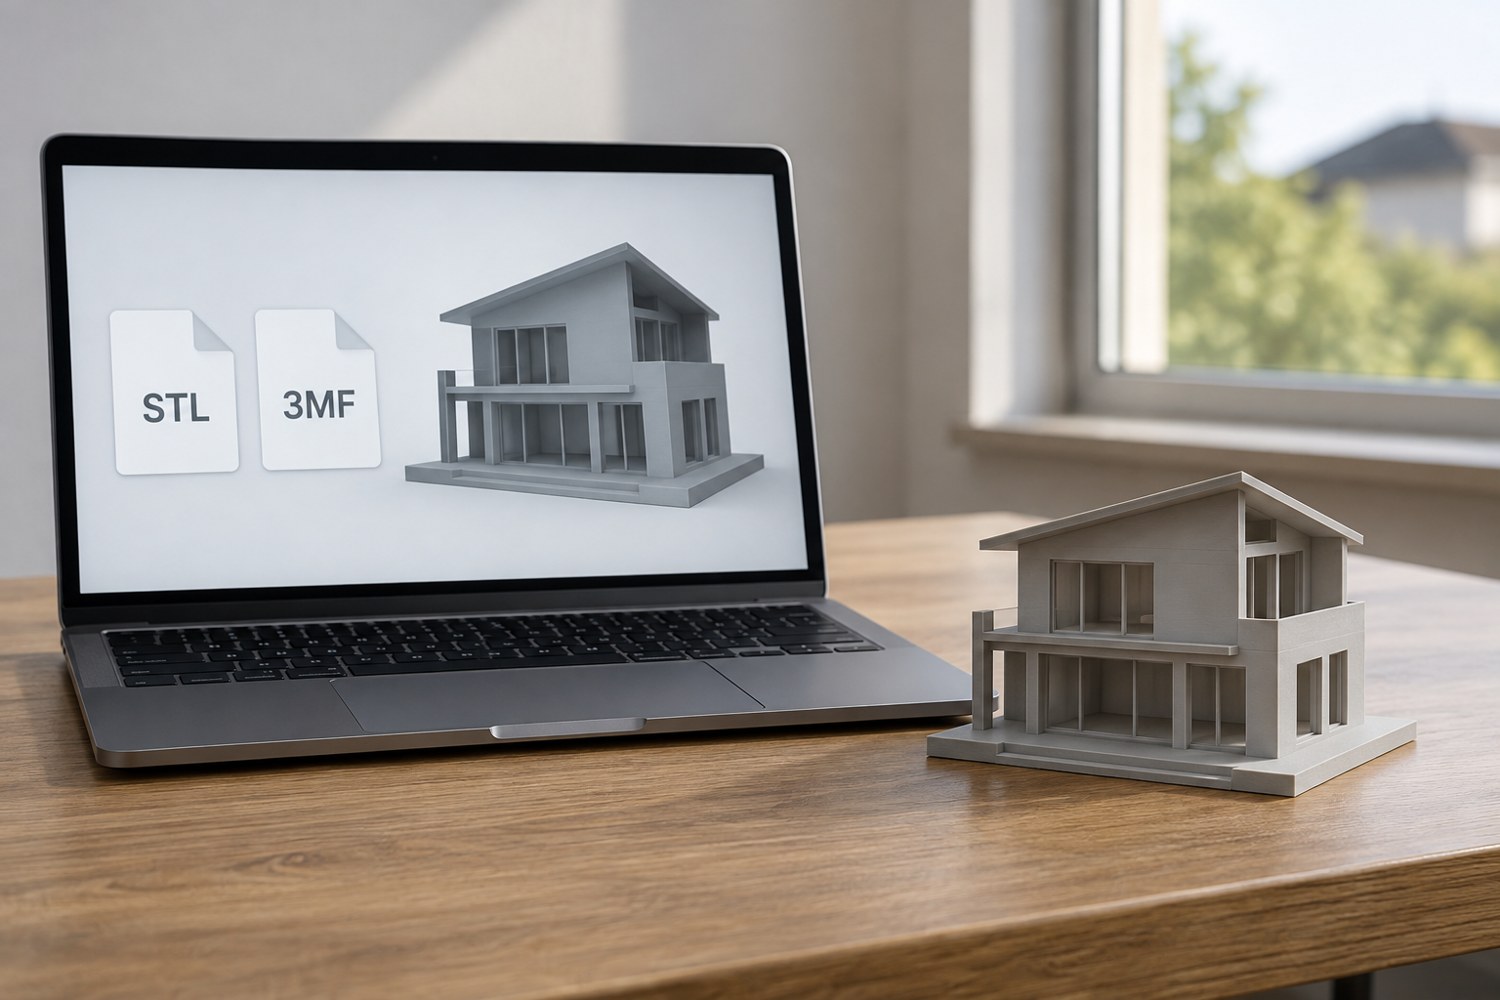
Understand STL and 3MF when sharing a print project
An STL mesh and a saved 3MF project can carry different information. Decide what a recipient needs before choosing the file to send.
Read article