Choose a finish by the way a model will be handled
Choose surface sheen and a protective coating around the model's materials, contact points and intended handling.
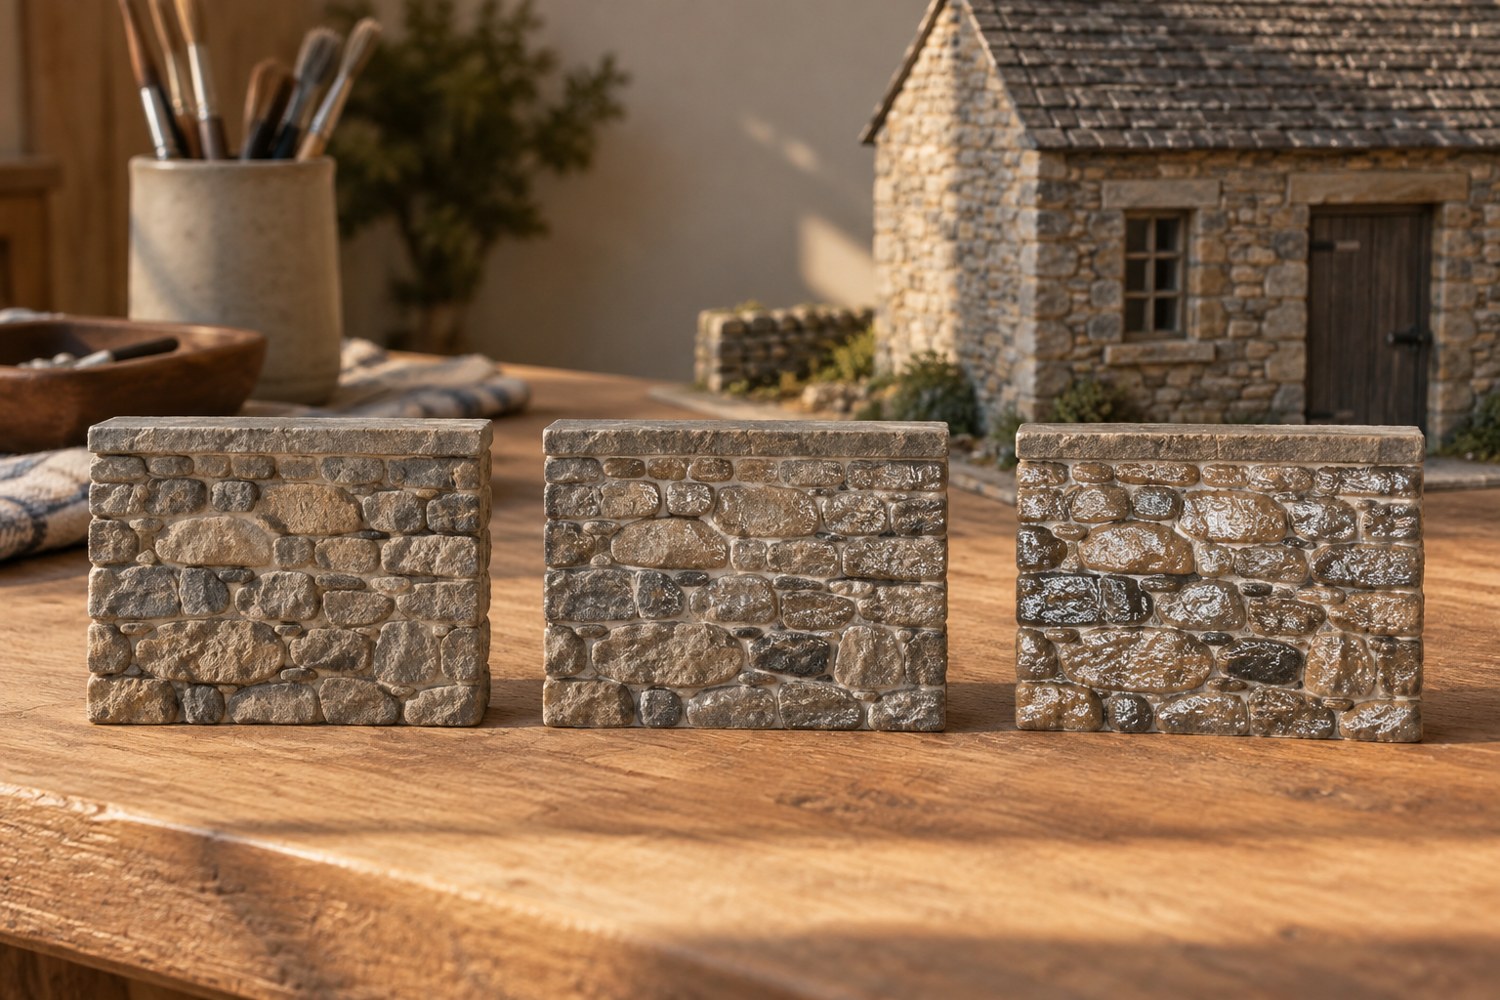
A display miniature behind a cover and a terrain piece moved every game do not face the same handling. List where fingers will touch, where parts slide together and which surfaces need to remain visually dull or reflective. This turns the finish decision into a set of requirements rather than a simple choice between matt and gloss.
Check compatibility with the paint, decals, scenic materials and substrate. Use the manufacturer's instructions for the exact coating and application method. A clear product can change colour, texture or sheen, and a successful result over one paint does not prove it will work over another.
Test the appearance and the contact
Apply the complete finishing sequence to a representative spare piece. Include a painted edge and any material that will sit beside it. View the sample under the intended display light. A glossy surface may reflect a lamp strongly enough to hide detail, while a very flat appearance can reduce the intended suggestion of glass or wet ground.
Let the coating reach its stated handling or curing stage before evaluating ordinary contact. Do not invent a shorter schedule because the surface feels dry. A home handling check is useful for the project but is not a durability rating or a guarantee against scratches.
Keep clear coats out of moving joints and close-fitting locating surfaces unless the design explicitly allows for them. Added film thickness can make a removable roof or lid bind. Mask the relevant areas and test the finished sample joint before treating the model.
Consider selective sheen instead of coating every material identically. A window, painted wall and rocky ground can have different visual roles. Apply local finishes only after checking the sequence and compatibility. Do not assume a protective layer makes loose scenery or a weak joint mechanically secure.
Provide a handling method that reduces wear regardless of coating. A solid base edge or removable plinth is often more useful than repeatedly touching a delicate painted feature. Include that grip in storage and handover notes. If a part will be repaired frequently, keep the finish product and colour record so a touch-up can be tested before it is applied to the visible model. The coating is one part of the object's care, alongside construction and handling.
Distinguish finish wear from construction wear
A scuffed edge and a loose joint need different remedies. If the paint wears where a roof slides into place, changing the contact geometry or keeping that surface uncoated may be more effective than adding another clear layer. If the whole wall flexes during handling, a finish cannot make the underlying construction rigid.
Draw the intended contact points on a photograph of the model. Include fingers, storage supports and neighbouring removable parts. This reveals where a coating is being asked to perform a mechanical job it may not be designed for. Reposition a support or add a solid grip before increasing the number of layers on every visible surface.
Keep the final sheen consistent with the depicted material, but allow the hidden handling areas to prioritise function. A plain base underside need not receive the same decorative treatment as the visible quay. Record any deliberately uncoated or differently finished areas so future touch-ups do not accidentally fill them in and change the fit.
Another detail to explore
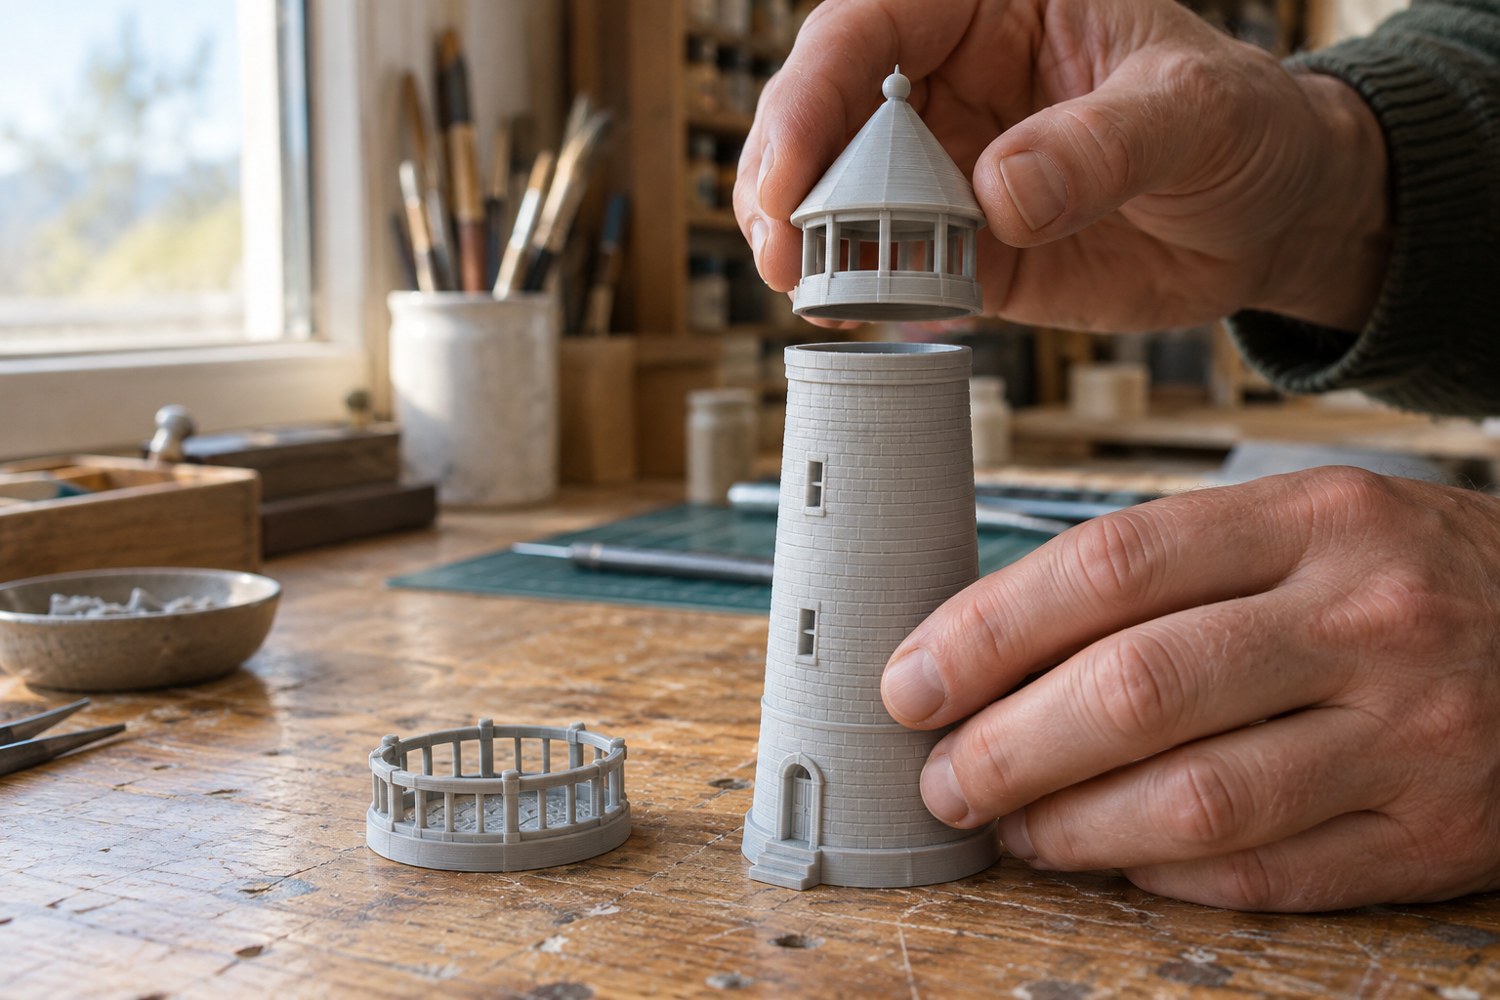
Dry-fit a printed model before reaching for glue
Check alignment, access and assembly order with temporary placement before an adhesive makes the decision permanent.
Read article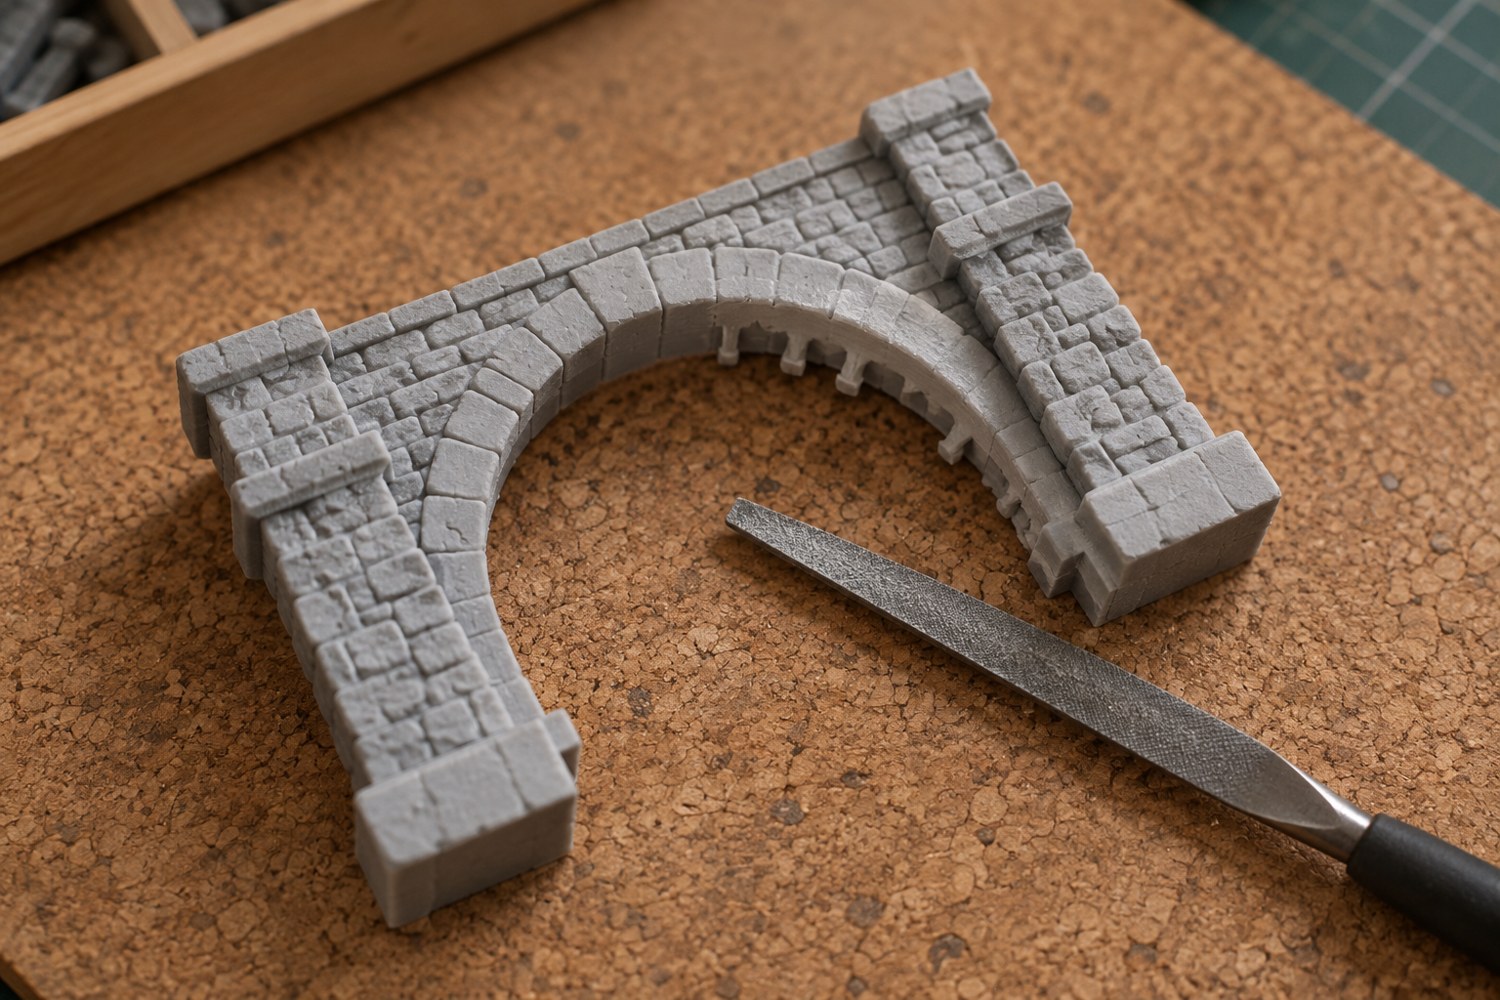
Remove support marks without flattening the model
Identify each support scar and protect the surrounding shape before removing material from a finished print.
Read article