Plan a mountain trail through a display base
Make a mountain route readable in plan and side view, with enough space for its switchbacks and destination.
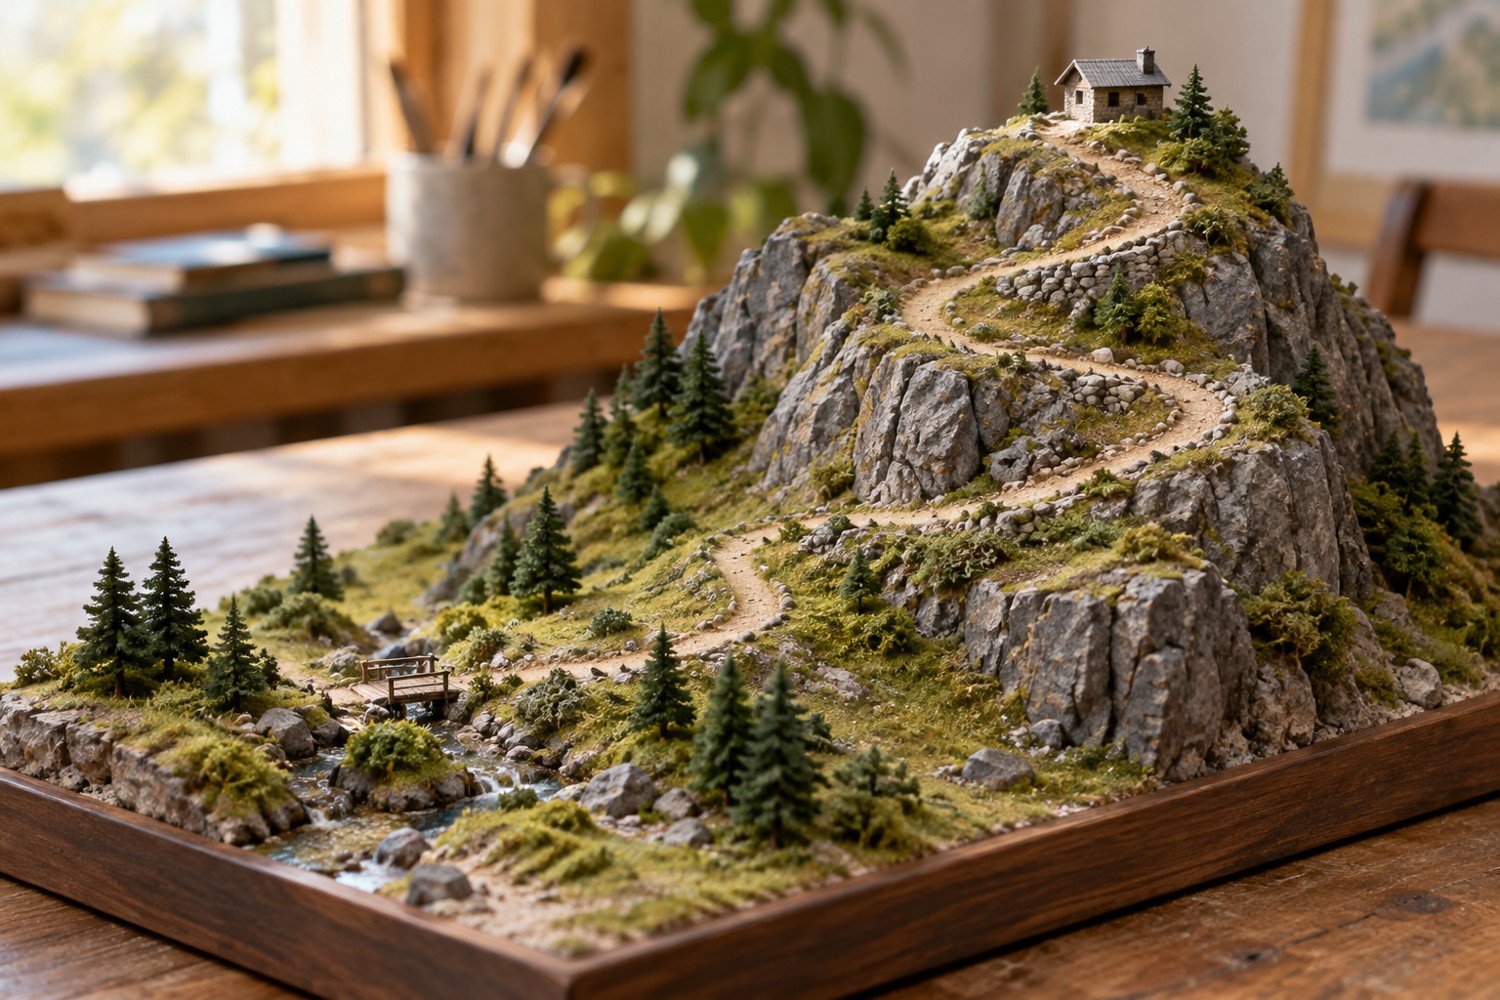
A mountain trail gives the eye a route through a steep display base. Begin with its starting point and destination. The route might connect a valley path to a lookout, a small shrine or a ridge shelter. Without those anchors, a winding line can look like decoration laid over a hill.
Draw the route on paper before shaping the mountain. Use a strip of card to show its width and a few blocks to represent major changes in height. Look at the model from the intended front. You should see enough of the trail to understand how one visible section connects to the next.
Use the side view to catch impossible steps
A route that curves smoothly on a top-down plan may climb abruptly over a block. Check the profile and introduce a longer traverse or a deliberate staircase where the scene needs one. This is a display model, but the path should still suggest a believable way to travel through it.
Leave a landing at a tight turn. A switchback needs visual space to change direction rather than forming a sharp painted point. Compare the width with a figure or another scale reference. If the route is intended for gaming, test the actual figure bases and handling access instead of relying solely on scale appearance.
Do not place every rock outcrop along the inside edge. Alternate open views with partial concealment, letting the trail pass behind one feature and return beyond it. Keep the main destination visible or reveal it deliberately near the top. A path leading to a hidden, unexplained corner weakens the composition.
Separate the trail from surrounding ground through a modest texture or value change. A very bright continuous stripe can dominate a natural landscape. Test a short painted section and photograph it at normal viewing distance before committing to the entire route.
Add barriers, posts or vegetation only after the path reads clearly. These details can indicate exposed edges or sheltered pockets, but they should not block the route or become the only way to understand its direction. Keep fragile pieces away from lifting points. At the end, trace the trail in both directions with your eye. Any unexplained jump, dead end or hidden turn is easier to correct before the final scenic surface is fixed.
Another detail to explore
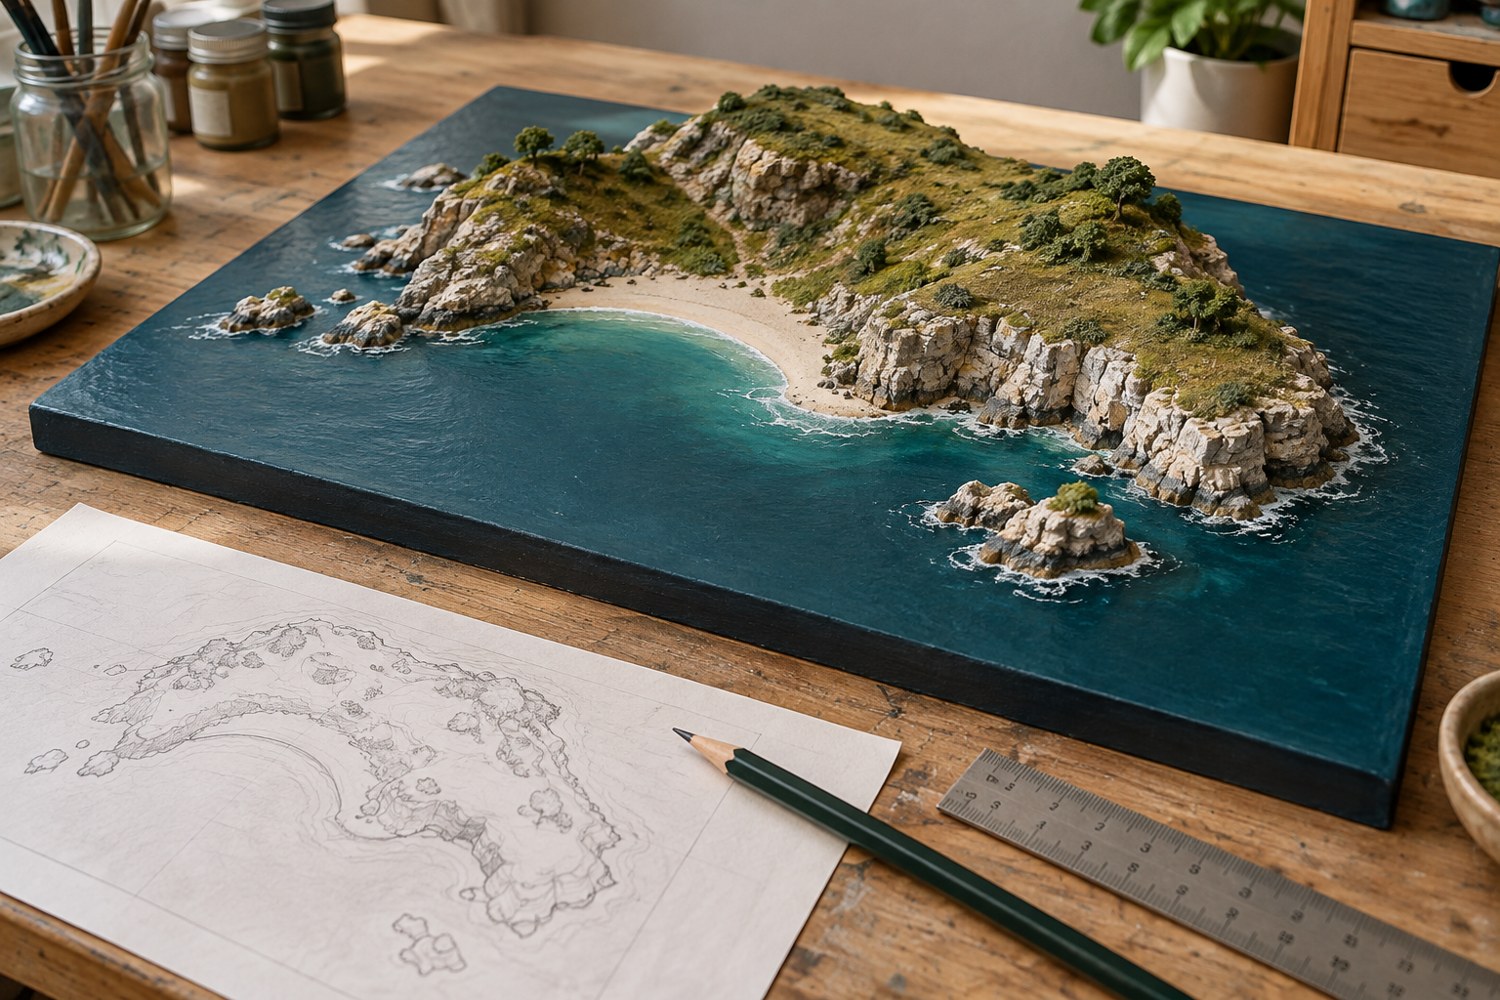
Plan an island diorama before building the coastline
Turn an island idea into a buildable composition by deciding the viewing angle, scale, shoreline and assembly order on paper first.
Read article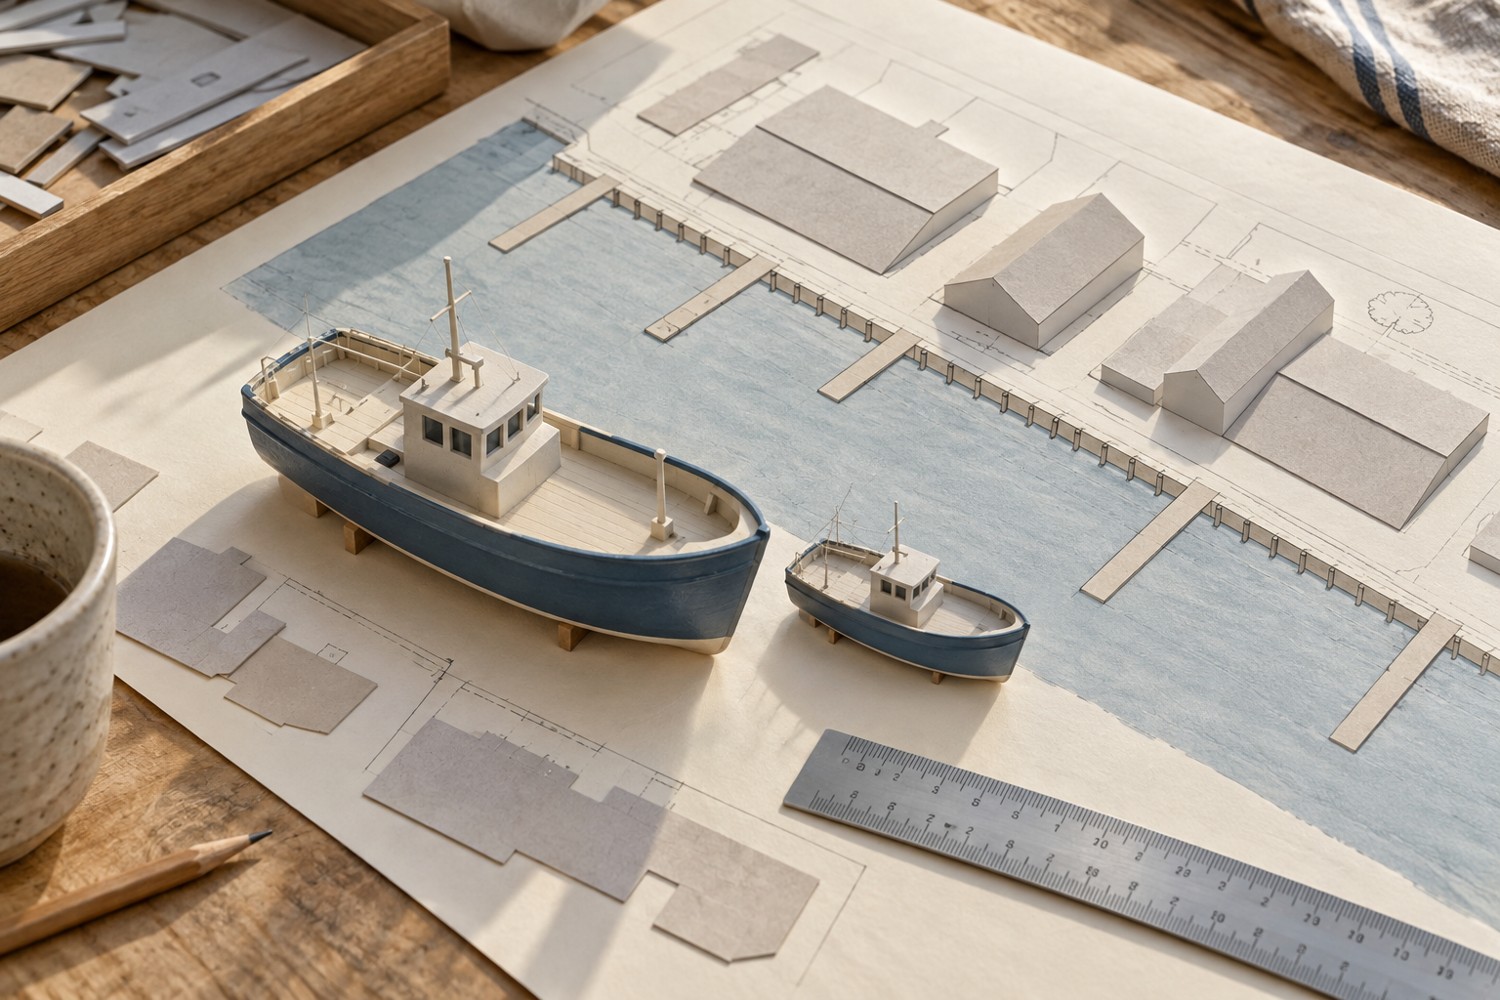
Choose a scale for a miniature harbour
Use the largest boat and the available footprint to choose a harbour scale before buying buildings and fittings.
Read article