Choose glue by the materials being joined
Match the adhesive to both surfaces and test the complete joint before committing to the model.
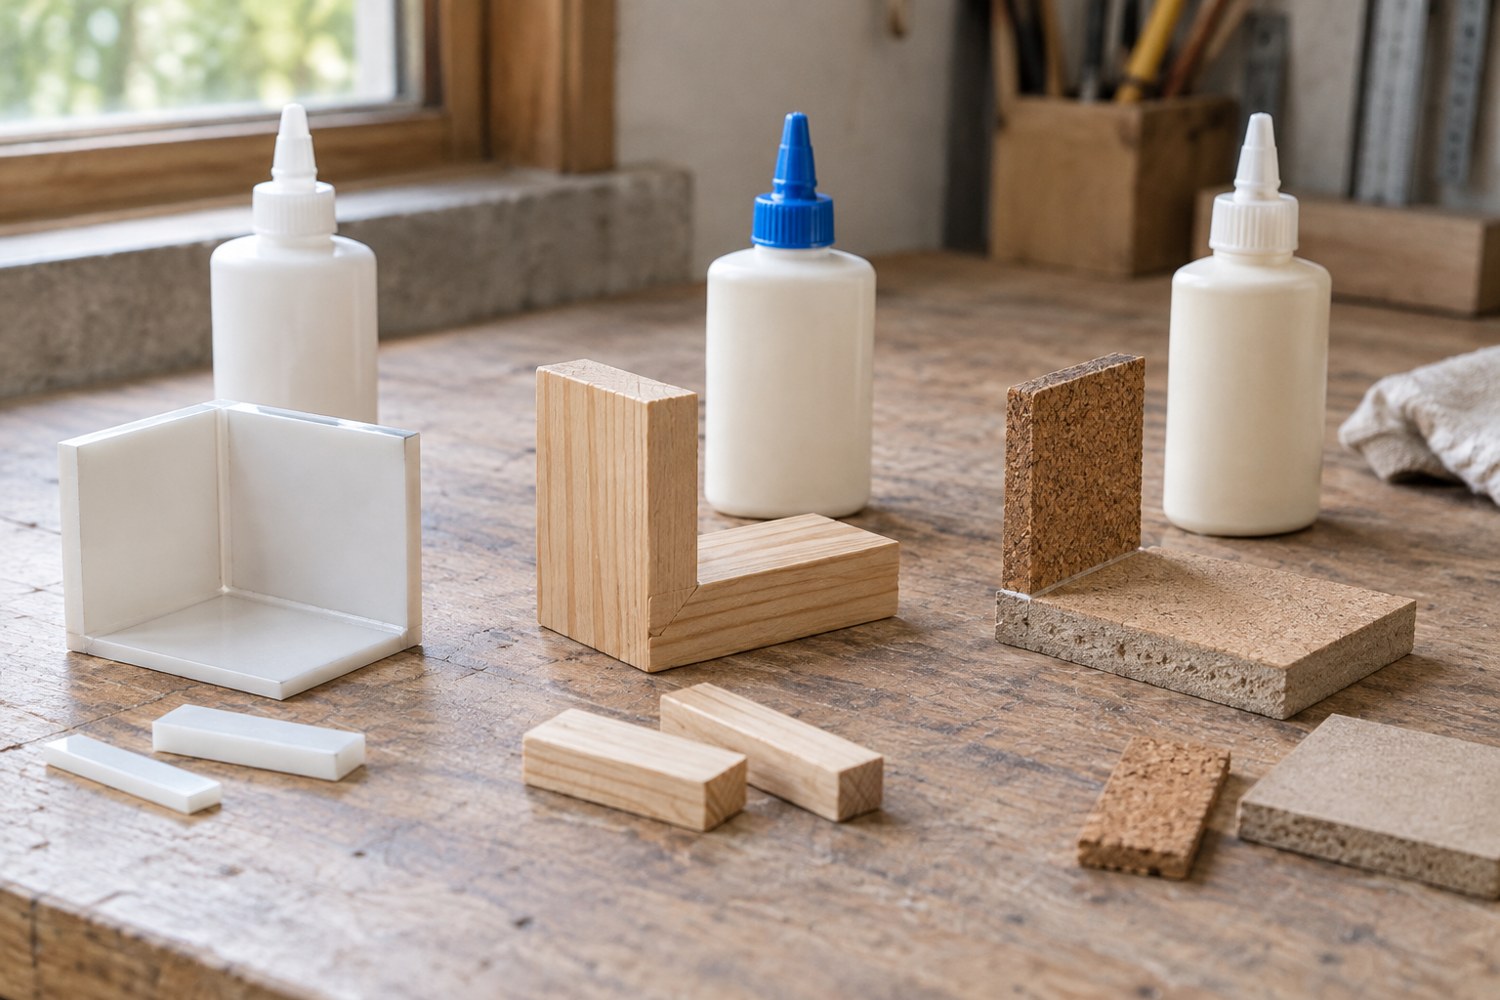
“Plastic glue” is not a complete material specification. A joint may connect PLA to PLA, a resin print to a metal pin, or a painted part to a wooden base. Identify both substrates and the surface condition before choosing a product. Paint, primer or a release residue can become the actual bonding surface even when the underlying materials are suitable.
The adhesive manufacturer's compatibility information is the starting point. Loctite's plastics guidance notes that different plastics require different products and that some are difficult to bond. Do not assume that an adhesive sold for one model kit will behave the same way on every printed polymer. Read the product's instructions and safety data as well as the front label.
Describe the joint's job
Decide whether the connection is decorative, regularly handled or intended to be removable. Note the size of the contact area and the direction in which it will be stressed. A broad roof seam and a tiny projecting mast are different joints. If the connection needs a locating pin or mechanical support, adhesive alone may not be the most suitable design.
Dry-fit the parts and plan how they will be held during the specified setting and curing periods. A fast initial grab is not the same as full cure. Make a support jig from suitable material if it helps maintain alignment, but keep it from becoming accidentally bonded to the model. Protect visible surfaces in a way compatible with the adhesive and finish.
Use spare material to test the actual combination. Include the same paint or primer if the joint will be made over it. Apply the product according to its instructions, with the required ventilation and protective measures, and allow the complete specified cure before evaluating the result. Do not use an immediate hand pull as proof of long-term suitability.
Make cleanup part of the choice
Find out how excess adhesive should be handled before applying it. A solvent that removes adhesive may also damage the printed material or finish. Test any approved cleanup method on scrap, and avoid assuming that a clear-drying product will be invisible on every colour and texture.
Apply only the amount and method specified for the product. More adhesive can create a visible bead or interfere with a close-fitting joint without improving the connection. Keep containers closed and identified, and store them under their labelled conditions. Do not transfer an unfamiliar liquid into an unmarked bottle for convenience.
Record the successful product and joint preparation with the model. If the material or coating changes, repeat the relevant test. For a repair, examine why the original joint failed before repeating it: insufficient contact area or a poorly supported detail may require a design change. The useful choice is an adhesive within a workable joint, not a universal bottle that is expected to compensate for every geometry.
For a scenic assembly with several materials, make a joint map before opening adhesive containers. List each connection separately: printed wall to printed roof, wooden base to cork terrain and metal pin to a drilled socket. You may discover that a small number of different products or mechanical arrangements is more appropriate than trying to use one adhesive everywhere. Keep the map with the assembly order so that a later step does not accidentally use the product left on the desk from the previous joint.
Check whether the bond is actually being made to paint. If a coating is weakly attached, a strong adhesive above it may simply pull that coating away. Plan bare bonding areas where appropriate to the material and finishing system, and verify the complete layered joint on the sample.
Another detail to explore
Store filament with a label you can actually use
Keep material identity, opening date and profile information with the spool through storage and use.
Read article
Choose between PLA and PETG for an indoor model
Choose material around handling, shape and finishing rather than treating one polymer as a universal upgrade.
Read article