Plan storage before building a tall diorama
Set the storage envelope and handling route before committing to a tall tower, tree or cliff.
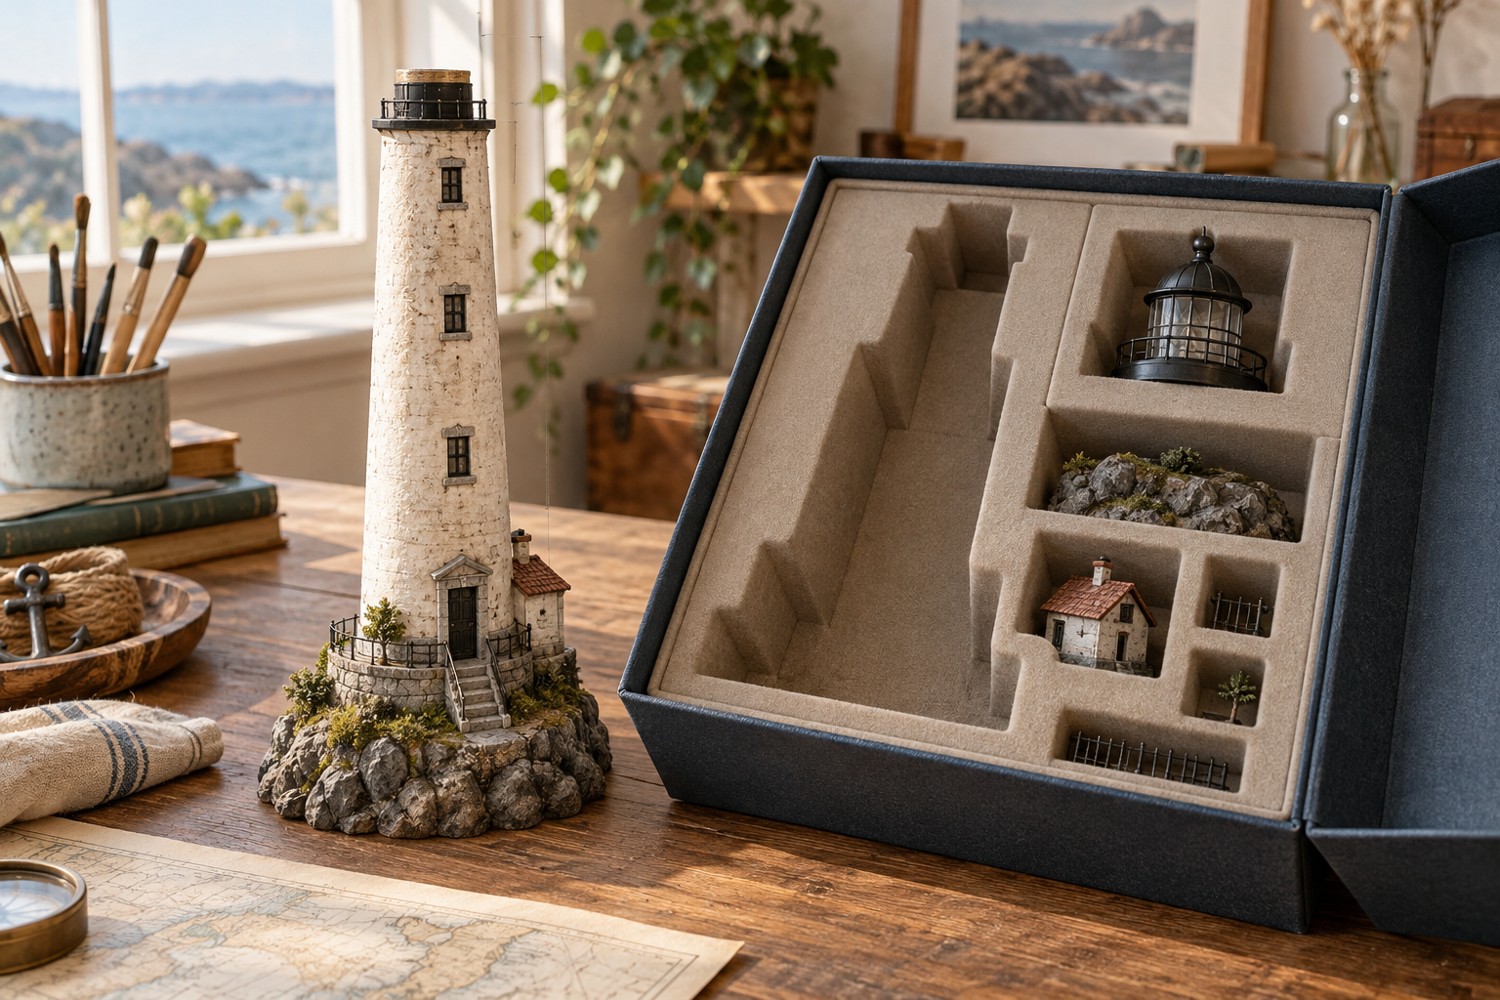
A tall diorama needs two designs: the scene you want to see and the object you can safely store. Measure the shelf opening, box interior and route between them before building the highest feature. Include the thickness of padding or a dust cover. The outside dimensions printed on a storage box do not describe the space available inside its lid.
Make a simple card height gauge and move it through the planned storage route. Check cupboard hinges, shelf lips and the angle needed to lift the model out. A scene that fits once placed may still be impossible to insert without tilting. Tilting can be harmless for a solid base but difficult for a tall model with loose figures or removable sections.
Decide what can separate
A tower roof, mast or tree can be designed as a removable part. Place the joint where it is accessible and where a natural seam can disguise it. Test the removal motion with rough parts. A connection hidden between fragile railings may look neat but be awkward to use repeatedly.
Give each removable component its own supported compartment. Label it with the project name and orientation. A loose tower top in the same box as the base can strike the model even if both initially fit. Avoid allowing packing material to bear against antennae, branches or decorative peaks.
Consider the centre of mass as well as total height. A narrow base under a heavy cliff needs a different carrying method from a broad, light landscape. Use the base as the handling surface and keep lifting points clear of scenery. Test the rough assembly gently over a clear work surface before adding delicate parts.
Plan a cover that clears the tallest feature without touching it during removal. Space above the model is not enough if the cover must slide sideways past an overhang. Make a temporary cardboard cover and rehearse the motion while changes are still inexpensive.
Store a photograph of the packed arrangement with the box. It should show the orientation, removable pieces and any supports that need to return to a particular position. Recheck the fit after the final paint and scenery layers are complete. A few added branches or a thicker base edge can change a carefully planned clearance, and forcing the lid shut is not a suitable final adjustment.
A packing mock-up before the final height decision
Create a rough model of the tallest feature using card with the same height and approximate width. Attach it temporarily to a block representing the base. Place the assembly inside the intended box with the proposed supports. This reveals whether the feature is protected or merely surrounded by empty air that allows it to swing during movement.
Try the unpacking order with the mock-up. If the cover must come off before you can reach a handle, check that there is room to set it down safely. If a tree must be removed first, its grip should remain accessible while the model is still supported in the box. An assembly sequence that works on the bench may not work inside a deep container.
Record two dimensions: the assembled display height and the packed height. A detachable tower top can make those substantially different. Label the matching compartment so the removed part is not left behind when the base travels. This small distinction is useful when choosing future storage furniture or deciding whether the model can accompany another display to an event.
Another detail to explore
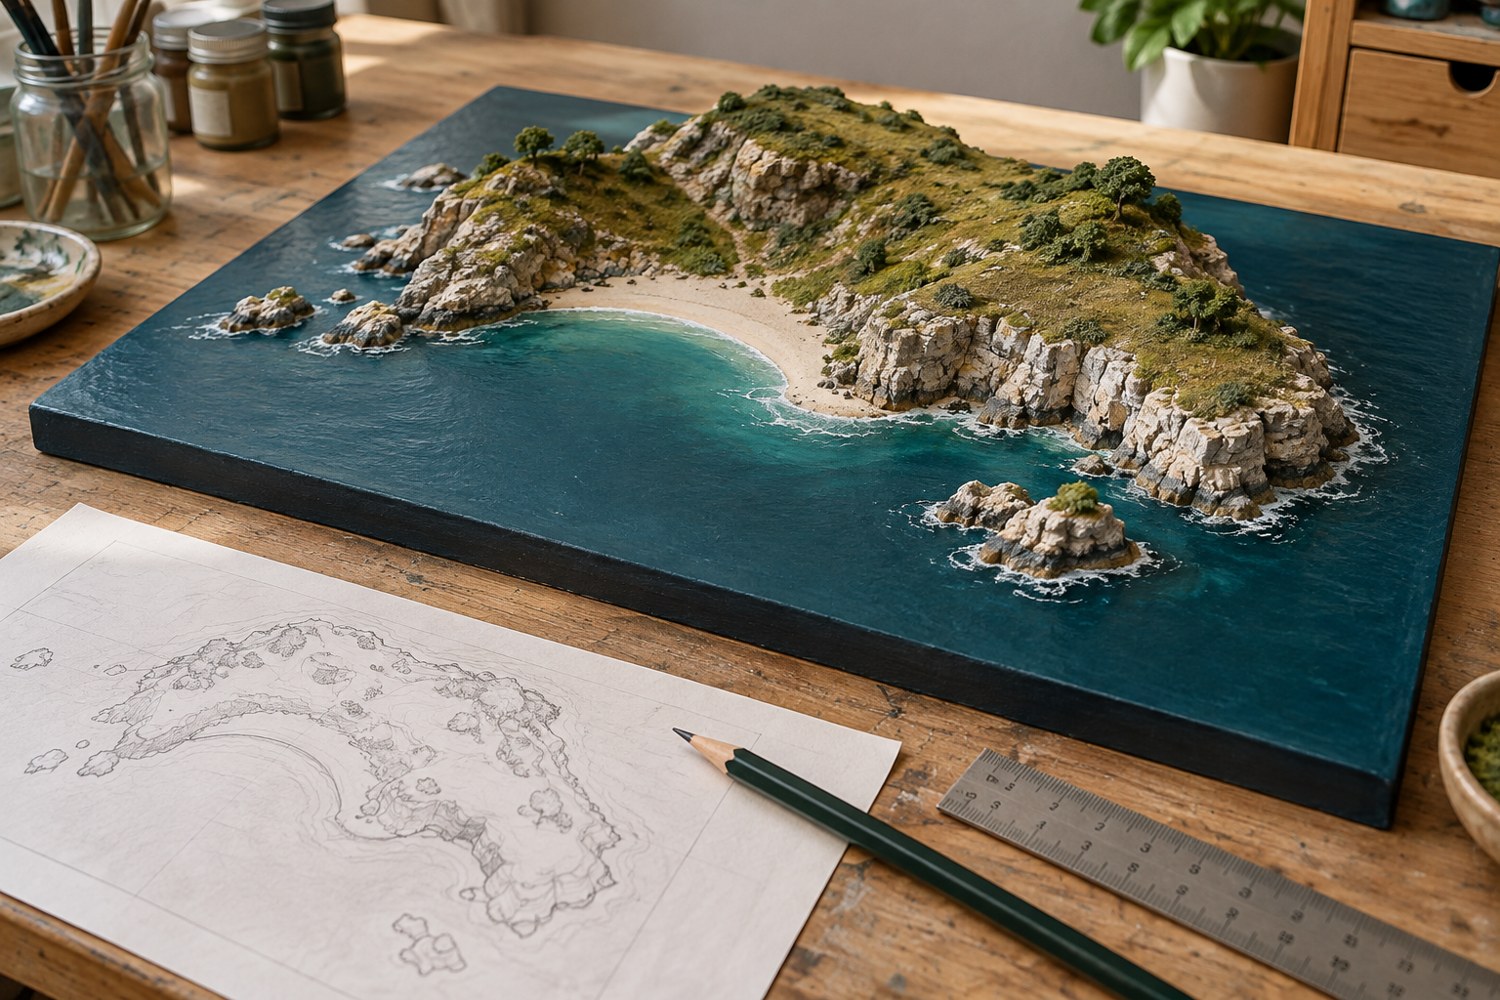
Plan an island diorama before building the coastline
Turn an island idea into a buildable composition by deciding the viewing angle, scale, shoreline and assembly order on paper first.
Read article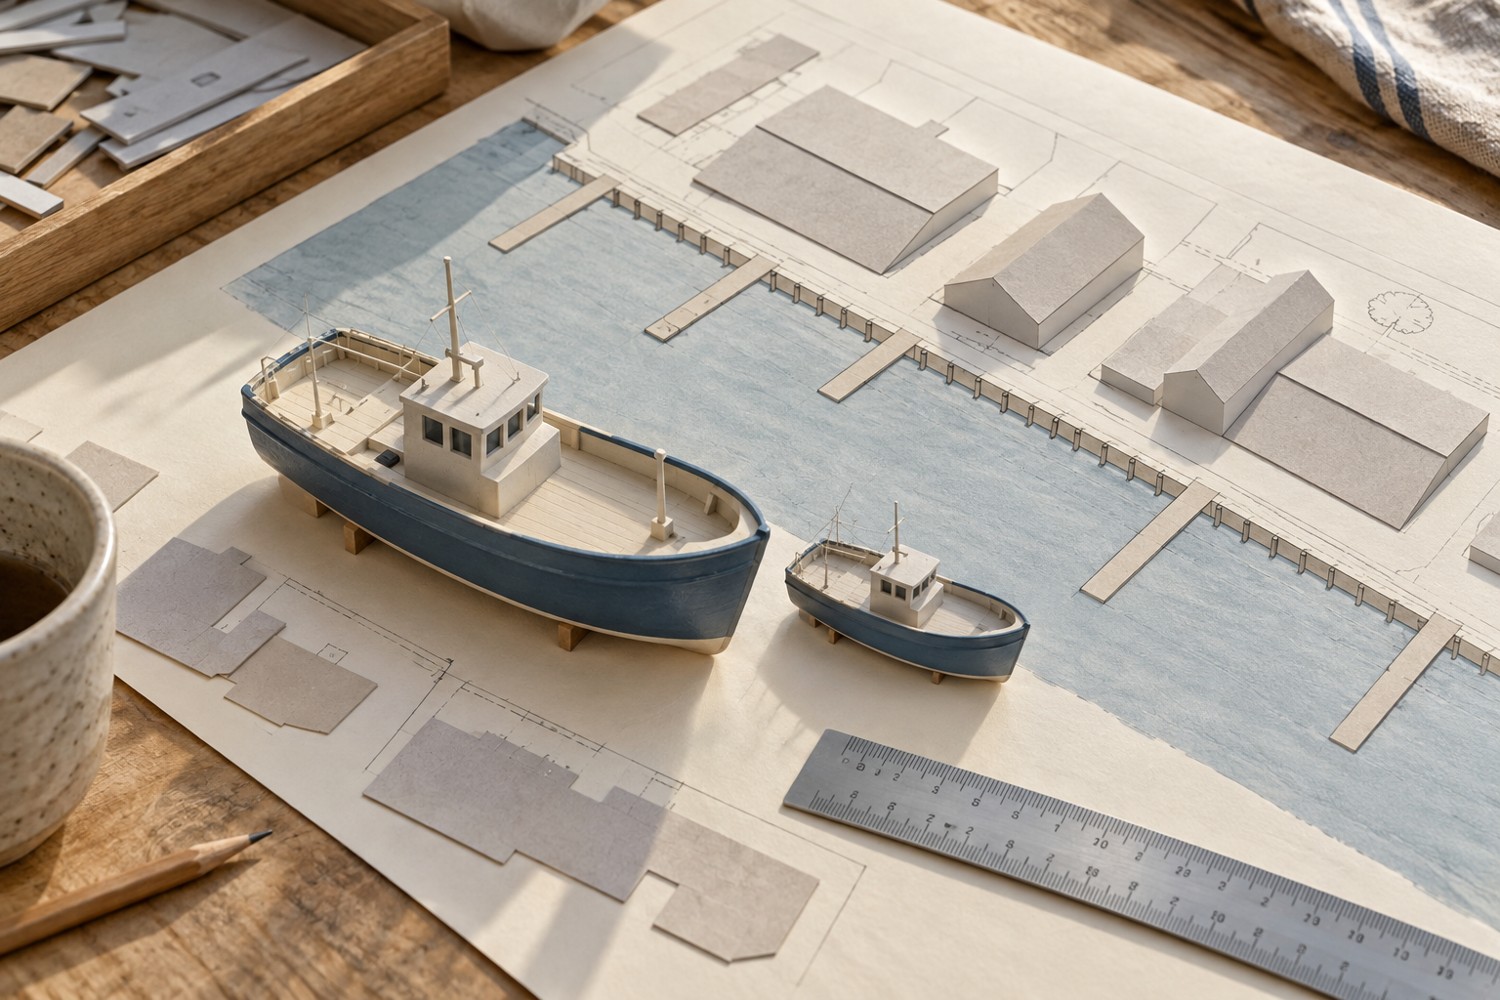
Choose a scale for a miniature harbour
Use the largest boat and the available footprint to choose a harbour scale before buying buildings and fittings.
Read article