Build a portable terrain tray
Build a terrain tray around its load, lifting points and storage space, then decide how scenery will be restrained.
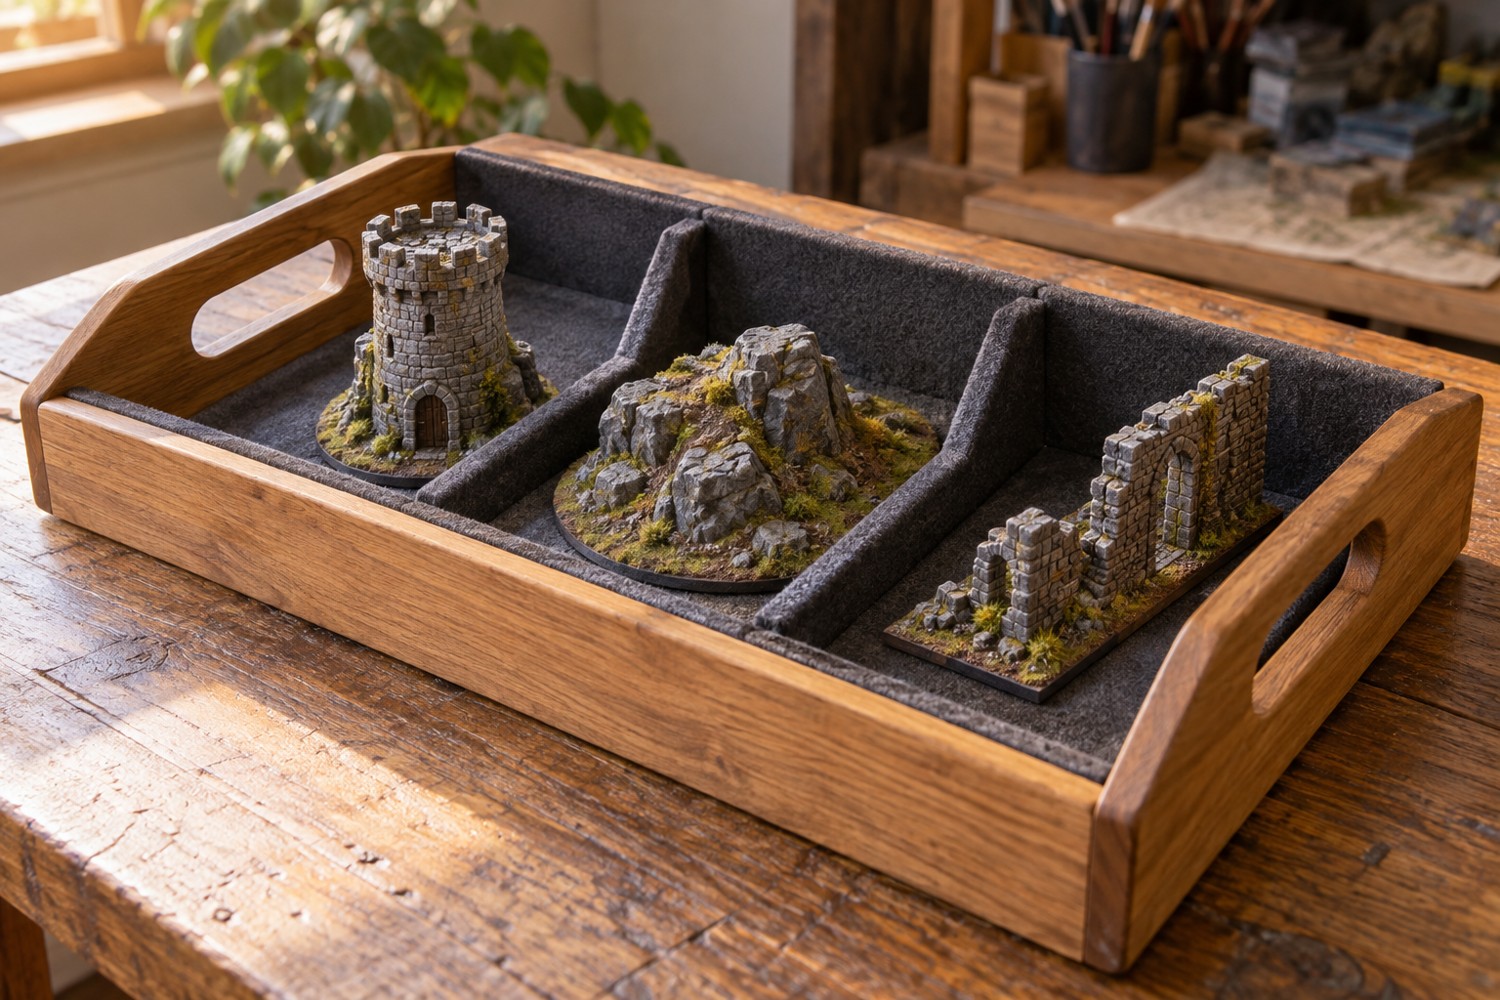
A portable terrain tray is useful only if the terrain remains stable while the tray is moved. Begin with the largest assembled piece and the route between storage and the table. Measure doorways, shelf openings and the surface where you will put the tray down. A tray that fits the collection but cannot be carried comfortably through the room has missed its main purpose.
Lay paper outlines of the terrain on a proposed tray footprint. Leave room for fingers to lift each piece and for any supports that will restrain it. Avoid packing fragile details tightly together simply because their bases fit. Separate tall structures from low pieces that could slide into them.
Choose where the load travels
Use a tray structure and handles rated or otherwise appropriate for the intended load. Do not attach a handle only to a thin scenic surface. For a homemade tray, follow the material and hardware manufacturer's guidance and test the empty structure before gradually adding non-fragile weight. The decorative terrain should not be the first load test.
Keep the bottom flat and the lifting points accessible. A high rim can prevent pieces sliding out, but it may also make it difficult to grasp a wide base. Try the loading and unloading motion with rough blocks before finishing the tray. If two people are needed, provide a clear grip for each.
Use removable dividers or shaped supports against solid bases, not towers and foliage. A tray is not a sealed shipping case: it may be suitable for a short move within a room but insufficient for a car journey. Match the restraint to the actual movement rather than assuming a low lip provides universal protection.
Mark each terrain position on a simple loading diagram. This helps maintain clearance around the tallest piece and prevents the arrangement changing every time the tray is packed. Keep small removable details in a separate labelled container.
Before trusting the finished system, move it a short distance over a clear surface with representative non-fragile loads. Check flex, balance and hand clearance. Then test the real terrain at a slow walking pace, stopping if anything shifts. Store the tray level and avoid using an exposed model as a handle when pulling it from a shelf. The tray should carry the terrain; the terrain should never carry the tray.
Keep the tray distinct from the scene
Decide whether the tray will remain visible during use. If it is only a carrier, its rim and dividers can prioritise access and restraint. If it also forms the display base, those same features need to fit the composition. Combining the roles is possible, but should be planned rather than discovered after the scenery blocks the handles.
For a tray that stays on the table, leave a clear visual boundary between the scene and the grip. A plain outer band can provide that distinction. Keep loose scenic material off the band so fingers can find a stable surface. If the model is heavy, the appearance of the rim must not conceal where a secure two-handed lift is required.
Store the empty tray where it remains flat and dry according to its materials' requirements. A warped carrier can cause terrain bases to rock even if the pieces themselves have not changed. Recheck the fit after storage and before loading fragile models. Keep the loading diagram with the tray so it does not become separated from the system it describes.
Another detail to explore
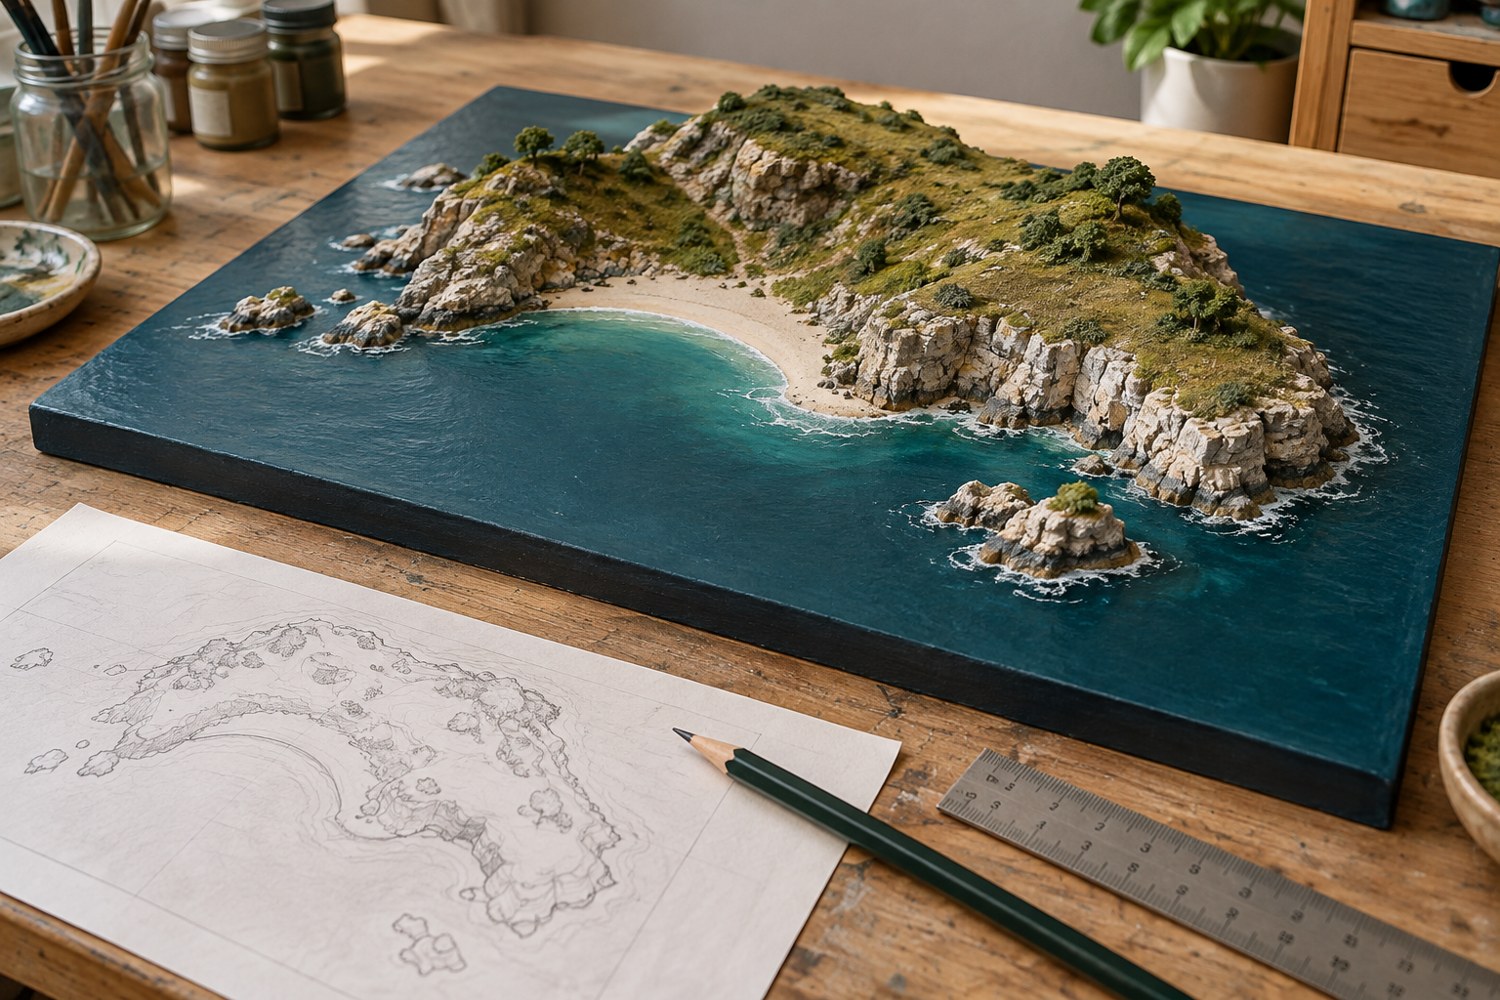
Plan an island diorama before building the coastline
Turn an island idea into a buildable composition by deciding the viewing angle, scale, shoreline and assembly order on paper first.
Read article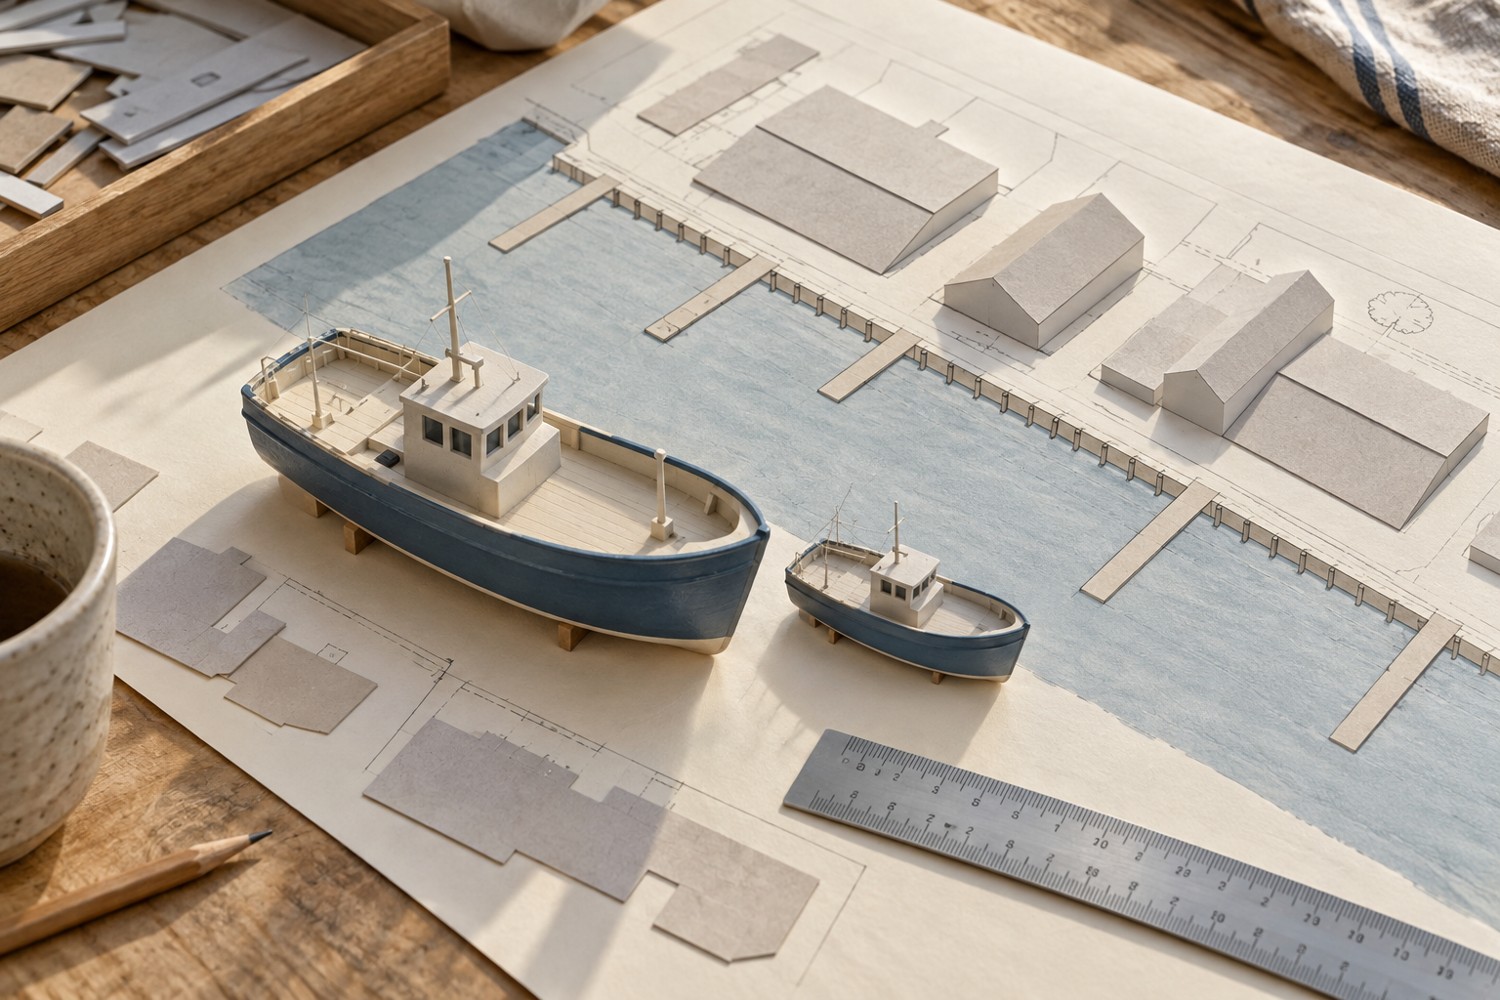
Choose a scale for a miniature harbour
Use the largest boat and the available footprint to choose a harbour scale before buying buildings and fittings.
Read article