Evaluate a filament sample before buying several spools
Use a small material sample to examine the features and finish your project actually needs.
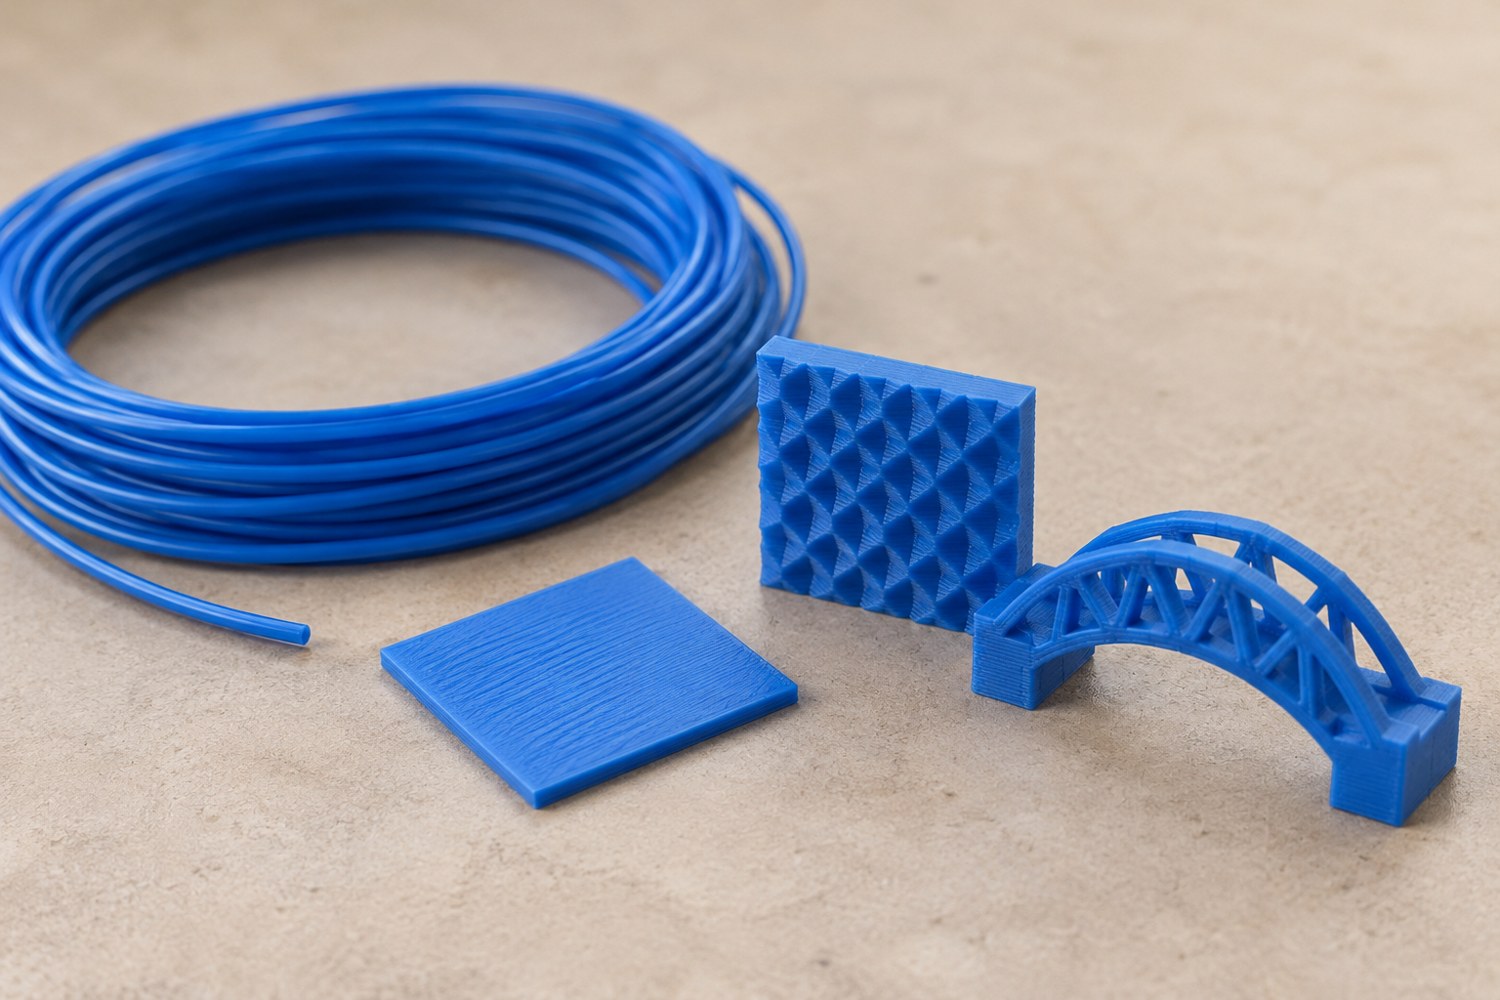
A filament sample is most valuable when it stands in for the intended project. Printing a decorative demonstration shape may show colour, but it may not reveal whether a narrow wall survives cleanup or whether a painted joint fits. Choose a small model containing the particular features you need and keep enough material for a second trial if possible.
Confirm the sample's exact product identity and diameter. Keep its label, supplier guidance and any batch information. Check whether it is wound on a usable spool or supplied loose, and arrange a compatible feed method that does not snag. A tangled sample can make a material comparison meaningless before the material reaches the nozzle.
Establish comparable conditions
Use a supported profile appropriate to the product, printer and nozzle. Follow the manufacturer's storage and drying guidance when needed. Prusa's drying documentation notes that absorbed moisture can alter printing behaviour; a sample stored poorly should not automatically be treated as representative of a fresh, correctly handled spool.
Choose one familiar comparison material if you are evaluating a change. Print the same relevant geometry and keep the records distinct. Do not force both materials through identical settings when their documented processing needs differ. Instead, compare the results of suitable workflows and note the additional steps required for each.
Inspect the feature that motivated the purchase. If the project is a miniature building, look at window edges and flat walls. If it is a storage component, try the actual mating part. For an unpainted scene, judge the colour under the intended display light and compare adjacent pieces. A sparkling finish may obscure a fine texture that looks clear in a plain colour.
Include finishing and handling
Test the proposed primer, adhesive and finish on spare portions using their compatibility instructions. Allow the required curing time before judging the combination. Check whether the surface appearance remains suitable after handling in the intended way. This is a project sample, not a substitute for formal testing of a functional or safety-critical part.
Write down limitations. A short sample does not reveal how a broad full-size panel will behave, and one colour does not prove that every product in a range behaves identically. If the next purchase is substantial, obtain enough material for a representative larger part before committing to the entire set.
Keep the sample and its record together, including unsuccessful results. “Good wall detail; adhesive combination not yet checked” is a useful purchasing note. A simple pass or fail label hides the conditions. Order the exact product you evaluated, and verify the labels when it arrives so that a similar name or finish does not quietly turn the planned project into another experiment.
Photograph the sample beside a neutral reference and write the material identity in the frame or filename. Keep camera conditions comparable, but do not expect the photograph to replace the physical colour sample. When planning an order, compare the candidate with the other materials already used in the scene. A colour that looks appealing alone may be difficult to distinguish from the adjacent stone or ground texture at the final scale.
If the available sample is too short for all the checks, rank the questions before printing. Fit and compatibility may need priority over an elaborate decorative test. Record what remains untested so that a later bulk order does not rest on a sample that answered only the easiest question.
Another detail to explore
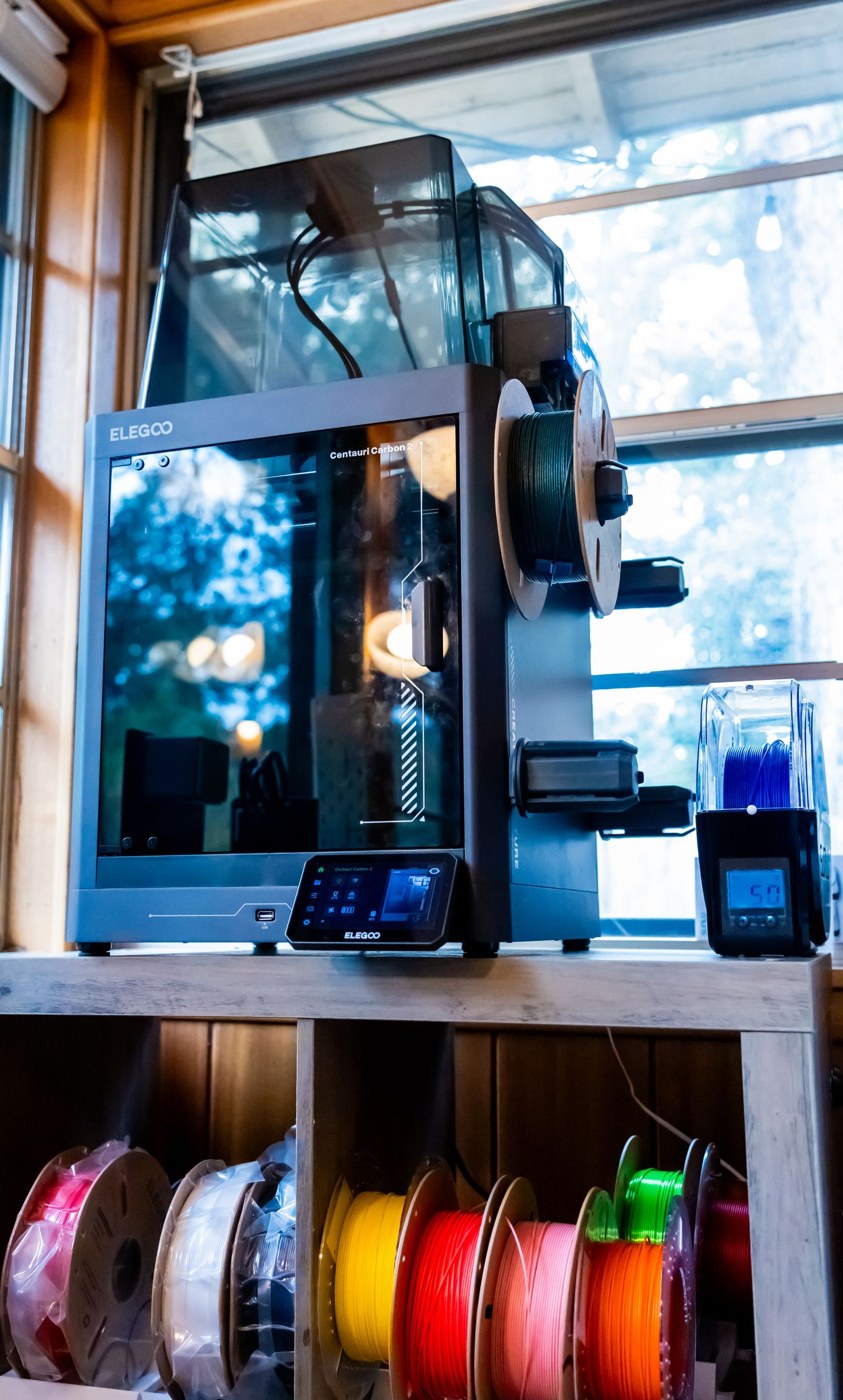
Store filament with a label you can actually use
Keep material identity, opening date and profile information with the spool through storage and use.
Read article
Choose between PLA and PETG for an indoor model
Choose material around handling, shape and finishing rather than treating one polymer as a universal upgrade.
Read article